

Handcrafted Sushi Stationery
-
Artisan Collection
-
Techniques
-
Theme
-
Materials & Tools
-
Instructions
Browse the Artisan Collection
This handcrafted stationery project is part of the Stationery & Greeting Card Collection
Explore Creative Techniques
These are the techniques used for this project.
Discover Inspiring Themes
Materials & Tools
- Silhouette Studio
- Silhouette Cameo
- Digital SVG Cut File from Samantha Walker Designs { Silhouette Design Store}
- Print then Cut Custom Asian style font { So Fontsy }
- Scrapbook.com Super Sticky Adhesive Tape & Double- sided Foam Tape
- Scrapbook.com Pops of Color for Dimensional shine and Texture
- Printer for sentiments
- Envelope
Project Instructions
Step 1: Select and Prepare Files
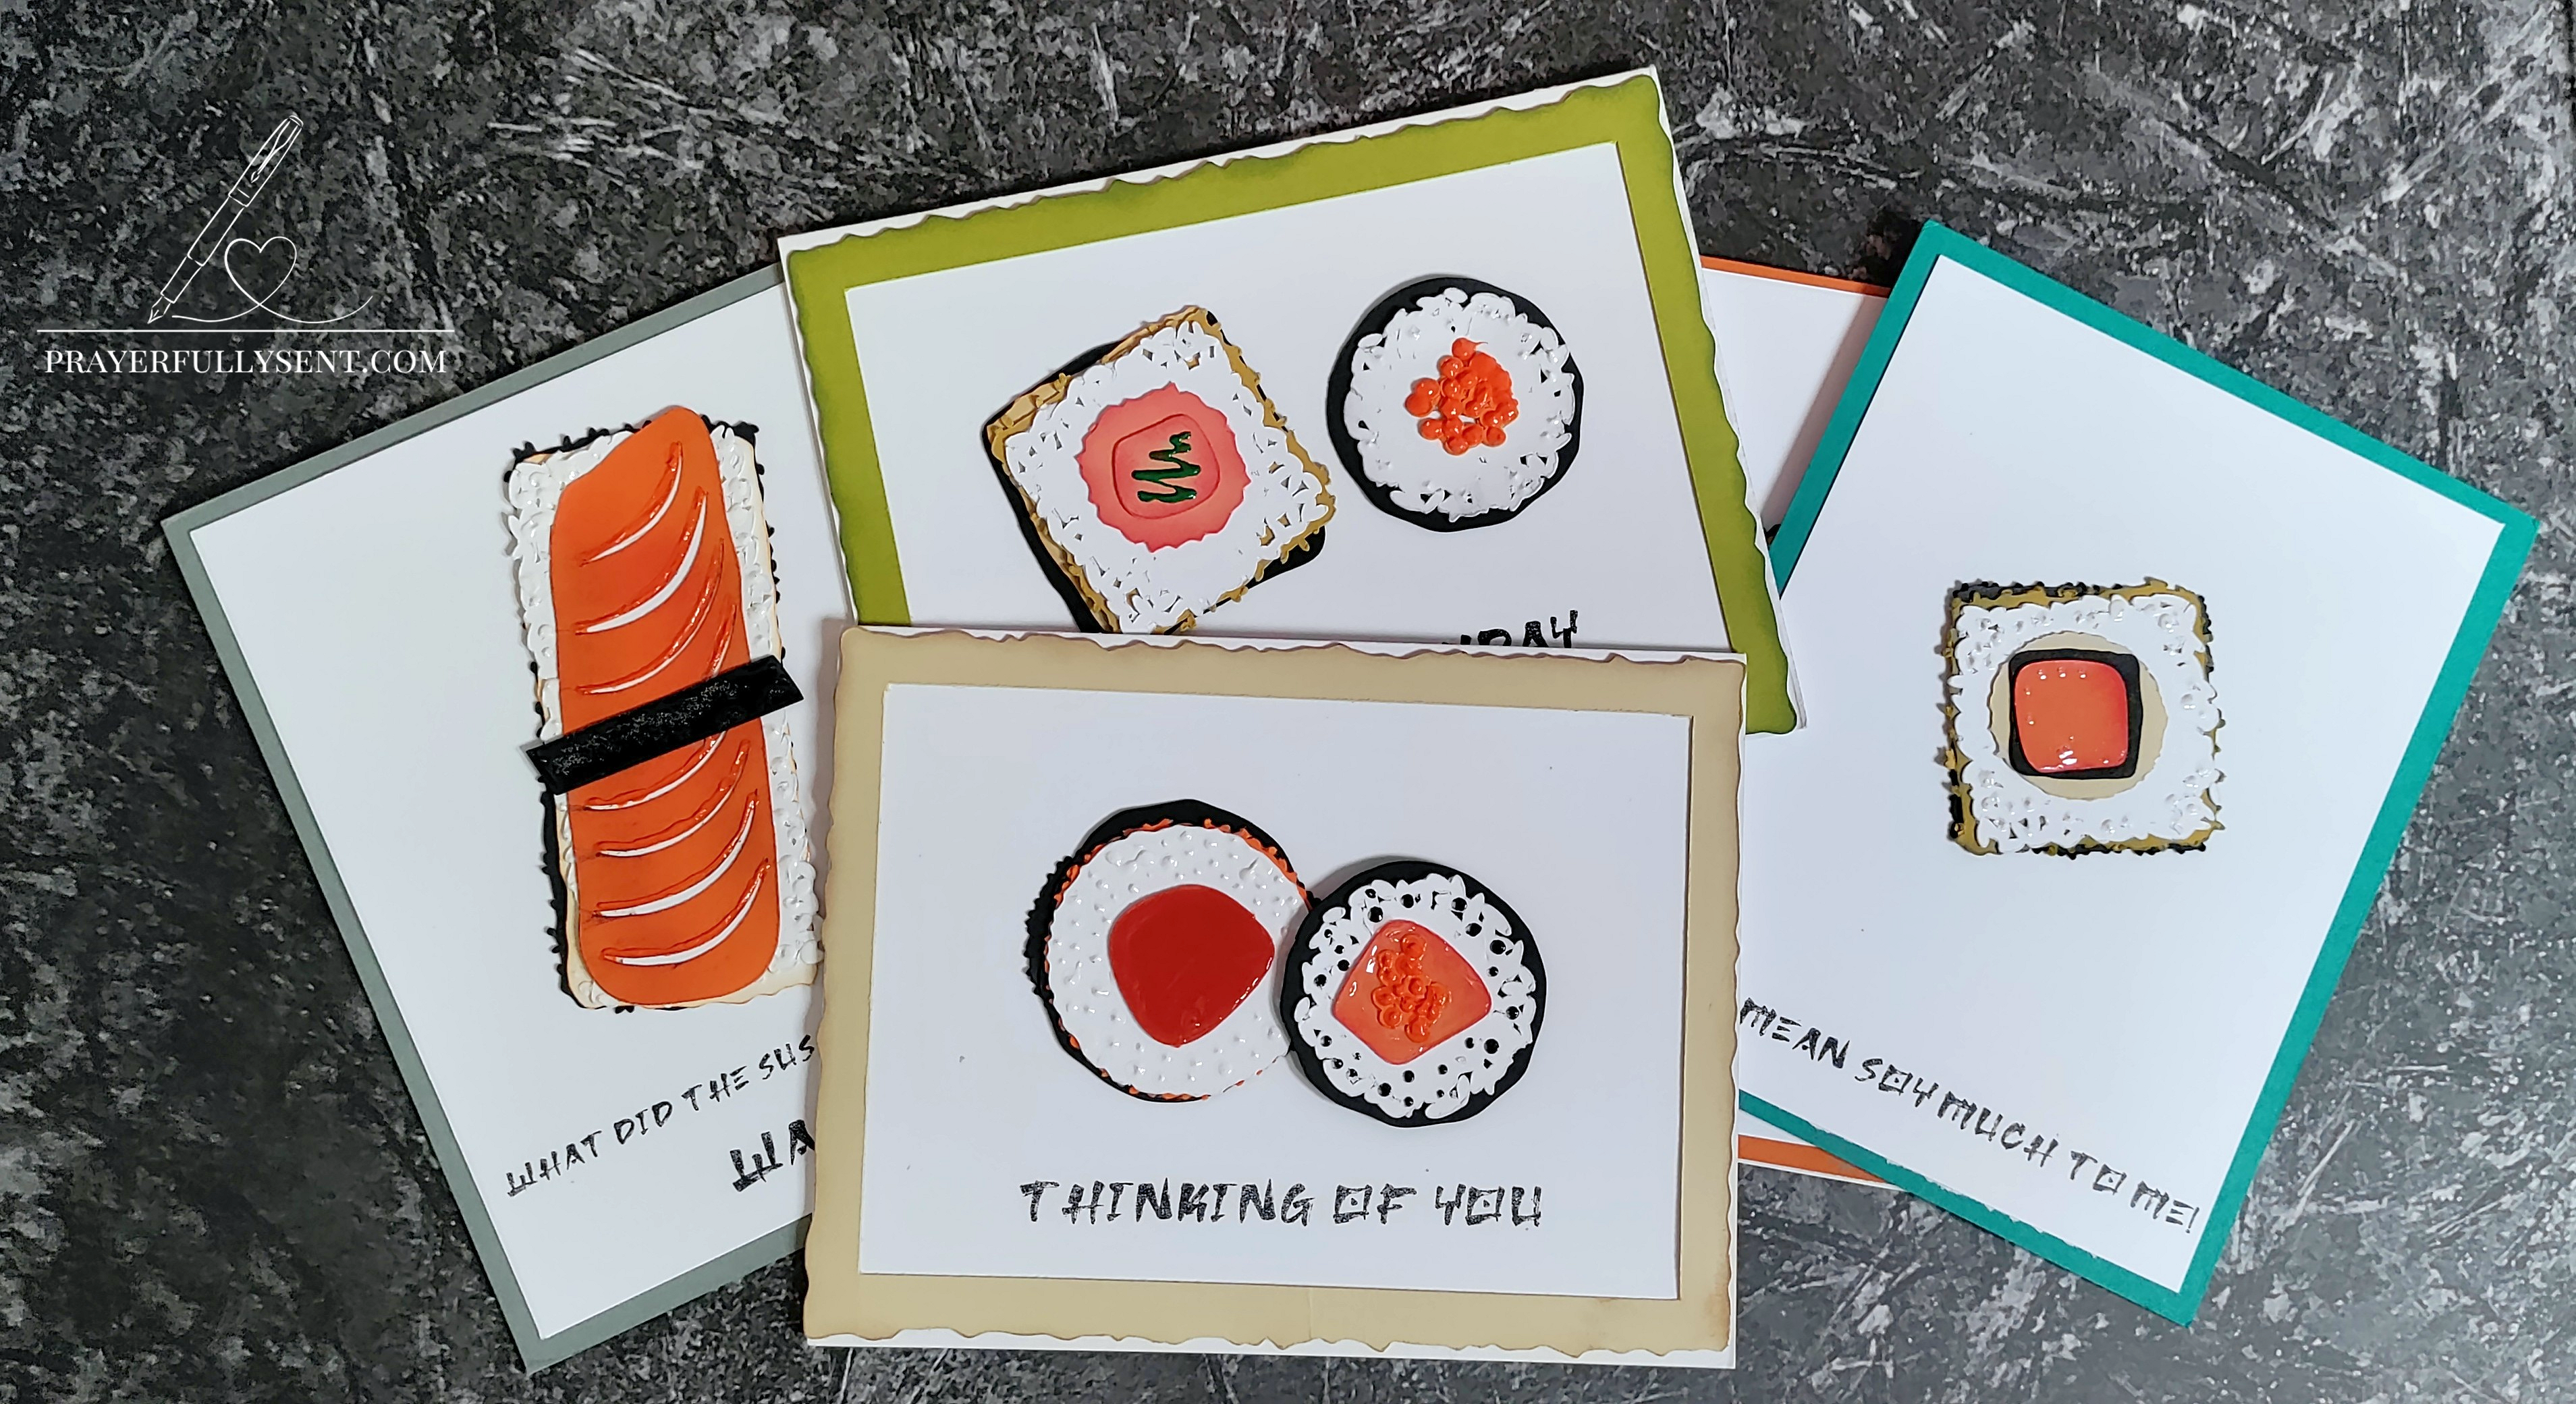
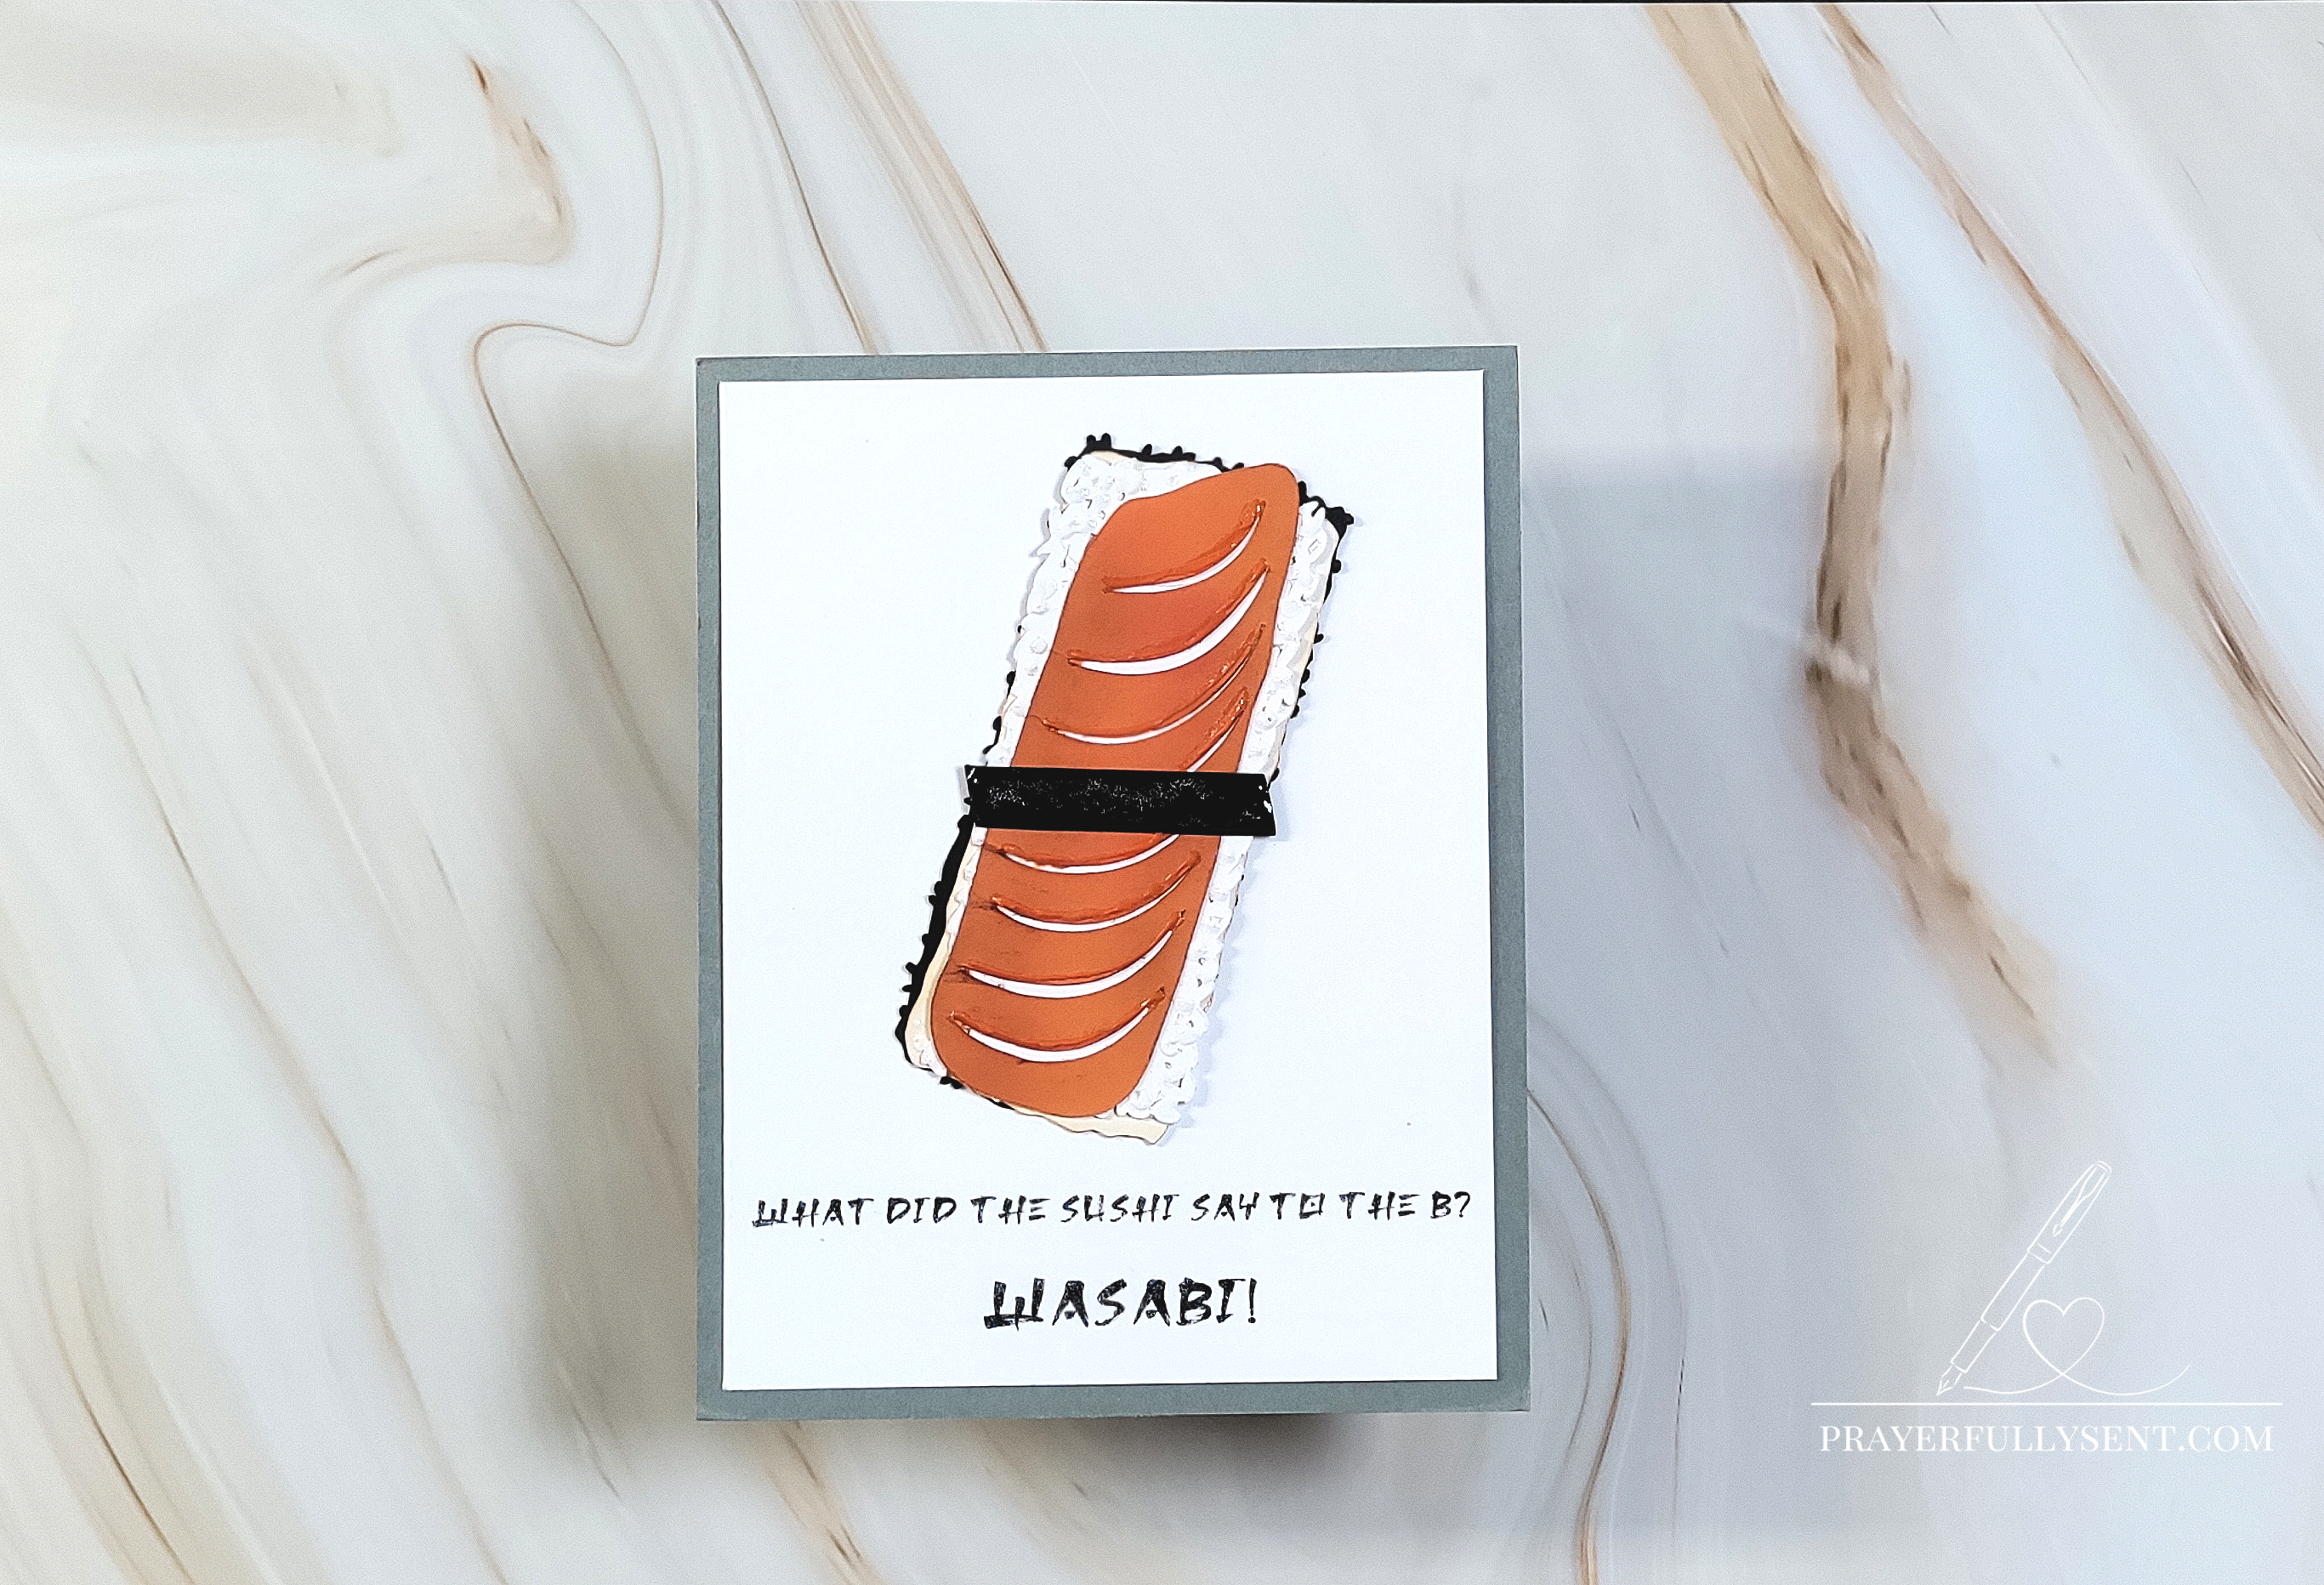
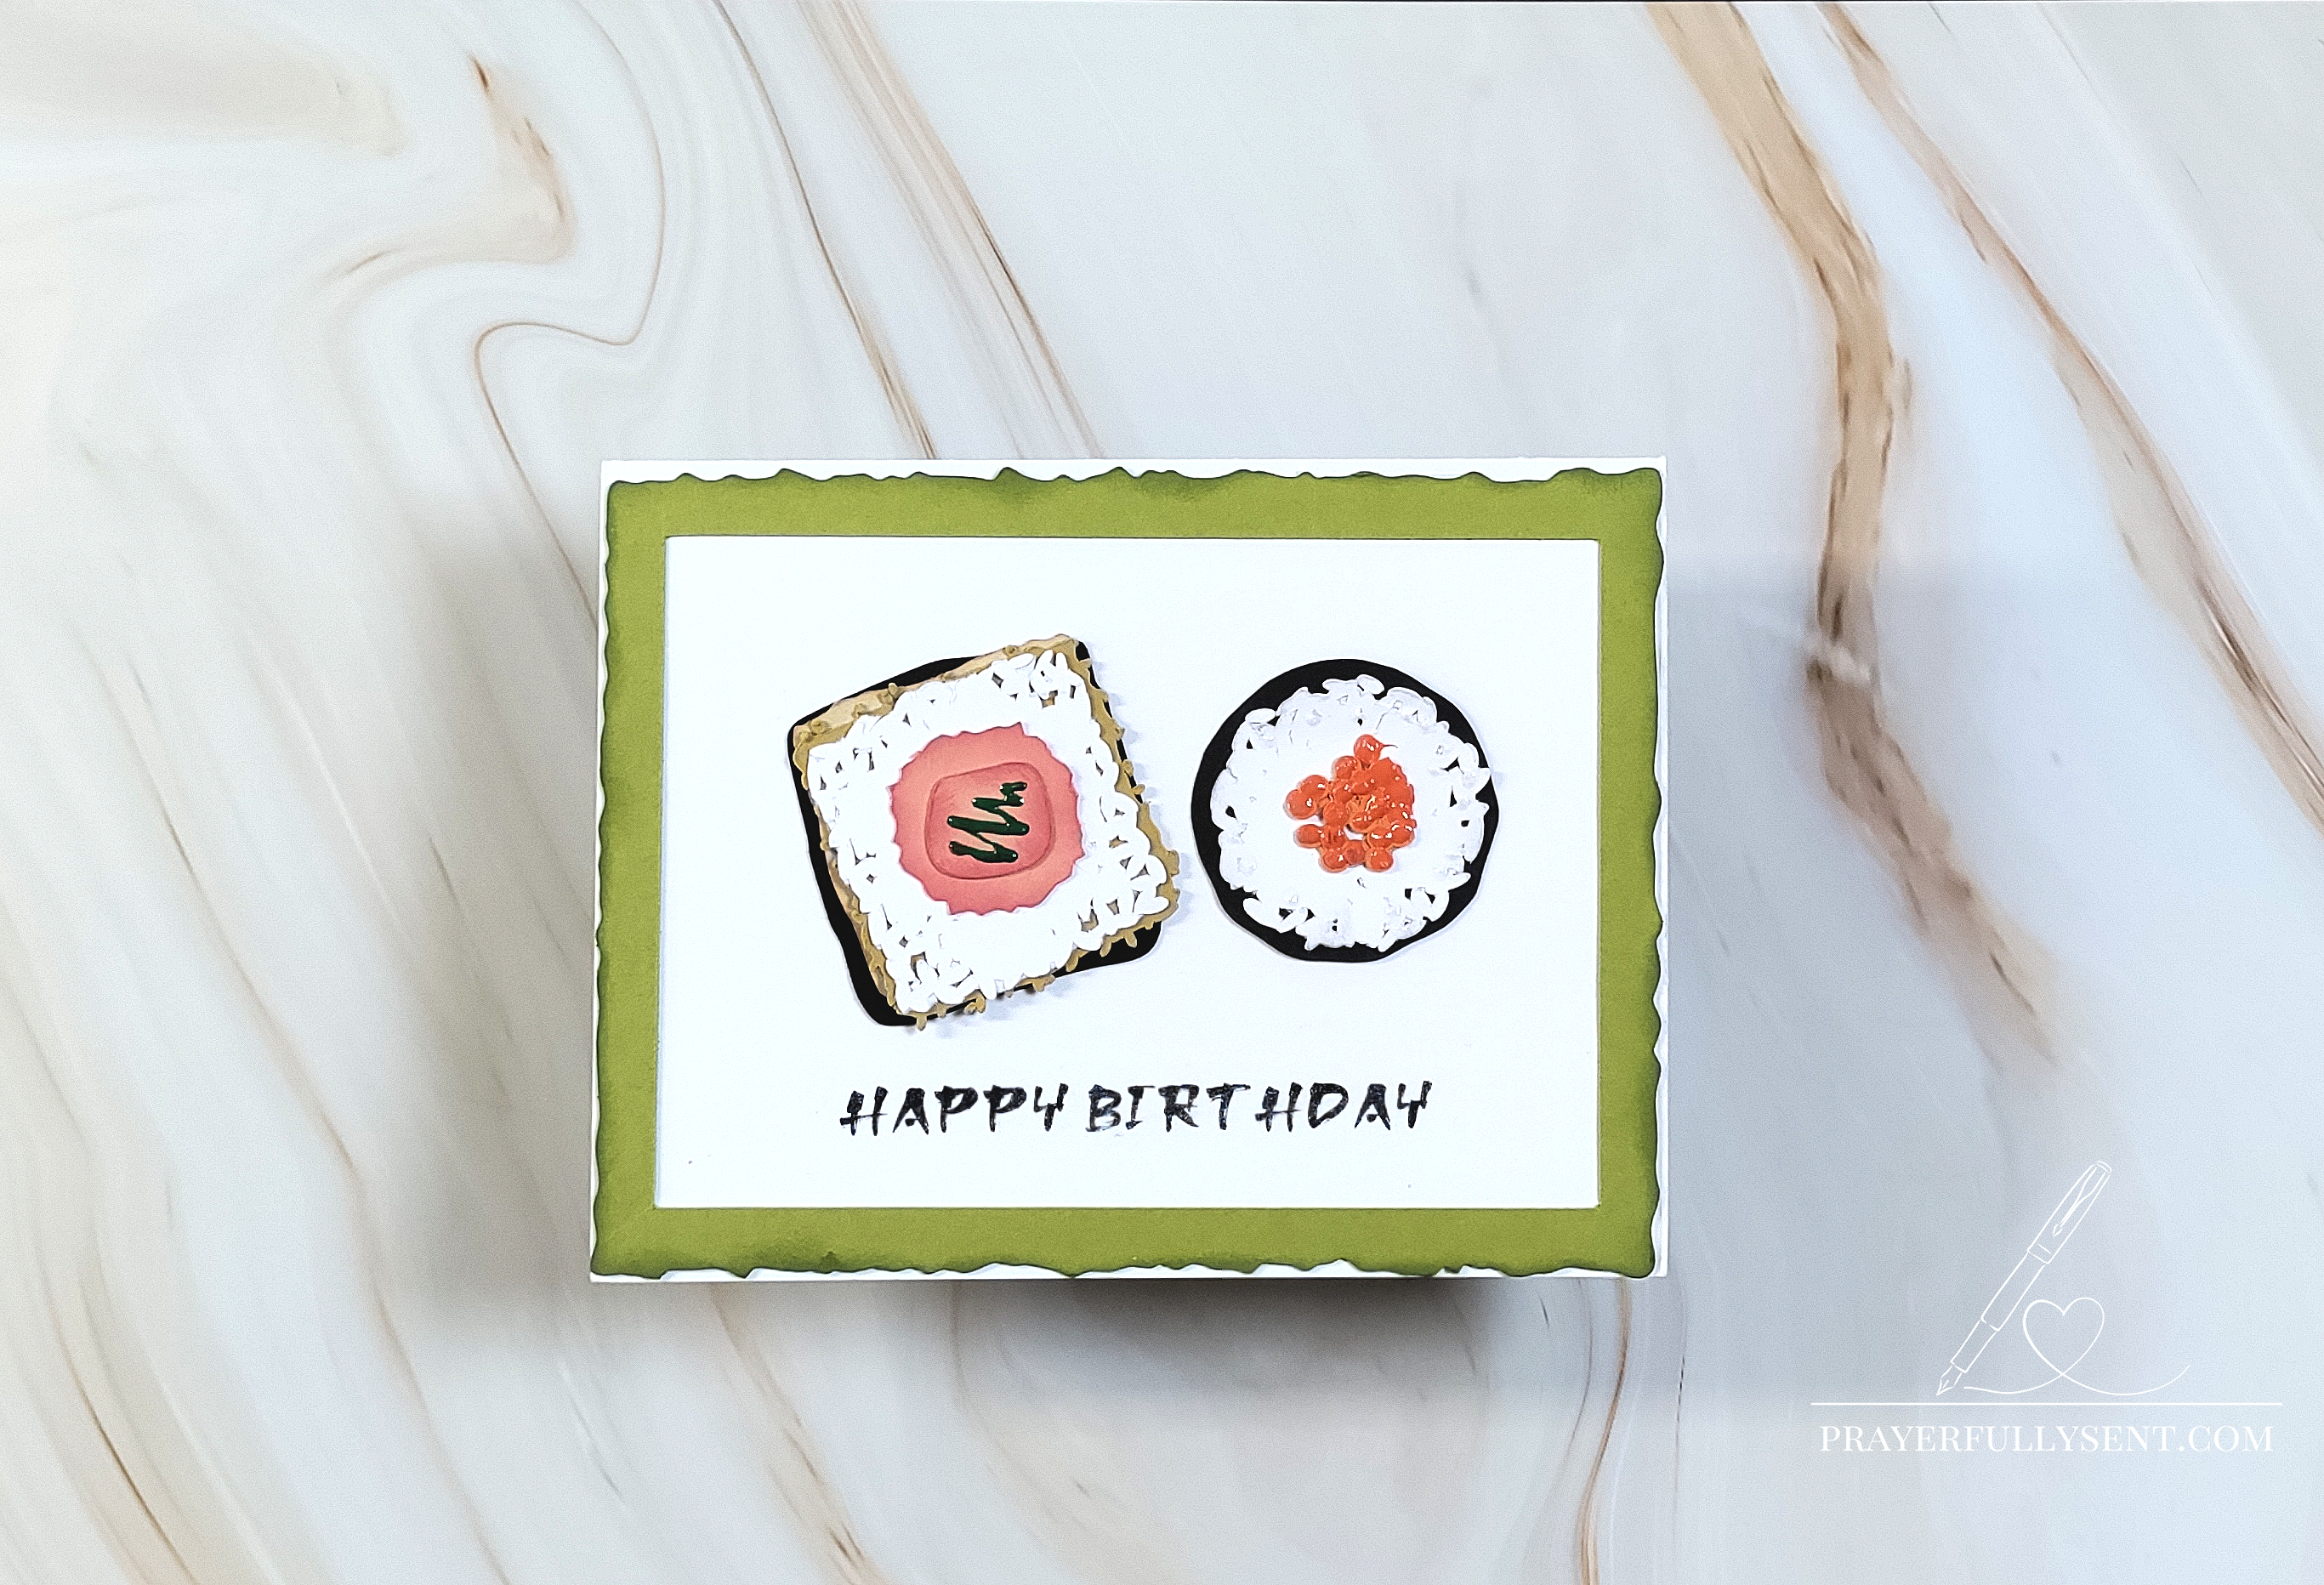
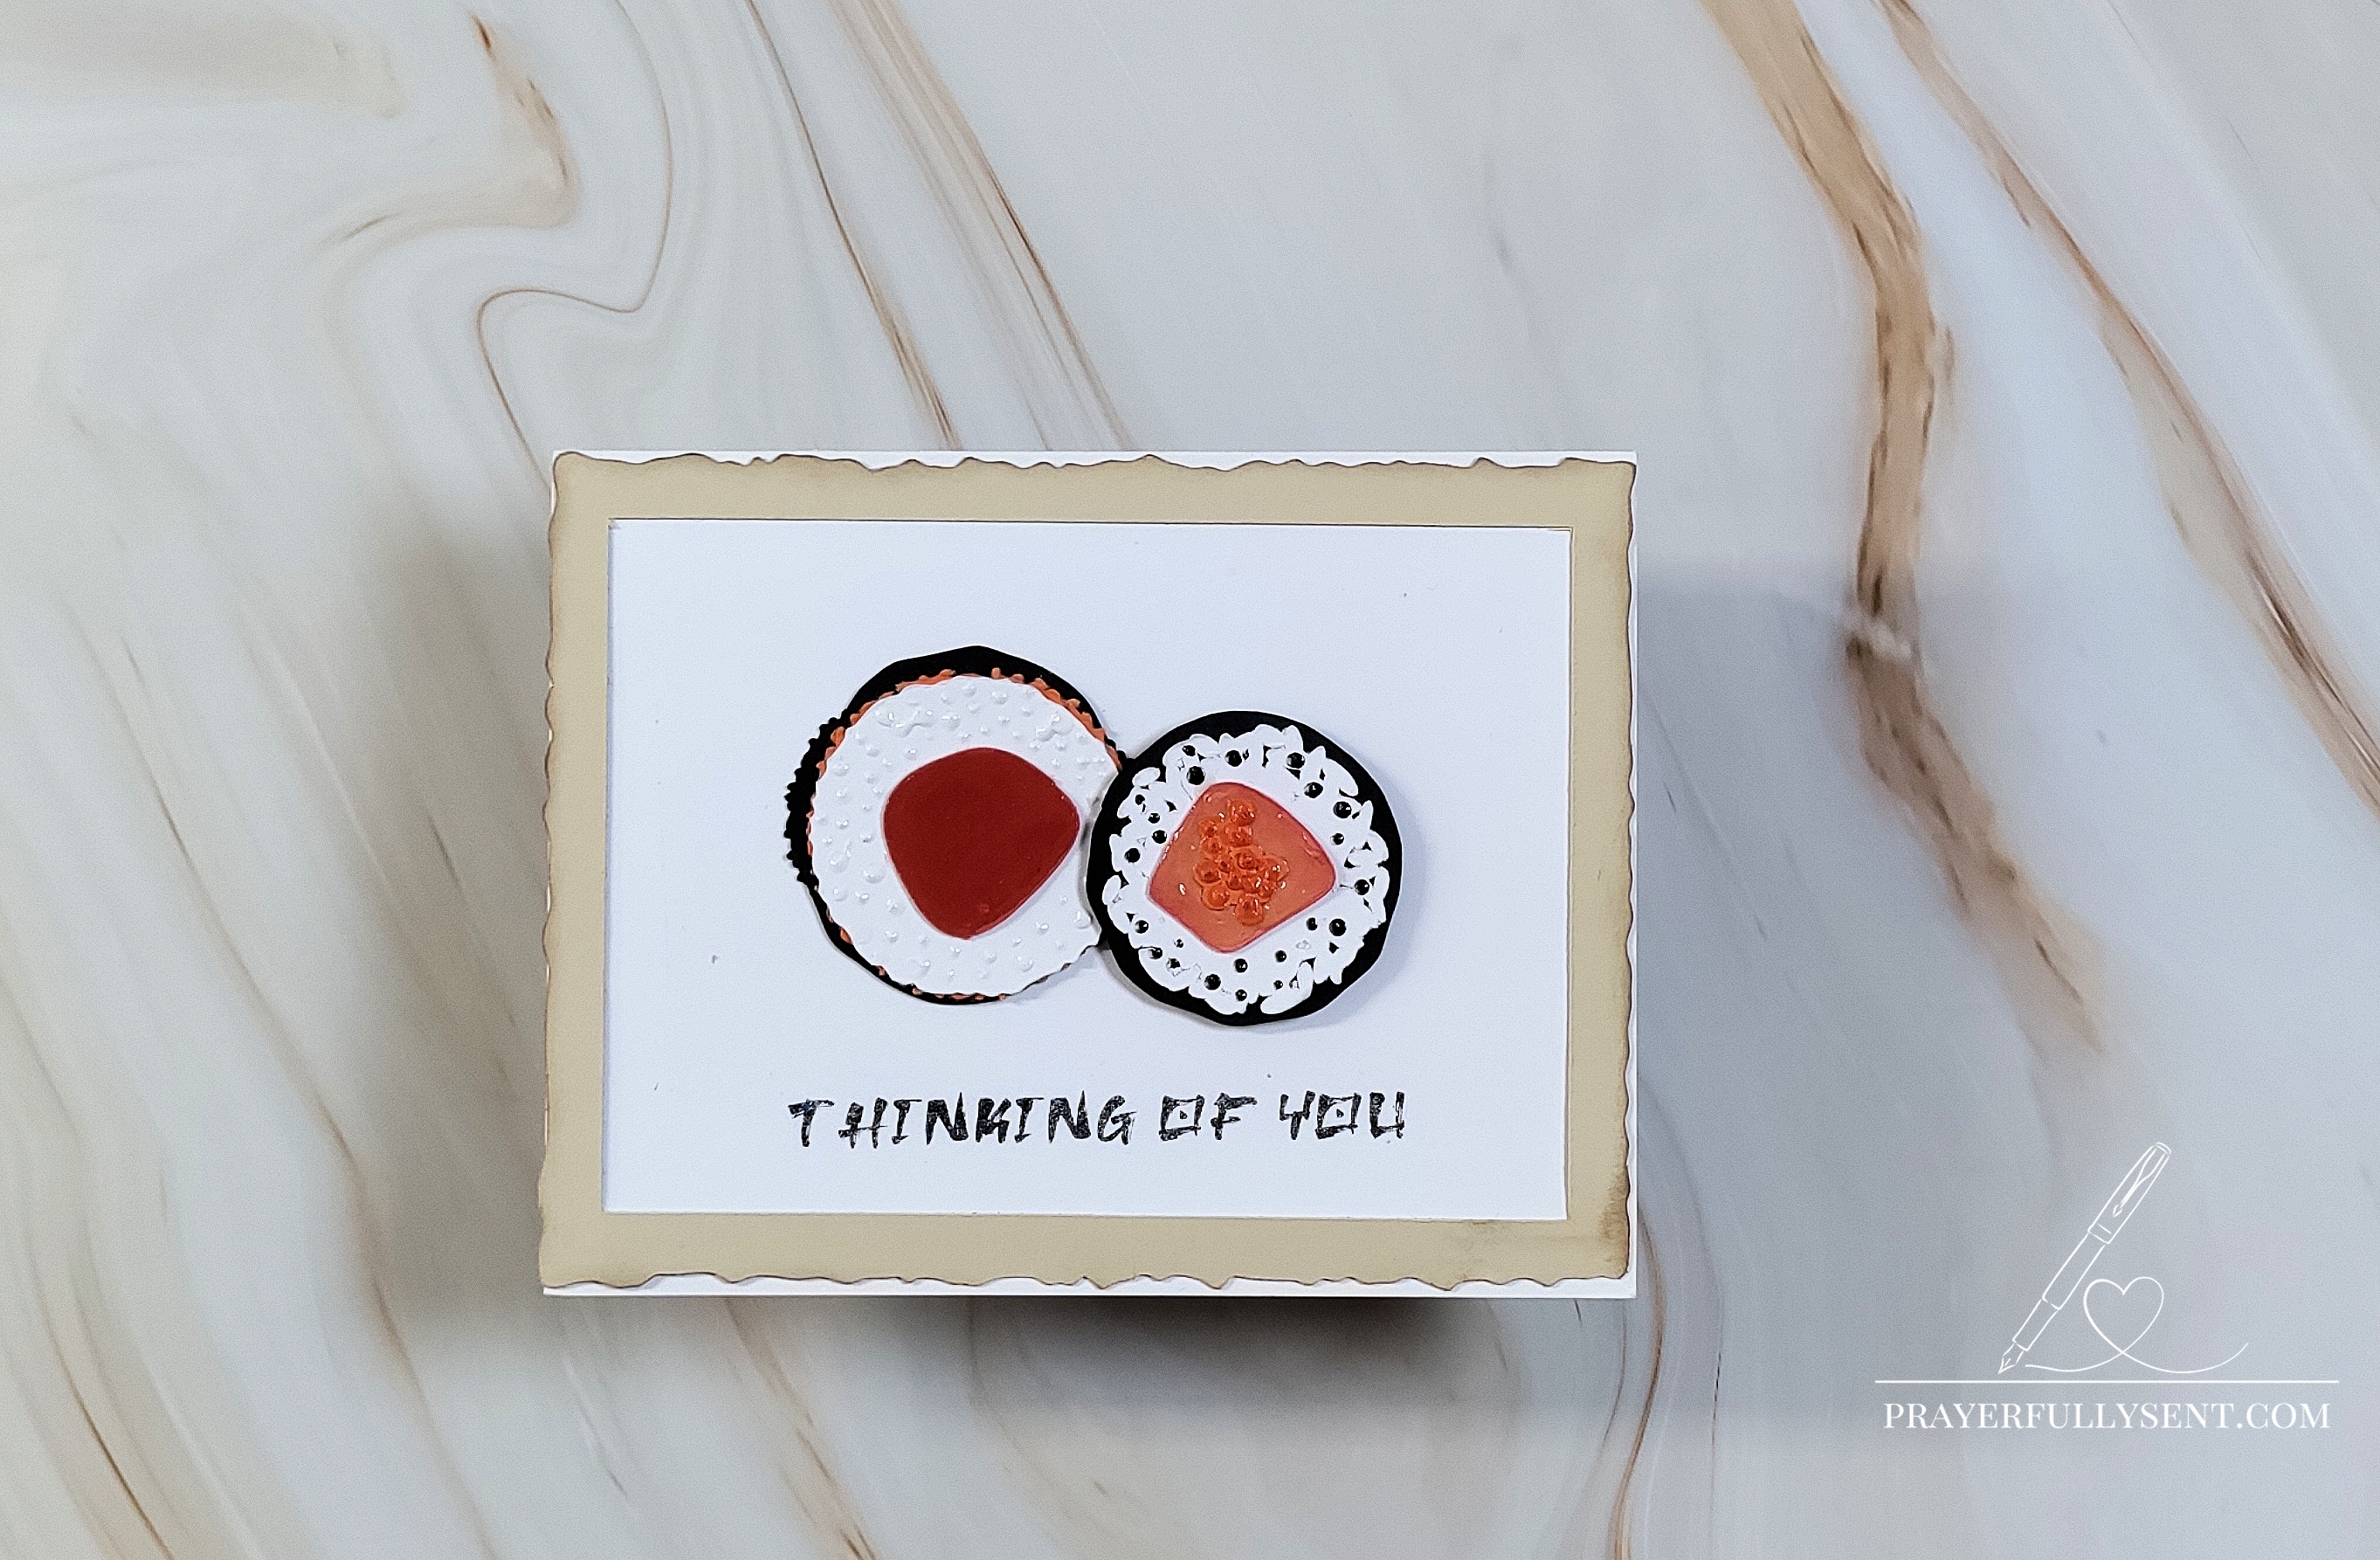
Choose sushi-themed cut files from Samantha Walker Designs in the Silhouette Design Store. The files include various sushi types: salmon nigiri, maki rolls, California rolls, and more. I also used frame cut file designs to add more interest.
Step 2: Prepare Cutting Mat with Card Stock for Precision Cutting
Choose your favorite Paper Trey Ink { your favorite card stock} and proceed to cut out each layer for the Sushi Embellishment Die Cut.
* Please keep in mind that this process depending on how many you want to cut will take some time.*
Step 3: Ink Blend Card Stock Embellishments
With your favorite ink and blending tools, ink your embellishments for added interest and realism.
Step 4: Print Then Cut
Using the Silhouette Cameo 4’s print-then-cut feature:
- Type out your favorite Sushi Sentiment with an Asian style font add them onto your layered card base
- Load the printed sheet back into the Silhouette machine
- Use the registration marks to precisely cut each element
Step 5: Add Dimension
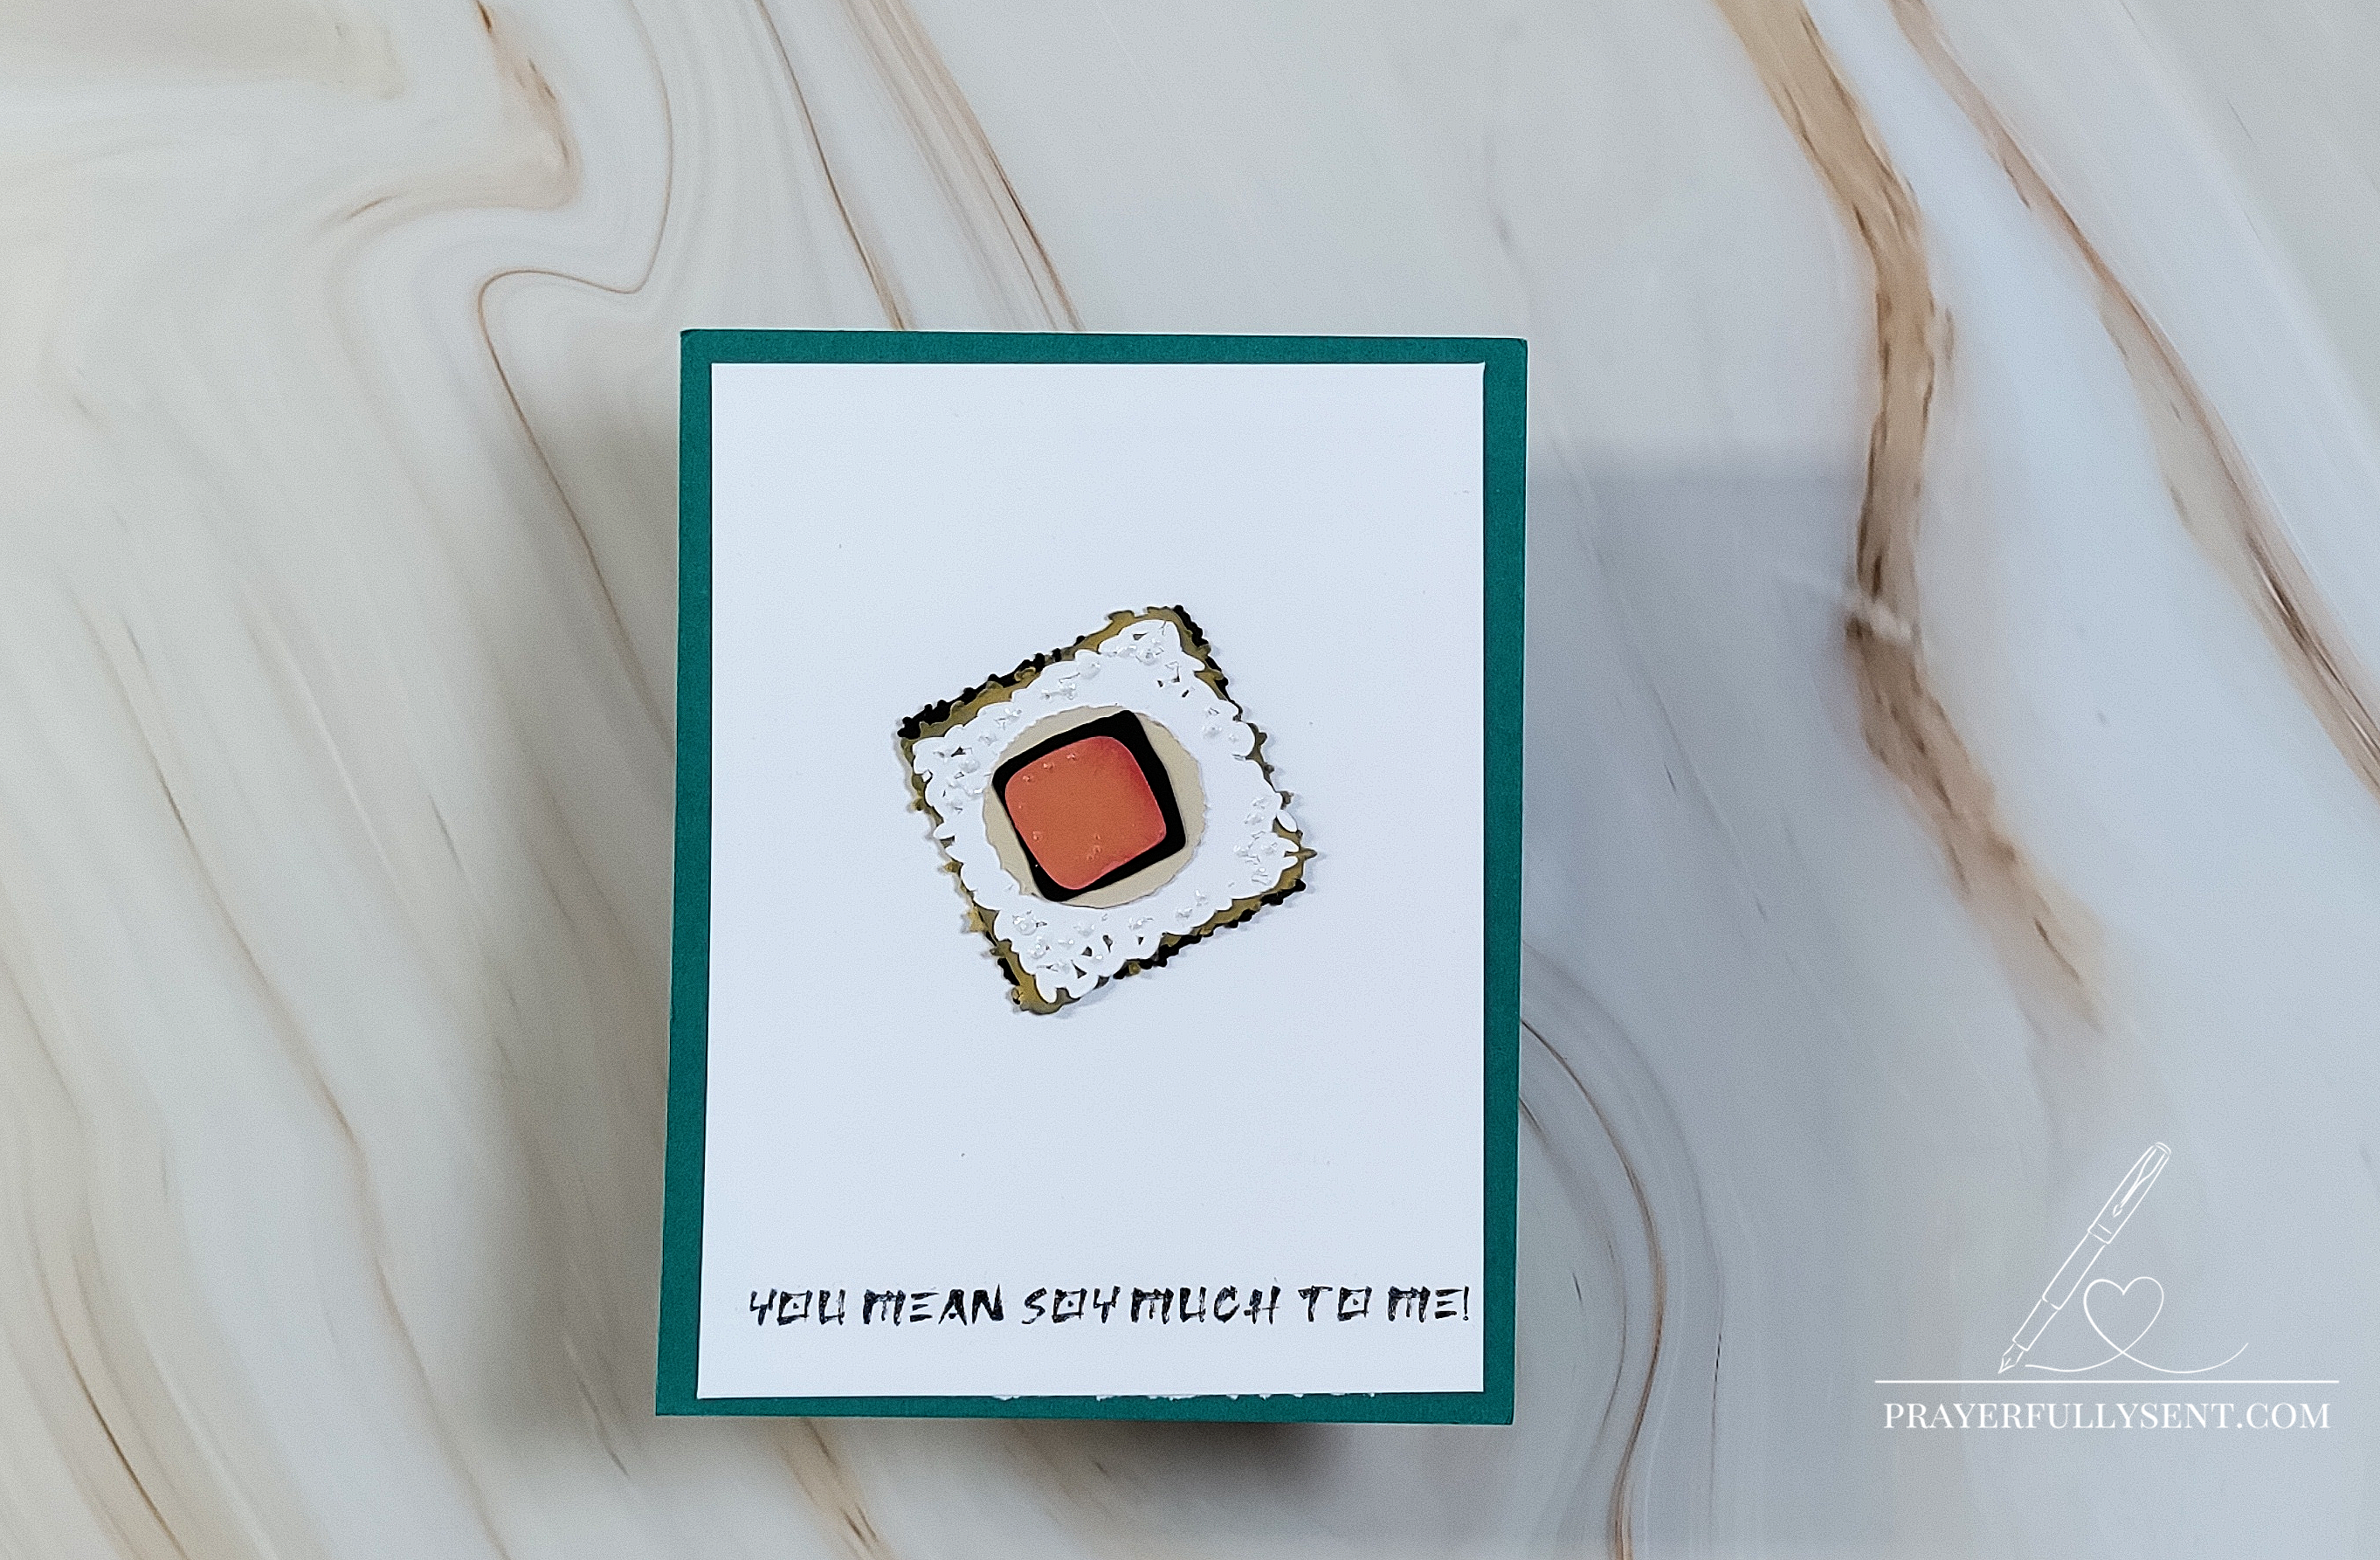
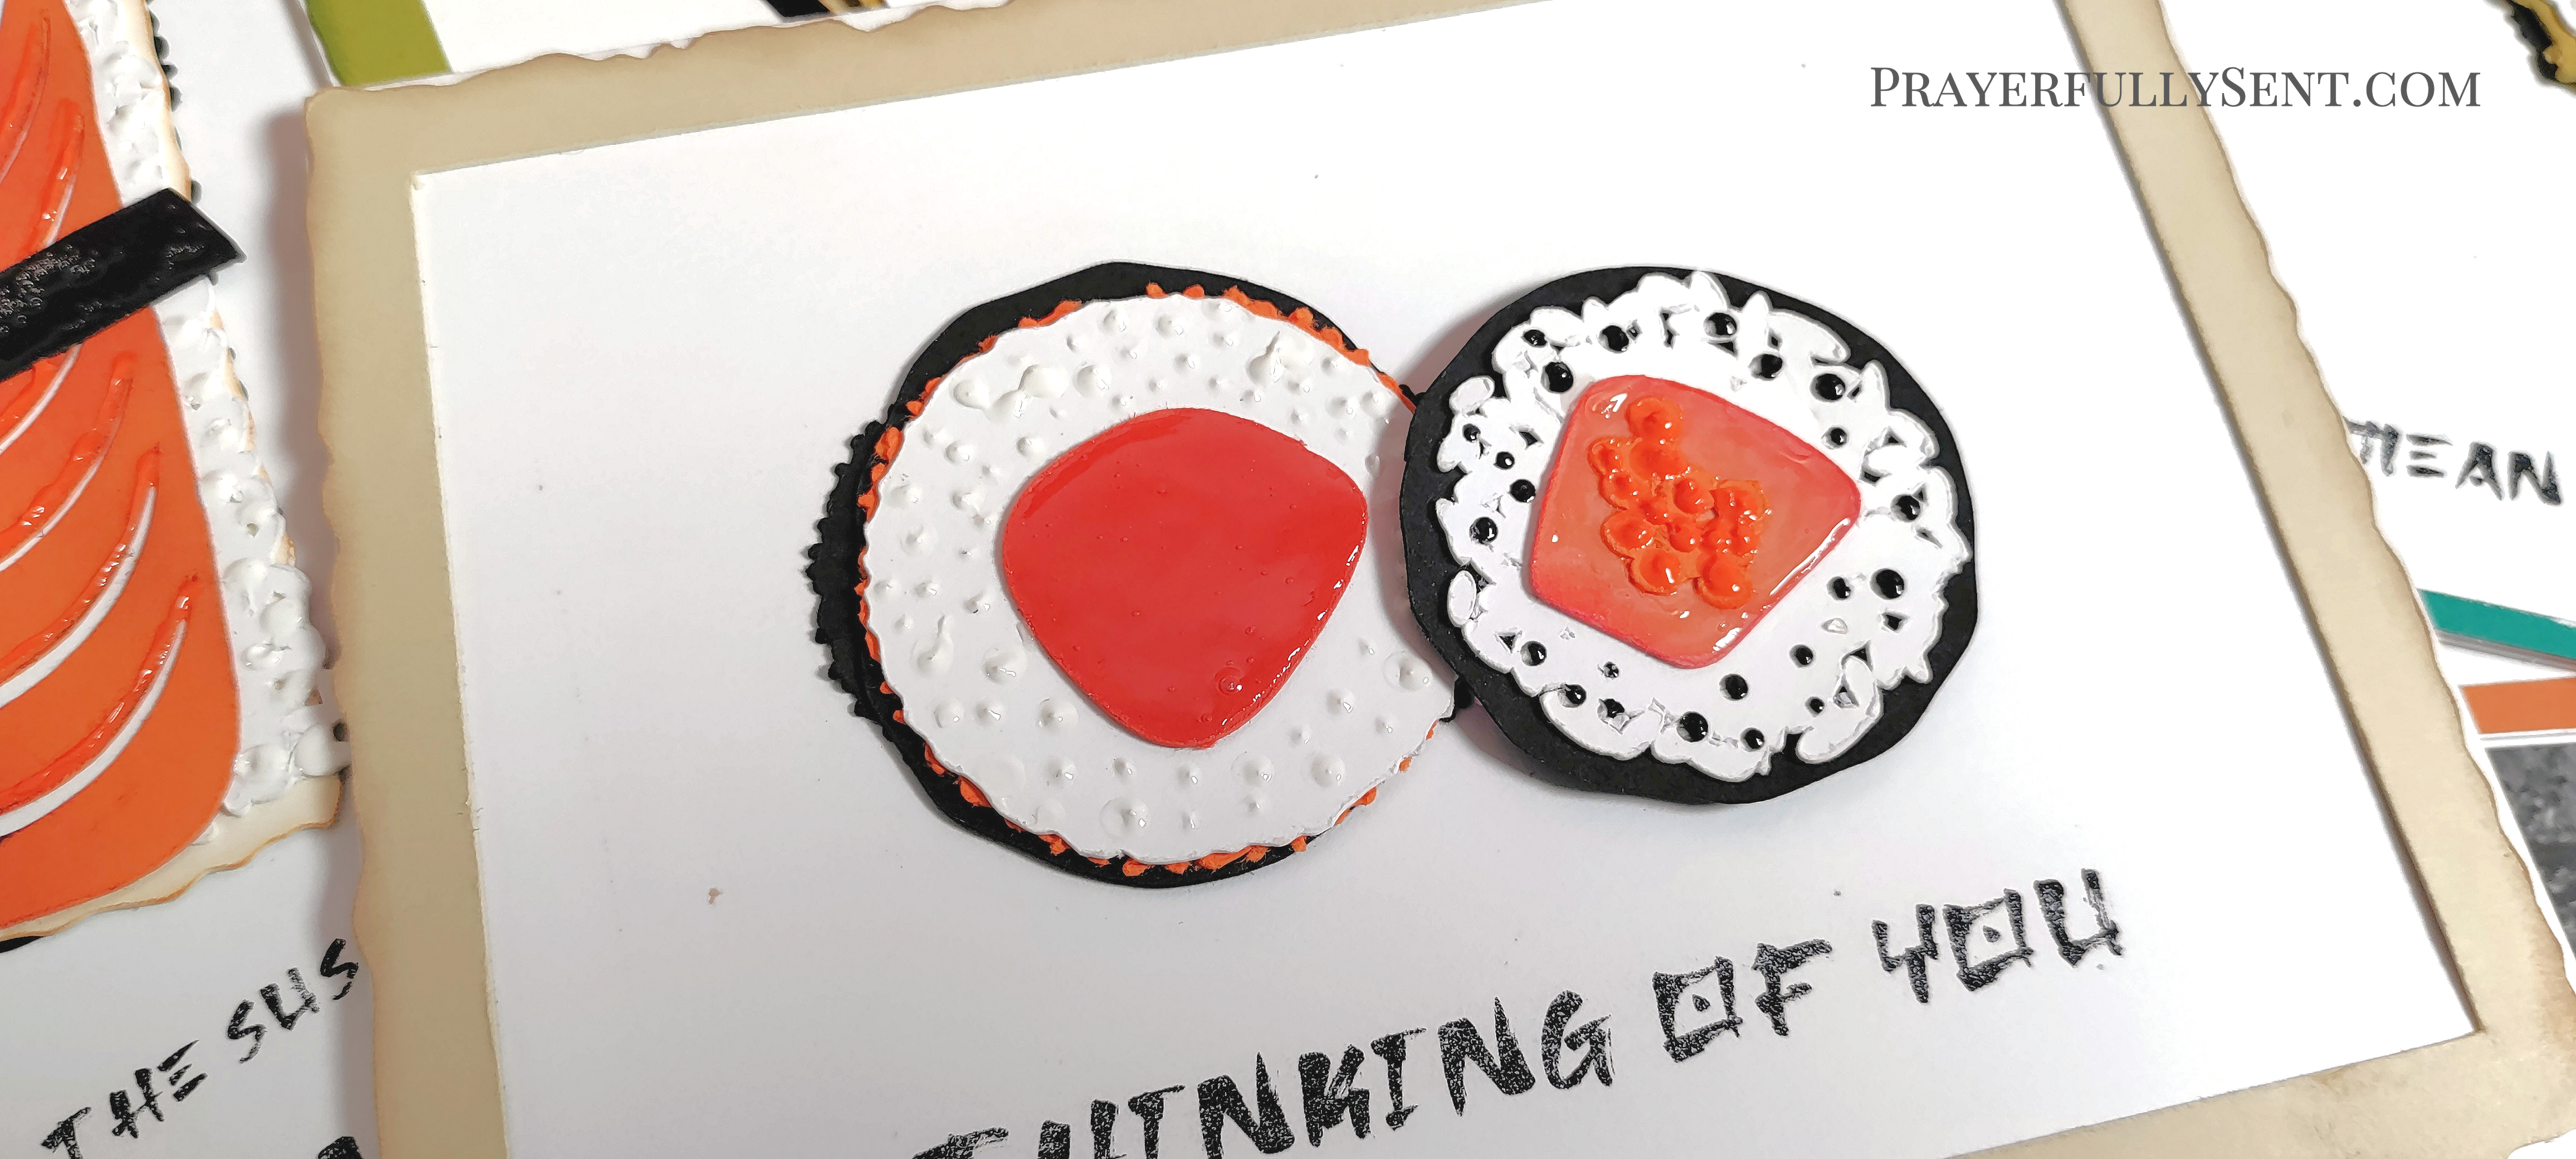
Layer the sushi pieces using foam adhesive to create depth. The rice, fish, nori, and toppings are all separate layers that build a realistic 3D effect.
Step 6: Apply Accents
Quick Tip! Before adding your embellishments to the base of your card apply the accents and allow time to dry.
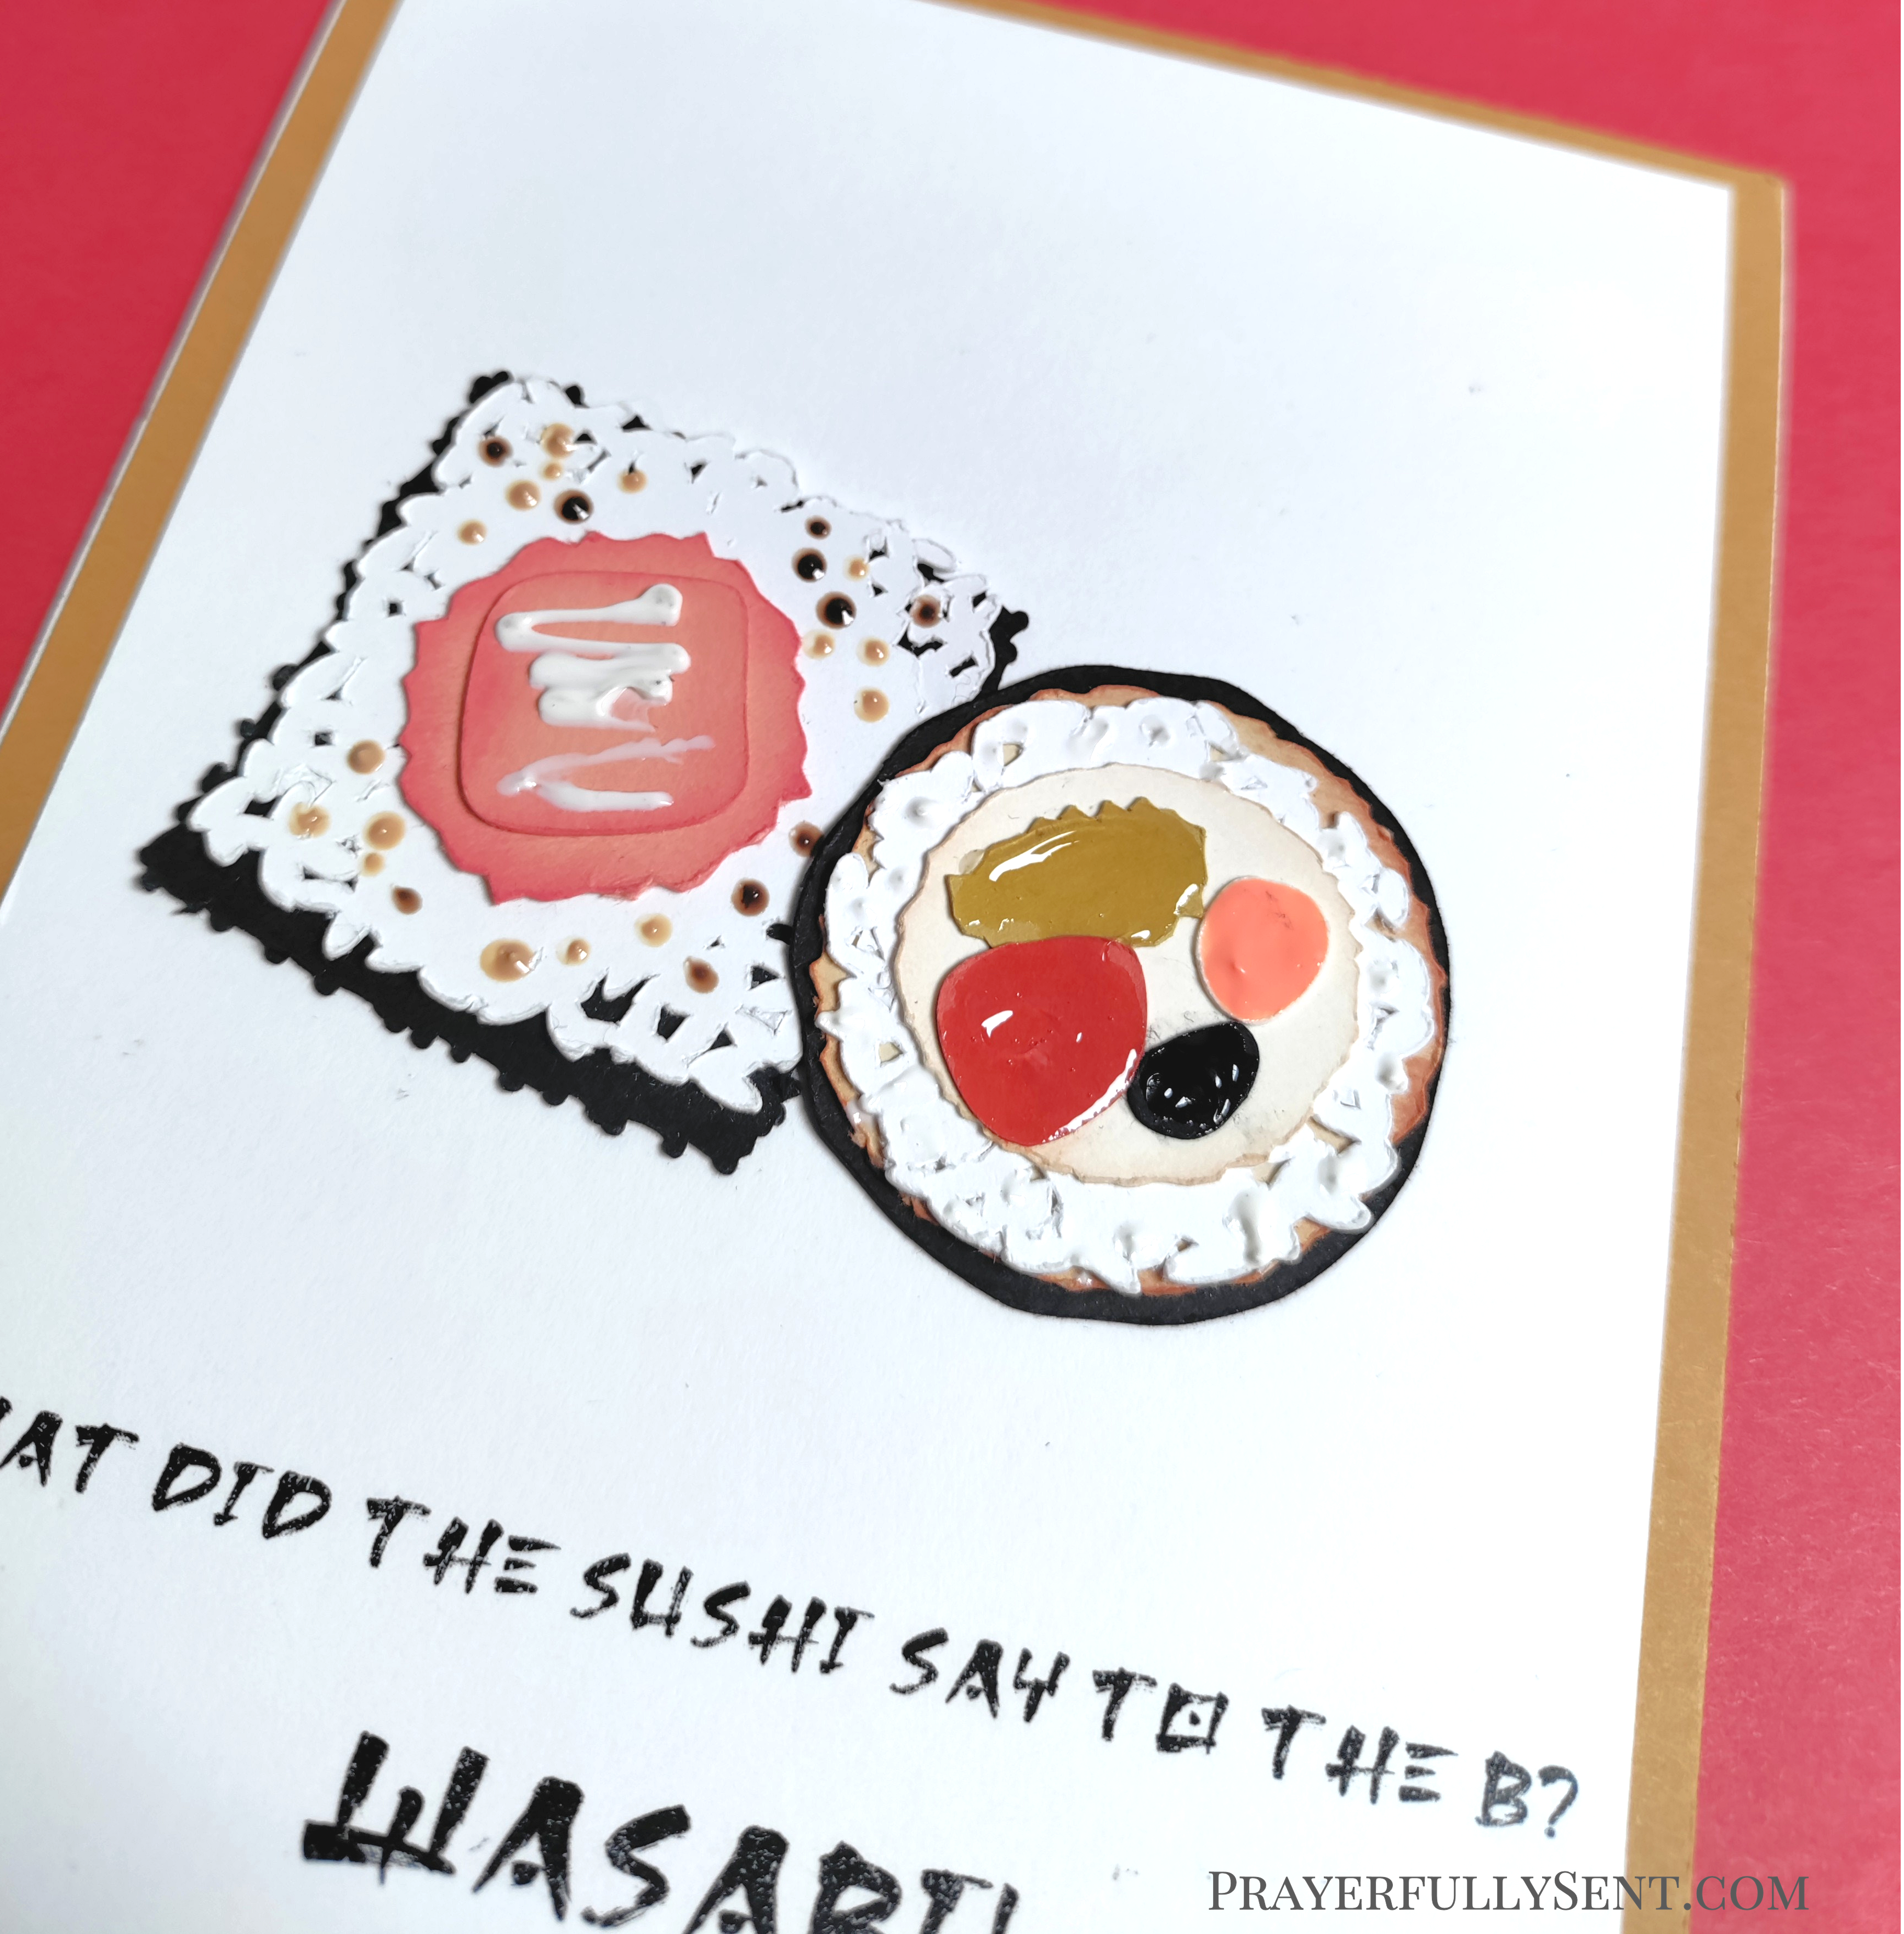
Use Pops of Color to add shine to the fish, gloss to the rice, and realistic texture to details like sesame seeds and wasabi. This creates realism and depth, have fun embellishing!
Step 7: Assemble Cards
Mount the completed sushi designs onto card bases with the punny sentiments. Popular puns include:
- “What did the sushi say to the B? Wasabi!”
- “Thinking of You”
- “You Mean Soy Much to Me”
Step 8: Add Scripture Inside
Hand-write scriptures inside each card focusing on themes of gratitude, provision, love, grace, and mercy. This transforms a fun greeting into meaningful encouragement.
Comment Policy – Grace Notes & Brush Strokes
As a biblical Christian, I strive to represent Christ and His Word accurately in all that I share. This blog is a space for truth, encouragement, and Christ-centered creativity. If you are a follower of Christ, you are part of His Body, and it pleases the Lord when we walk in love and unity, especially for the sake of those who are unbelieving.
Please keep all comments respectful, edifying, and aligned with the Spirit of Christ. Unkind, divisive, or dishonoring remarks will be removed.
If you believe I have spoken in error, I ask that you follow the biblical model and reach out to me directly, in love and gentleness (Matthew 18:15; Galatians 6:1), with the same kindness and respect you would hope to receive.
"Let your speech always be with grace…" – Colossians 4:6 (KJV)