Welcome to Grace Notes & Brush Strokes, the Artisan Journal of Prayerfully Sent.
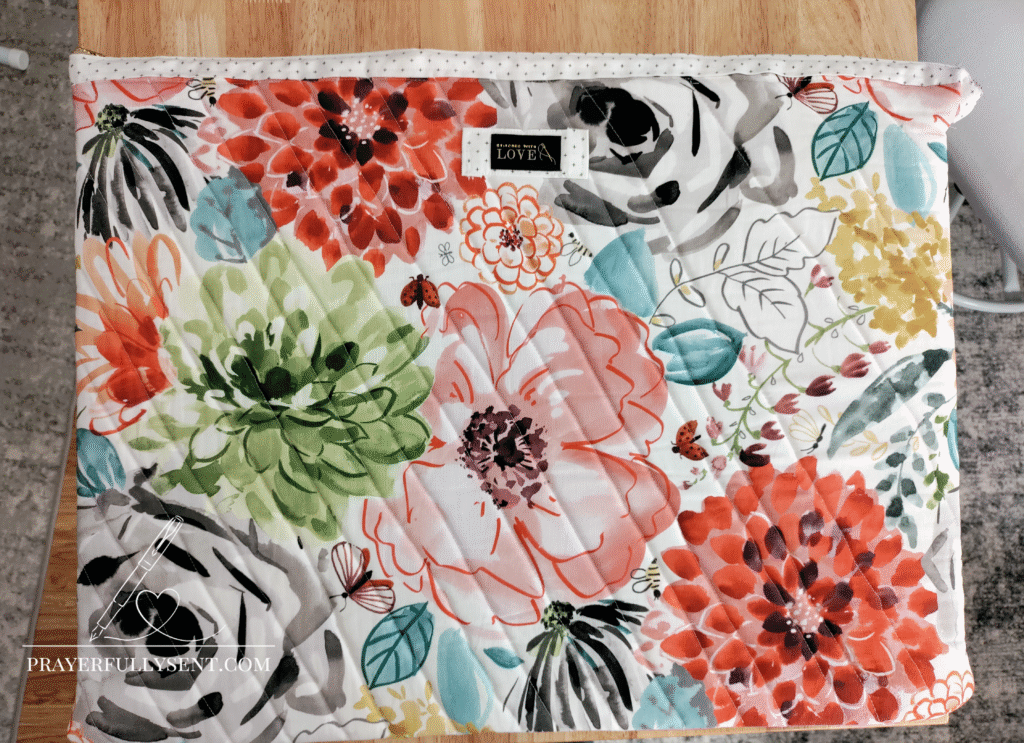
I am delighted to share today’s Fabric Arts project: the Protective Mixed Media Glass Mat Zipper Case. This project combines durability, padding, and polished finishing with bias tape using the Hong Kong seam finish.
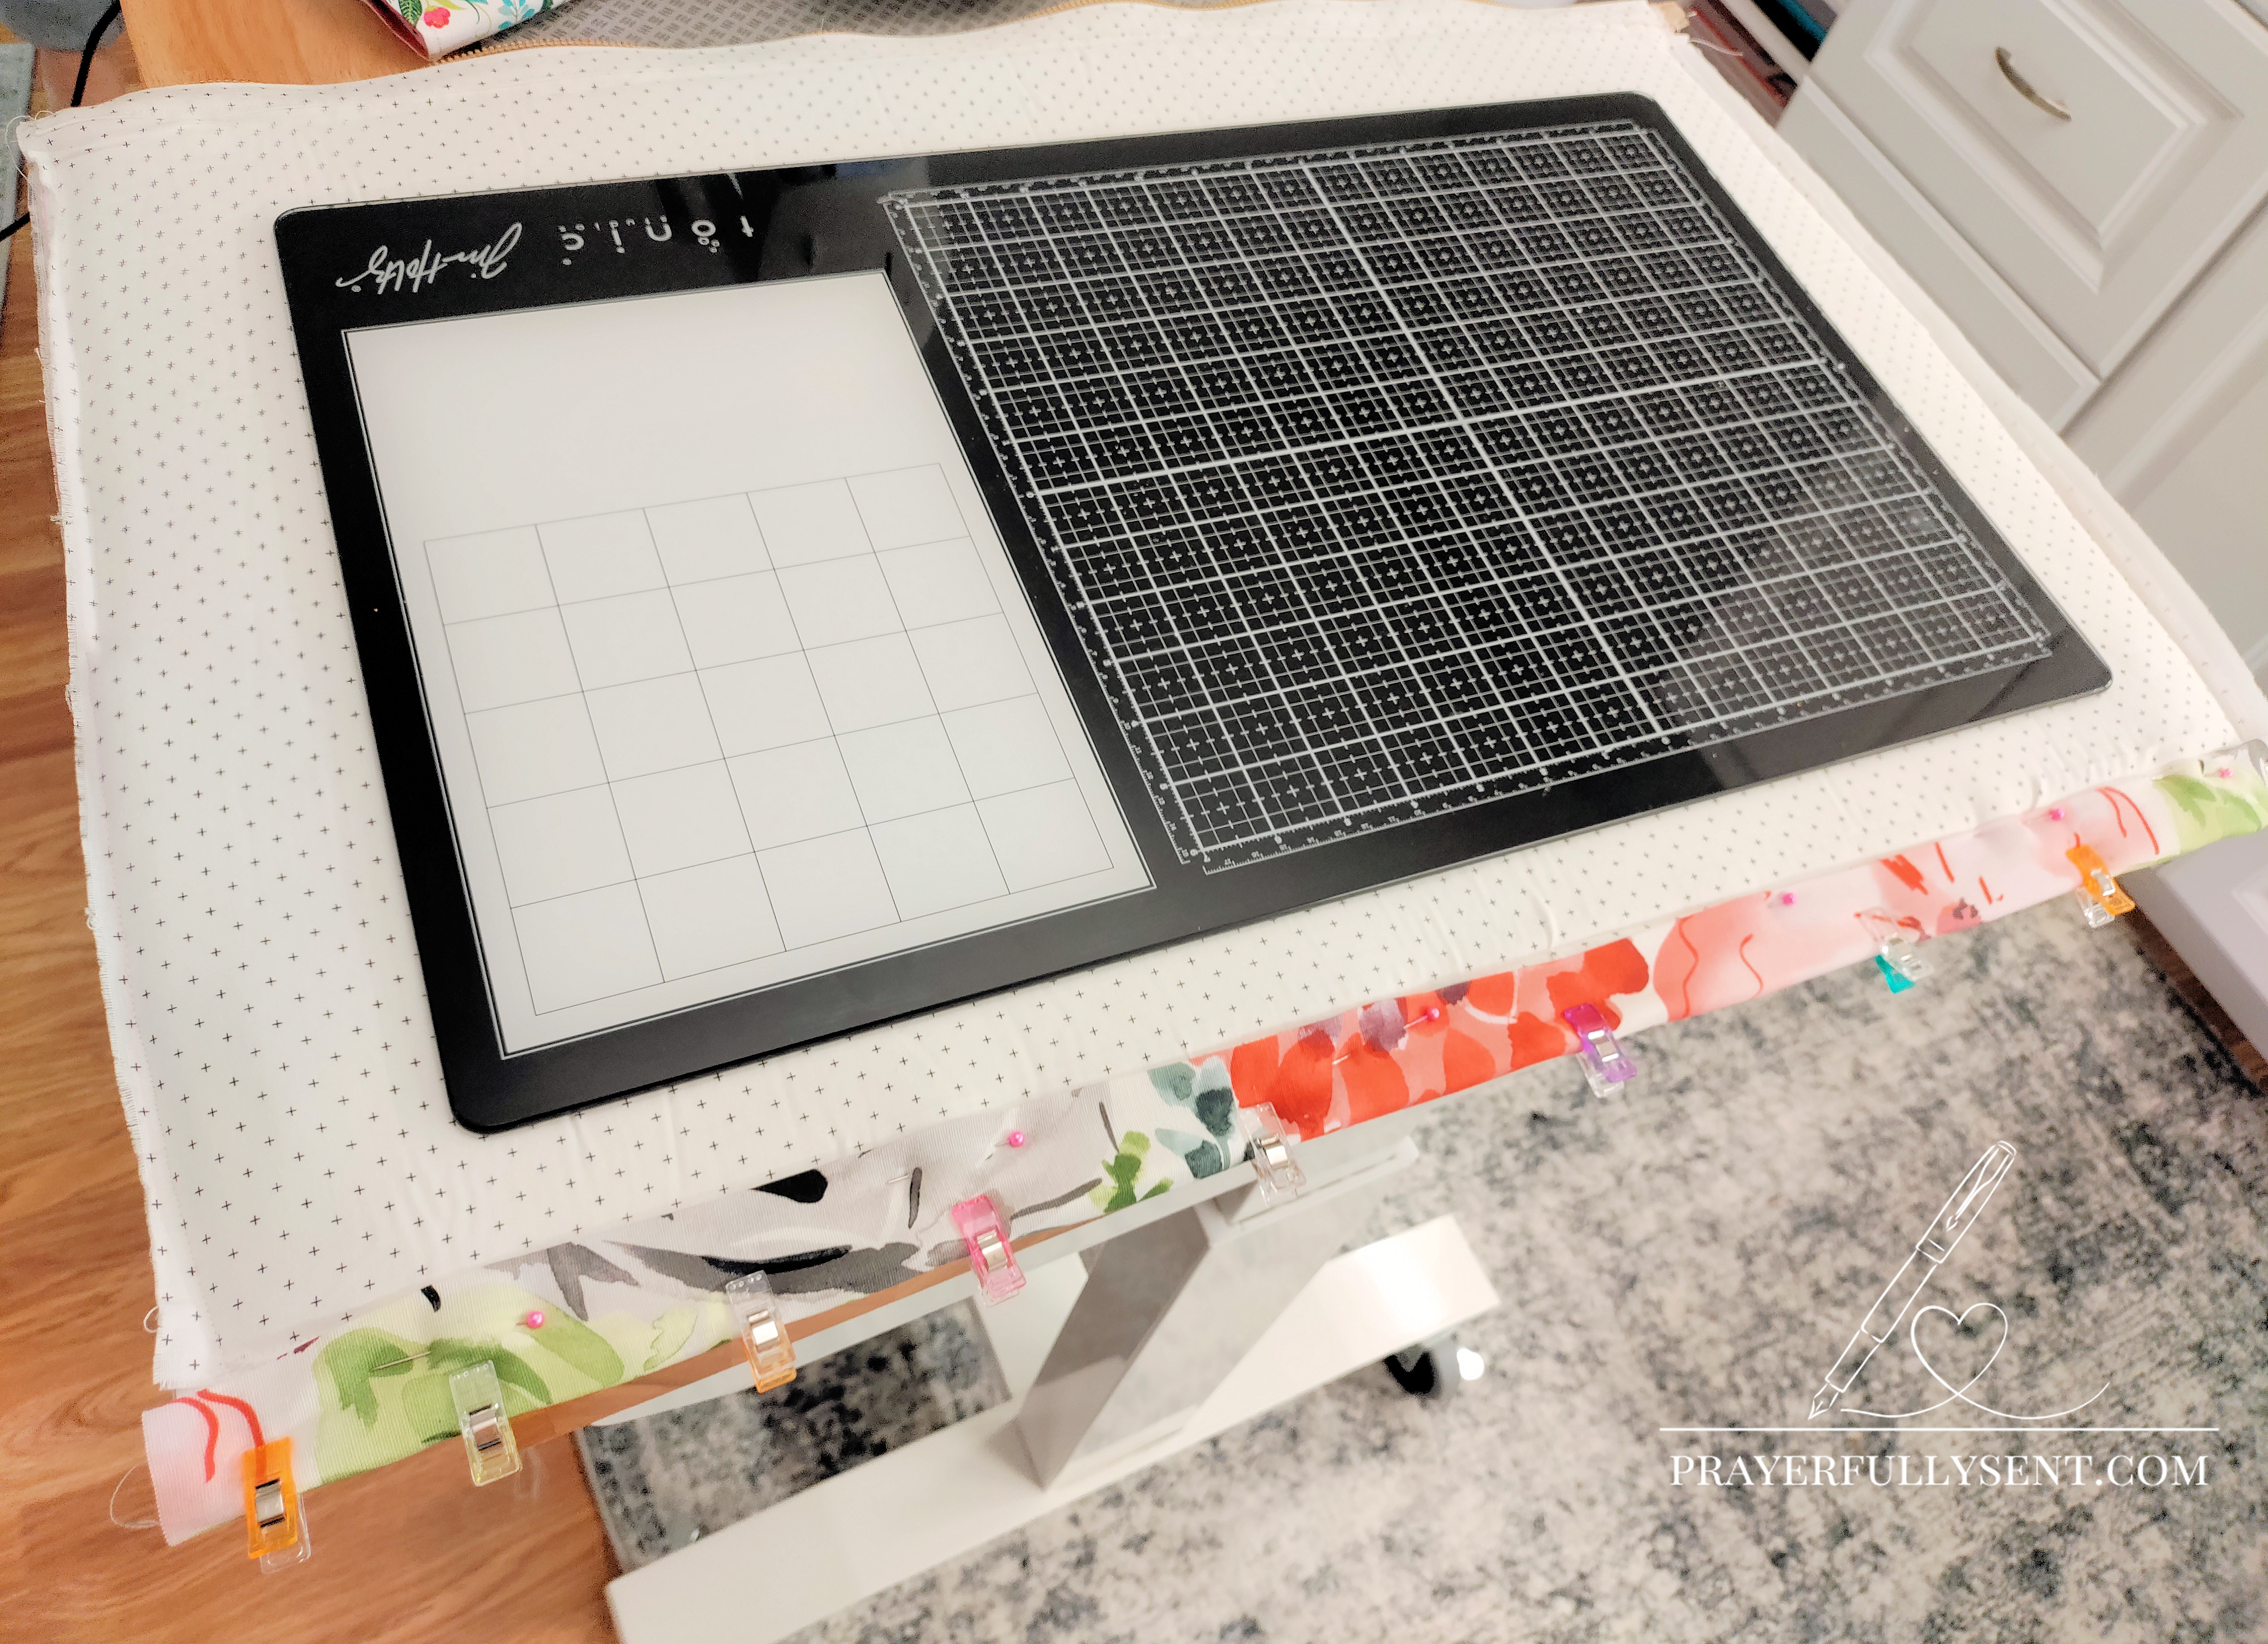
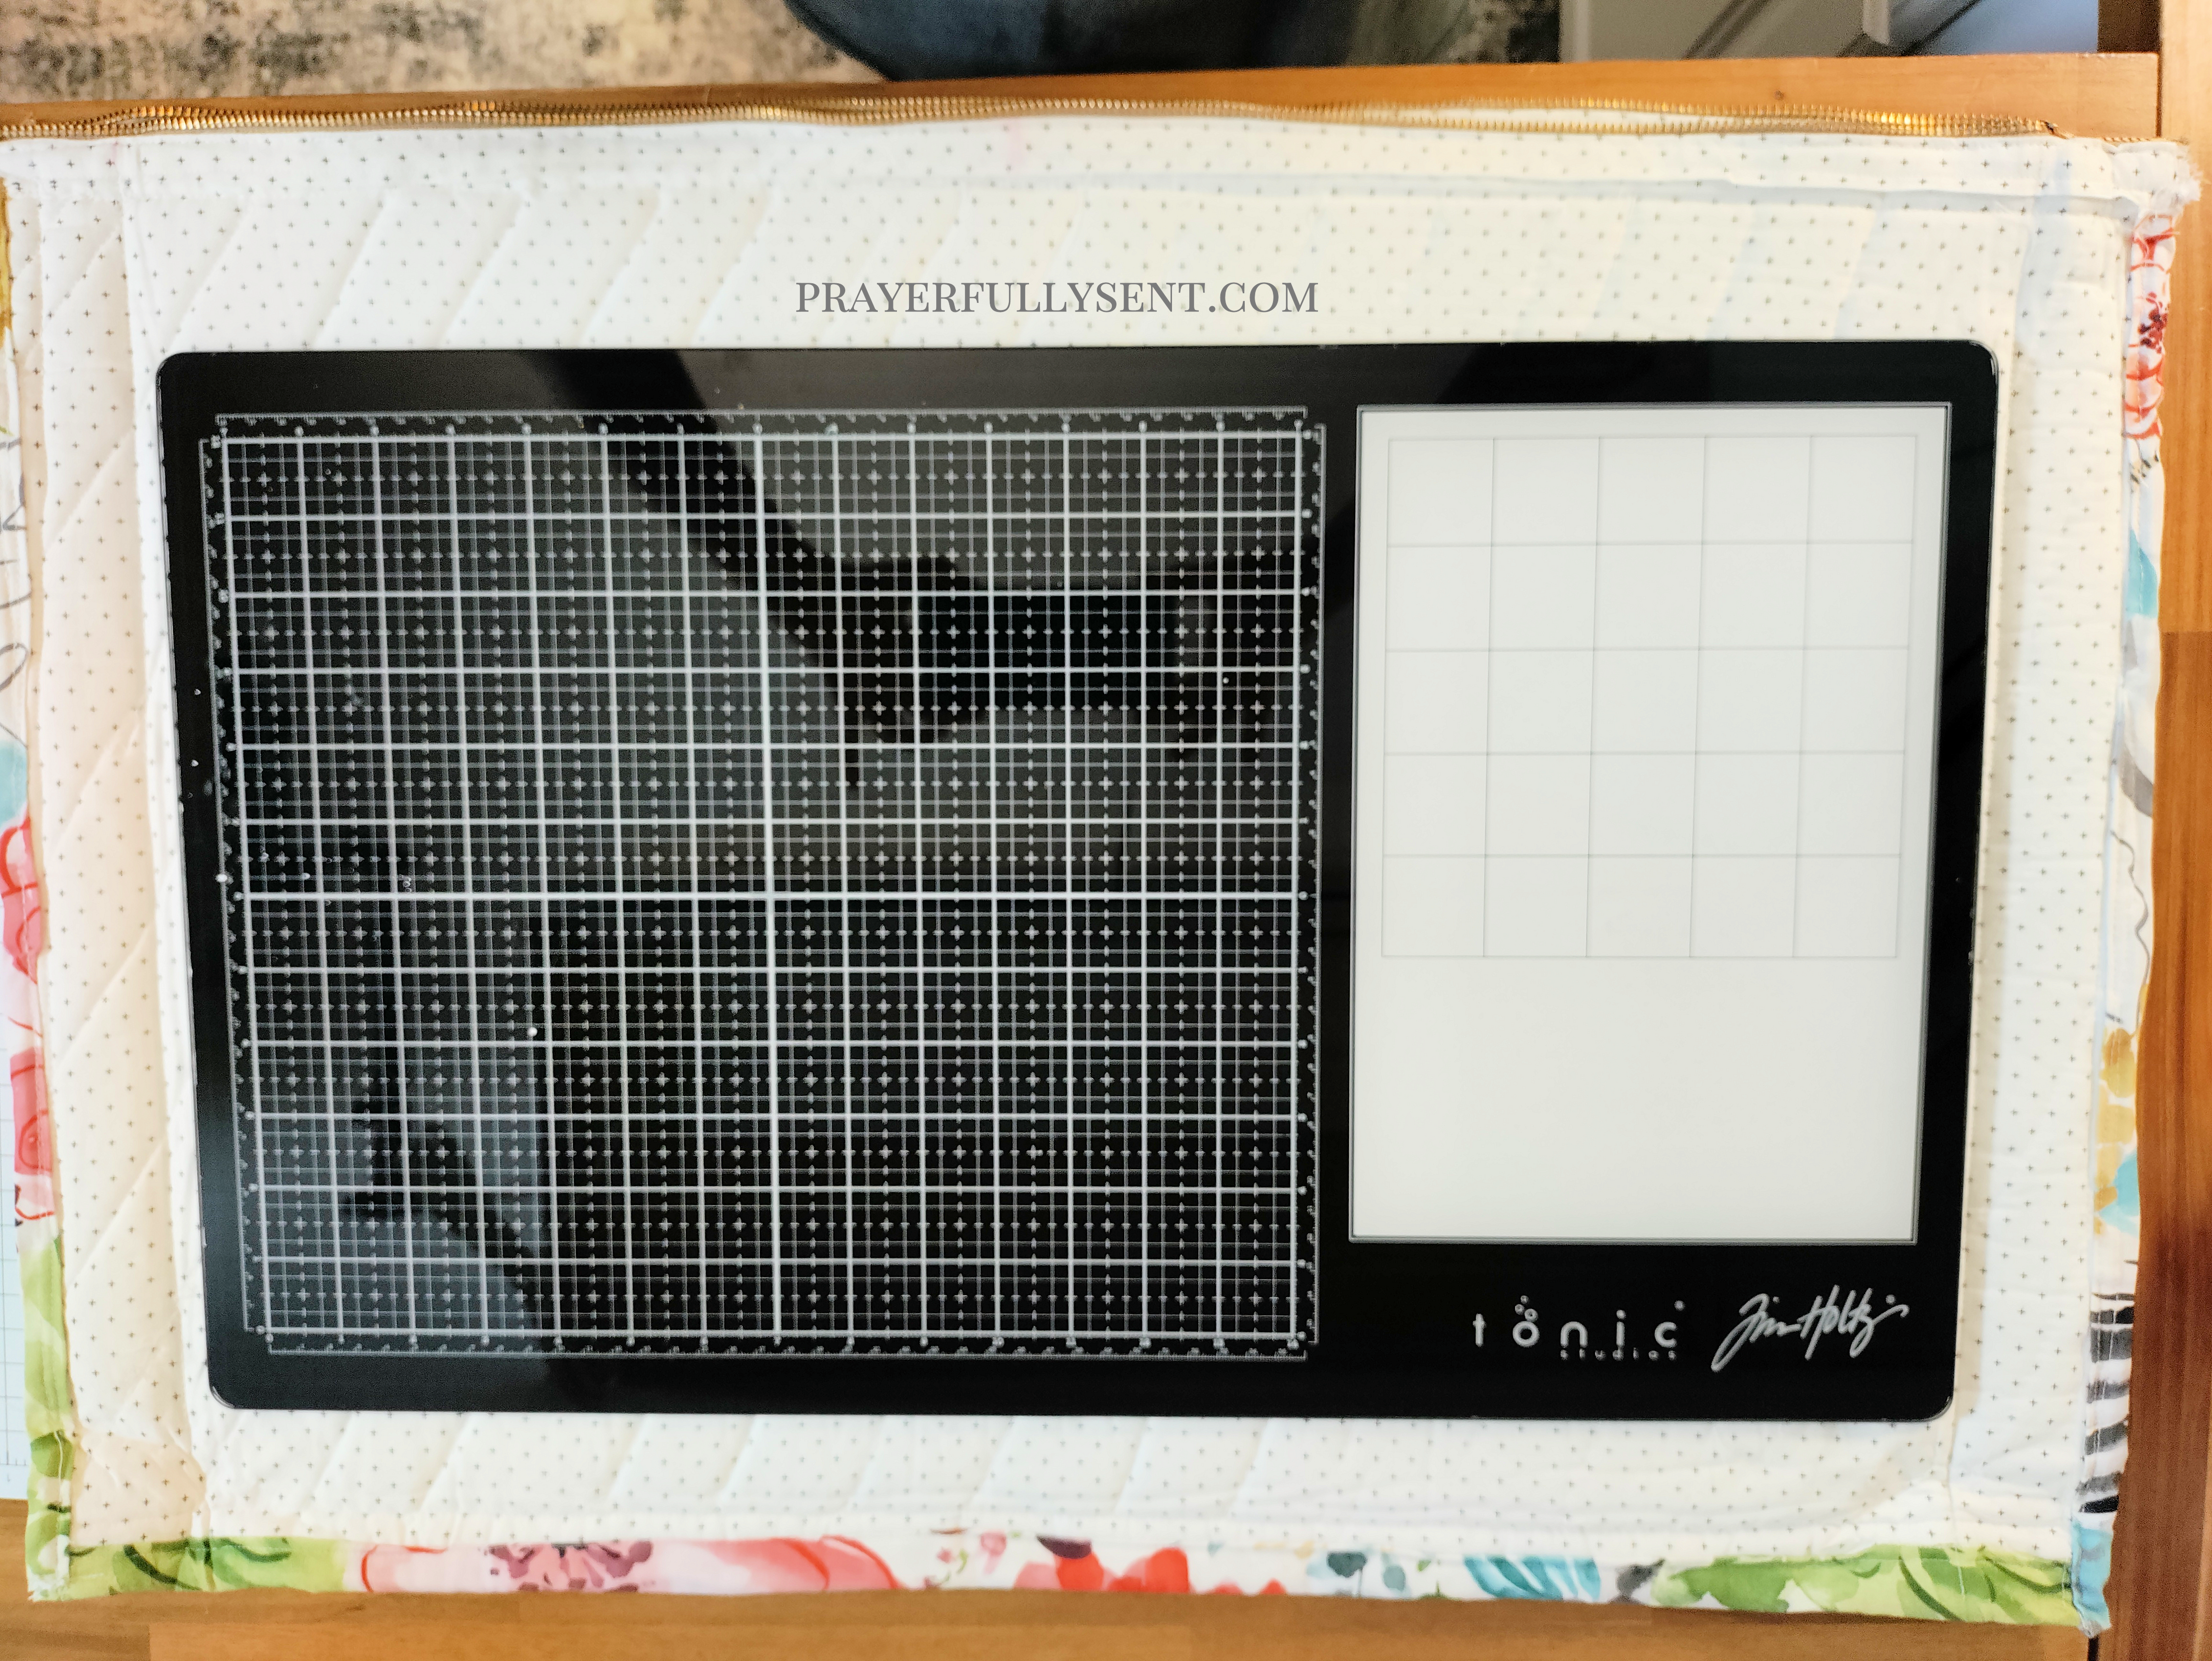
This case fits a standard 23½” x 14″ mixed media glass mat comfortably. There are decorative options you can explore to personalize your case, but this tutorial focuses on a functional, protective design.

James 1:2-4 LSB
“Consider it all joy, my brothers, when you encounter various trials, knowing that the testing of your faith brings about perseverance. And let perseverance have its perfect work, so that you may be perfect and complete, lacking in nothing.”
The Greek word for “joy” here is χαρά (chara), meaning deep gladness and delight even in difficulty. The word for “perseverance” is ὑπομονή (hupomone), emphasizing steadfast endurance that remains under pressure—perfect for working through challenging creative projects that stretch our abilities.
Protective Mixed Media Glass Mat Zipper Case
-
Materials
-
Sewing Machine Settings
-
Adjusting Longer Zippers
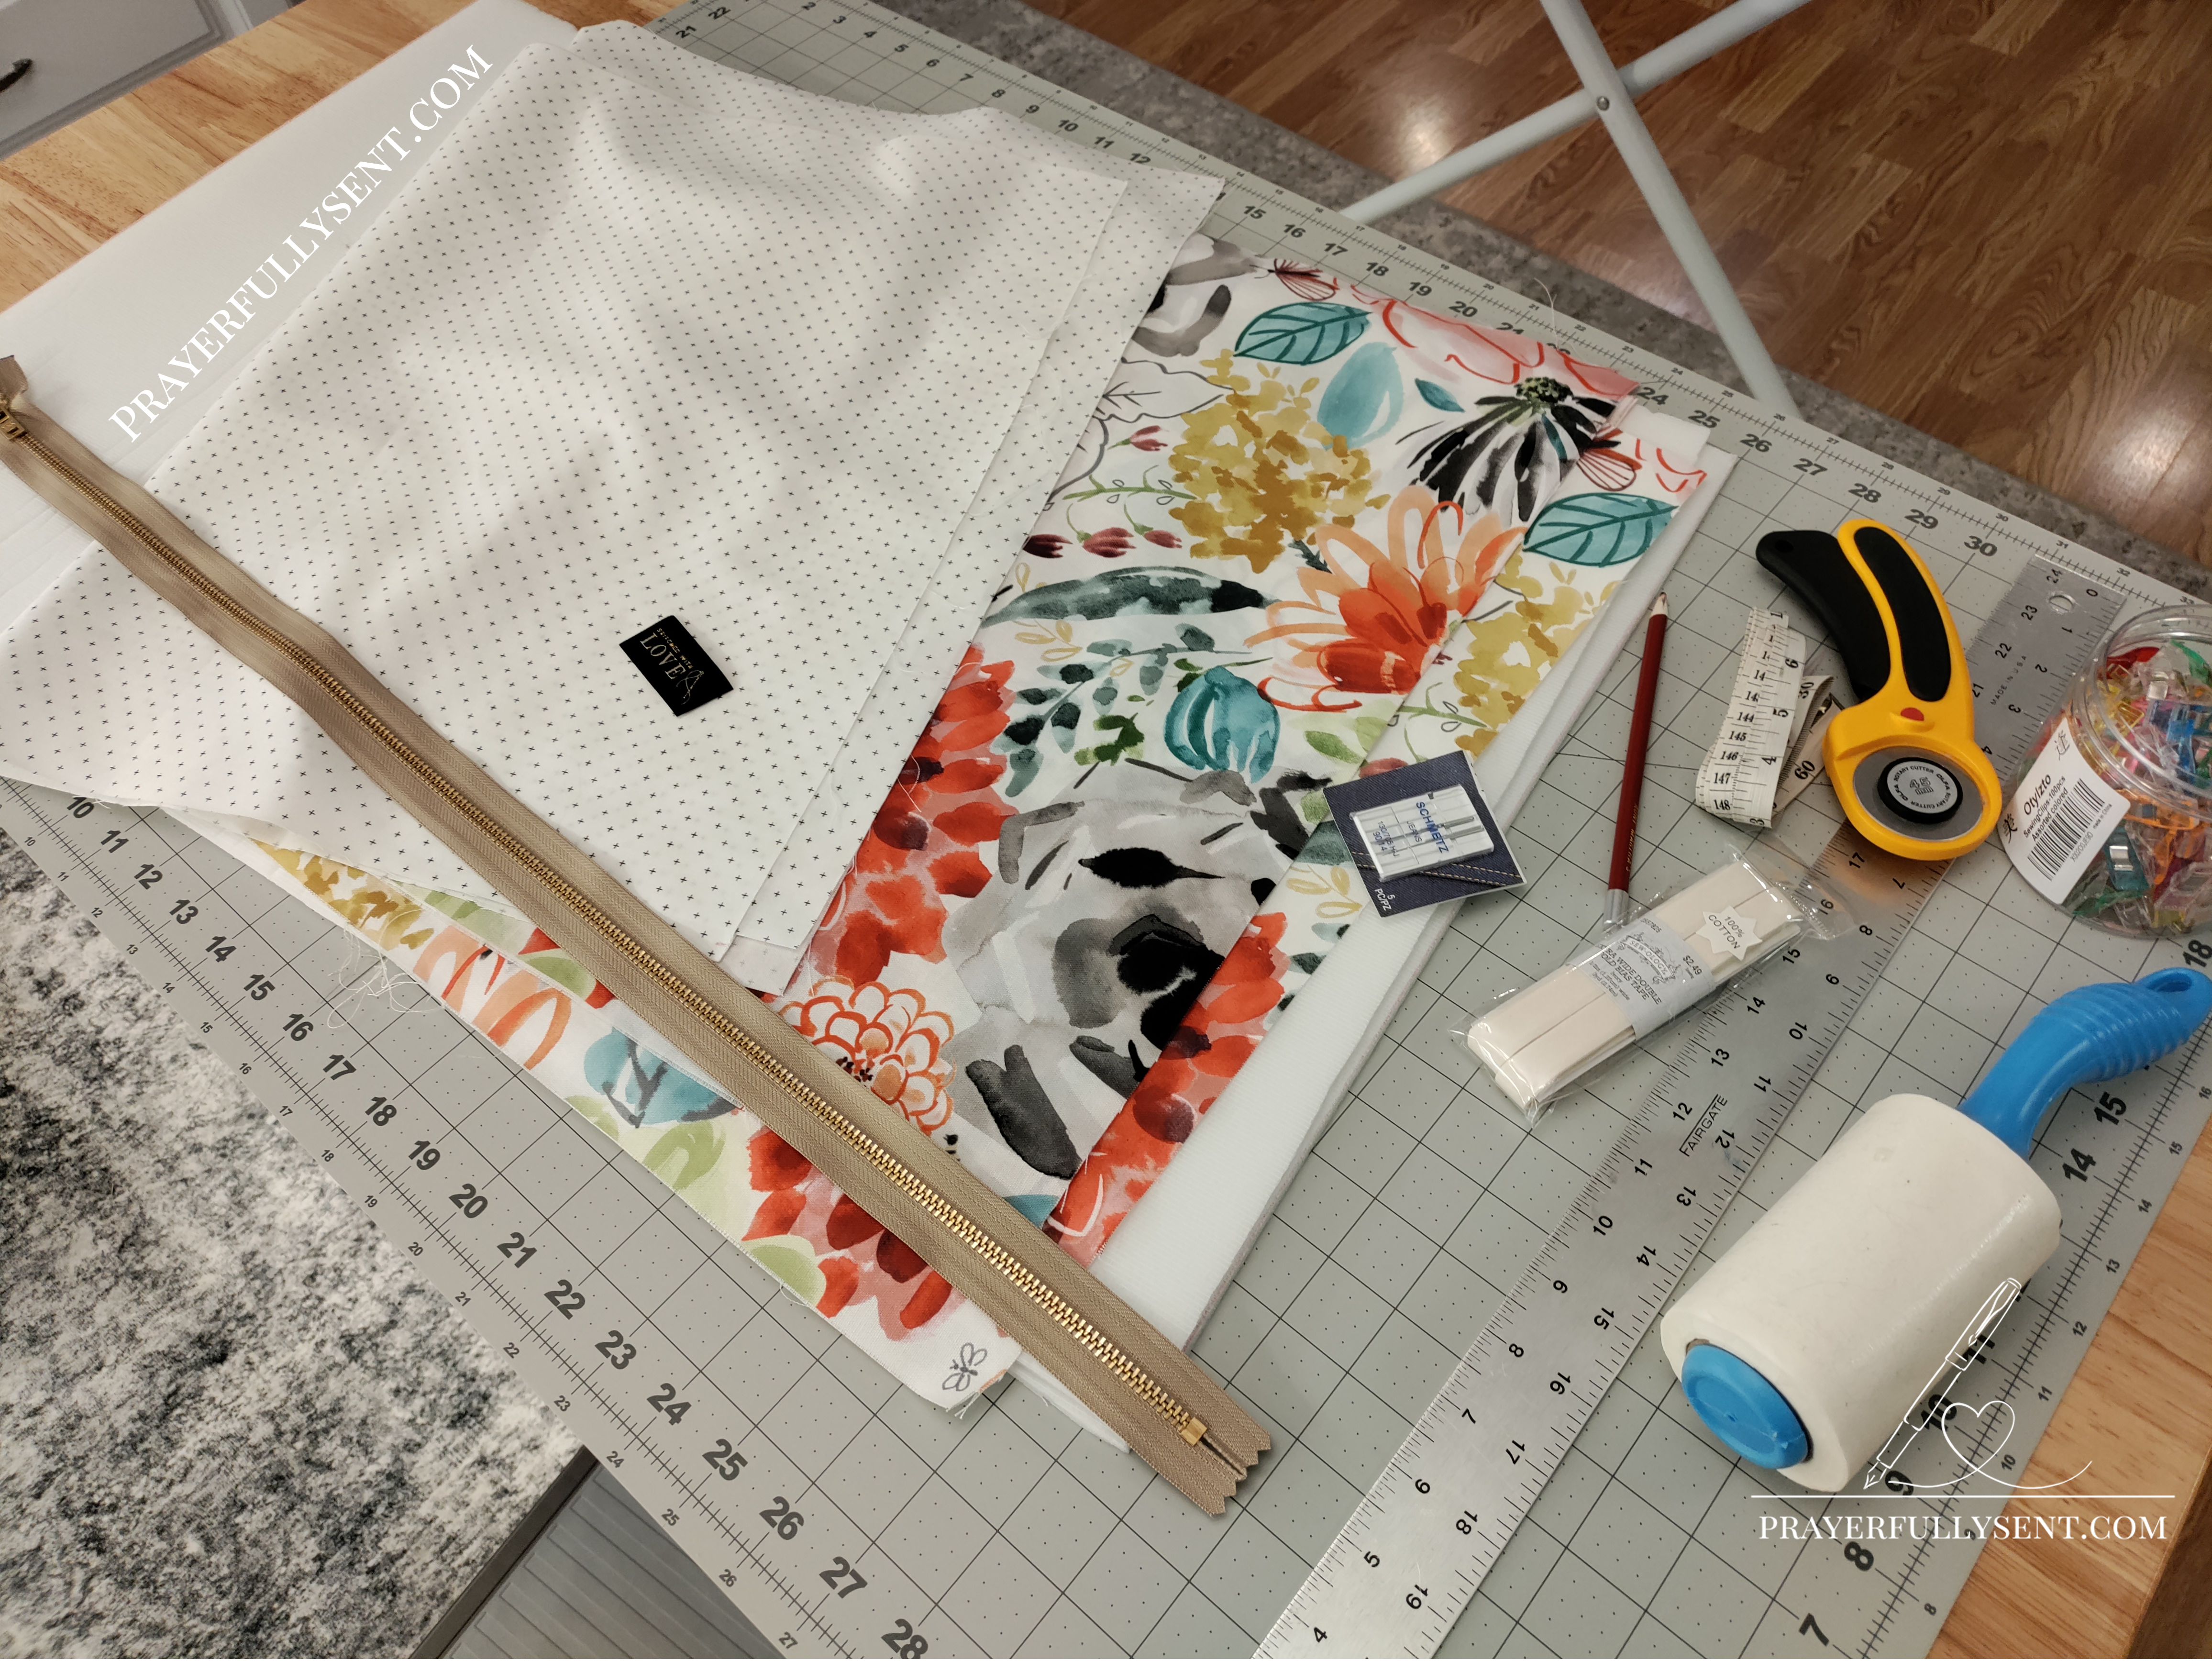
Materials
• Outer fabric (canvas or durable), 29″ x 19″
• Lining fabric (cotton), 29″ x 19″
• Double-sided fusible foam, 29″ x 19″
• 28″ zipper
• Bias tape for Hong Kong seam finish (or fabric strips to make your own)
• Label/tag (optional, fabric or plastic-backed)
• Sewing machine, pins/clips, thread, scissors, zipper foot, heavy-duty needle, iron
• Heavy-duty fabric adhesive (for plastic-backed labels)
Note: Extra width and height allow room for quilting, fusible foam bulk, and minor adjustments for a comfortable fit.
Sewing Machine Settings
Needle: • Heavy-duty/denim needle (size 16/100 or 18/110) – essential for sewing through multiple layers plus foam and metal zipper
Thread: • All-purpose polyester thread – stronger than cotton and handles bulk better
Stitch Settings: • Straight stitch for all construction seams • Stitch length: 2.5-3.0mm – slightly longer stitches handle bulk better and prevent puckering • Tension: Normal to slightly loosened – reduce if you see puckering with thick layers
Presser Feet: • Zipper foot for zipper installation • Regular presser foot for other seams • Walking foot (if available) helps feed multiple layers evenly
Additional Tips: • Sew slowly, especially through zipper and thick areas • Test stitch on fabric scraps (outer + foam + lining) to adjust tension • Let the machine do the work – guide gently without forcing • Stop with needle down when pivoting corners
⚠️ Machine Capability Warning: This project involves sewing through multiple thick layers (outer fabric + foam + lining) plus a metal zipper, which places significant stress on your sewing machine. If your machine is not specifically designed for heavy-duty sewing, consider having the case professionally sewn or choosing a simpler protective covering. Know your machine’s limitations before beginning this project.
Adjusting Longer Zippers
If you have a zipper longer than 28″ (such as a 36″ metal zipper), you can easily adjust it to fit this project:
For Metal Zippers:
- Prepare the zipper before cutting fabrics to ensure accurate measurements
- Measure 28″ up from the crimped metal bottom stop (not from any excess fabric below it)
- Hand-sew a bartack (dense reinforcement stitching) across both sides of the zipper tape using heavy-duty thread. Make 15-20 tight stitches back and forth in the same spot to create a solid barrier
- Trim the excess zipper tape about 1″ above your bartack stitching (this gives you ½” seam allowance plus ½” buffer)
Note: Metal zippers have permanent crimped bottom stops that cannot be moved. The original metal bottom stop remains in place and becomes the closed end of your case.
⚠️ Important Caution Before You Begin ⚠️
Do not fuse foam before installing the zipper — it can shrink fabric and interfere with sewing.

Instructions
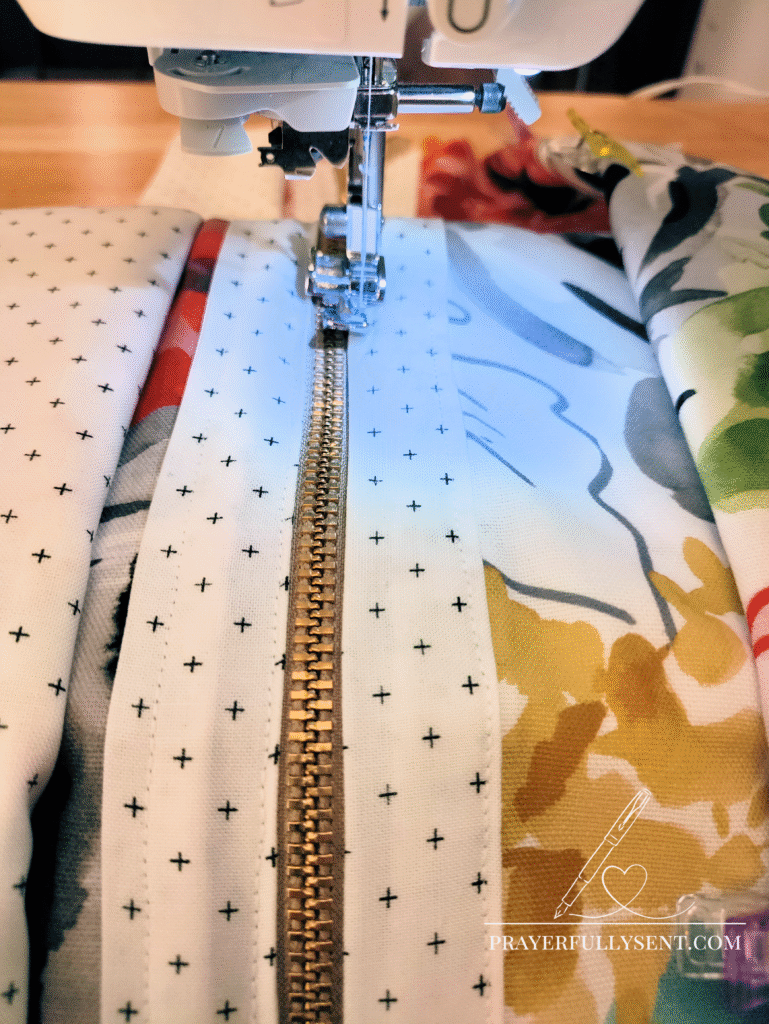
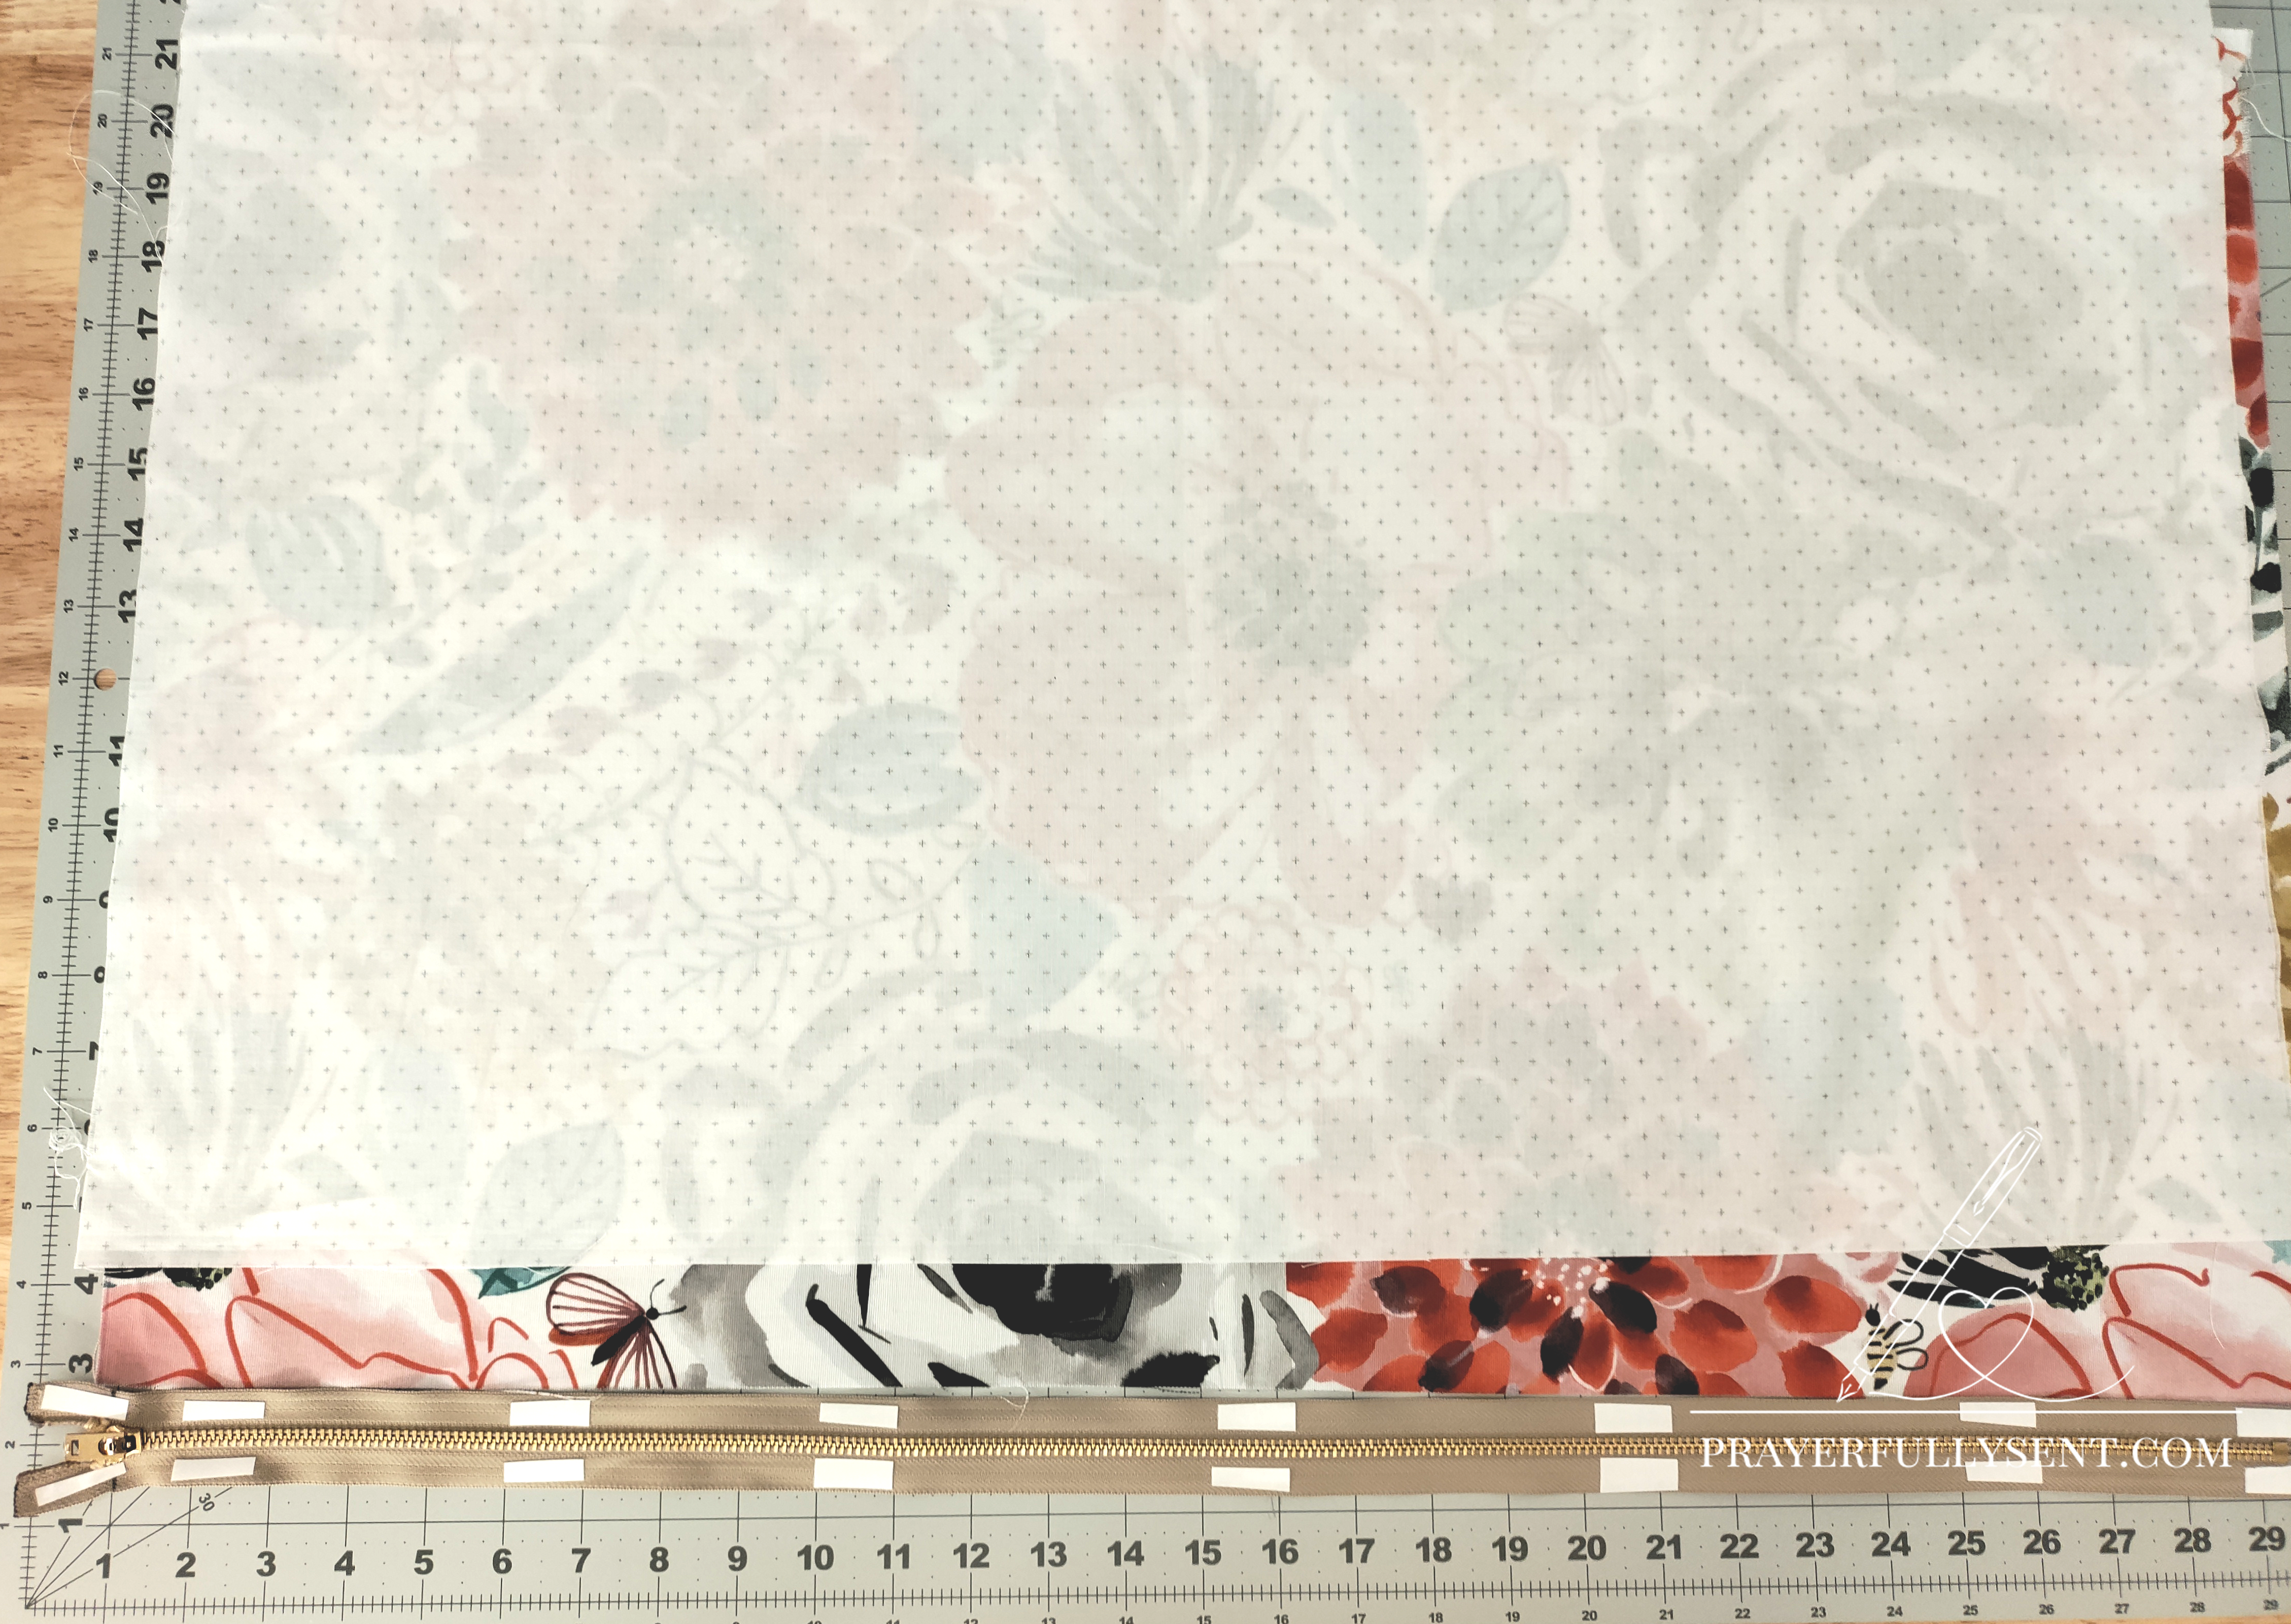
Install the Zipper First
- Optional reinforcement: For extra durability, apply strips of bias tape along the zipper placement lines on both fabric panels before installation
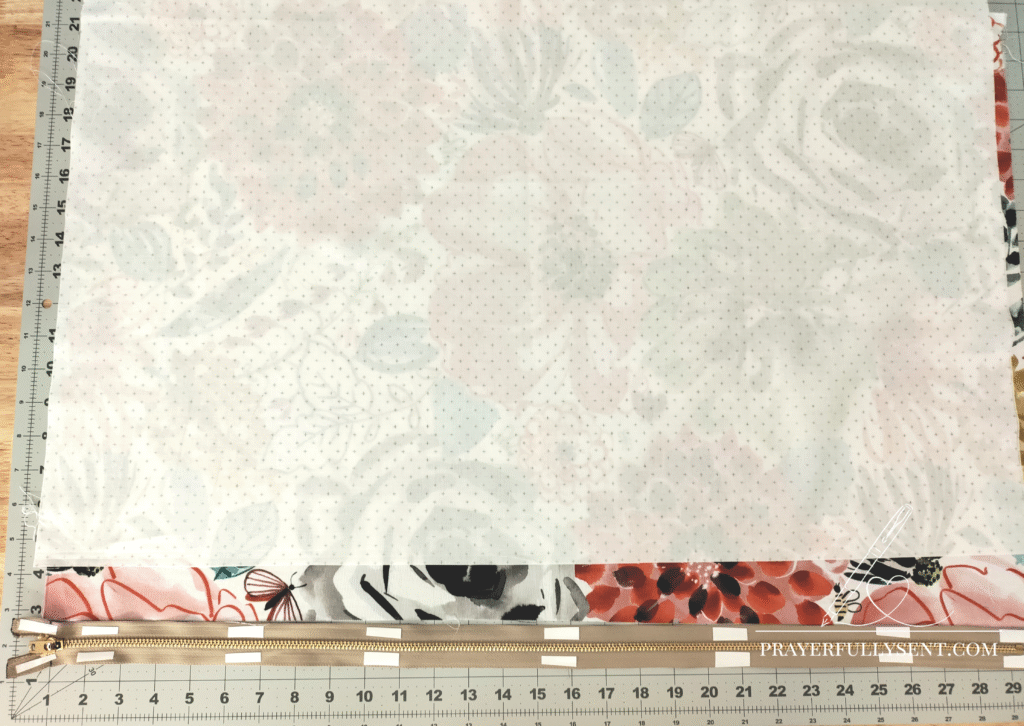
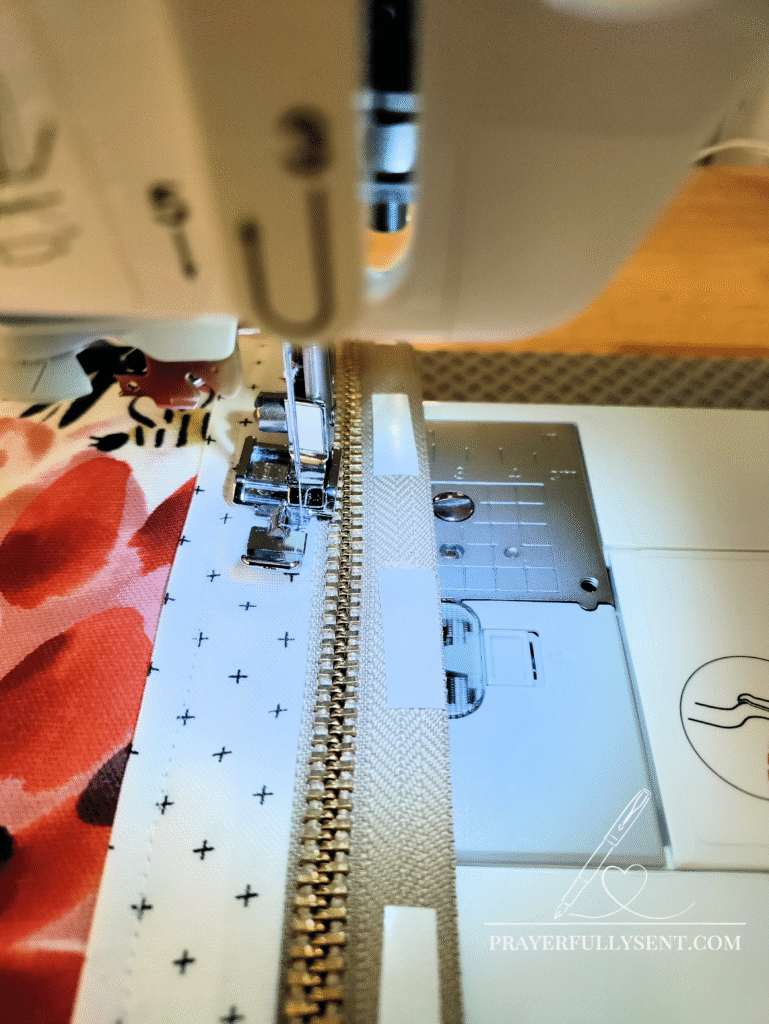
- Place the zipper face-down on the right side of the outer fabric along one 29″ edge
- Place lining fabric right side down on top, sandwiching the zipper between the fabrics
- Pin or clip in place, then sew using a ½” seam allowance with a zipper foot and heavy-duty needle
- Flip fabrics away from the zipper and press seam allowances away from zipper teeth
Tip: Reinforcing the zipper area helps distribute stress from the heavy metal zipper across a wider area of fabric.

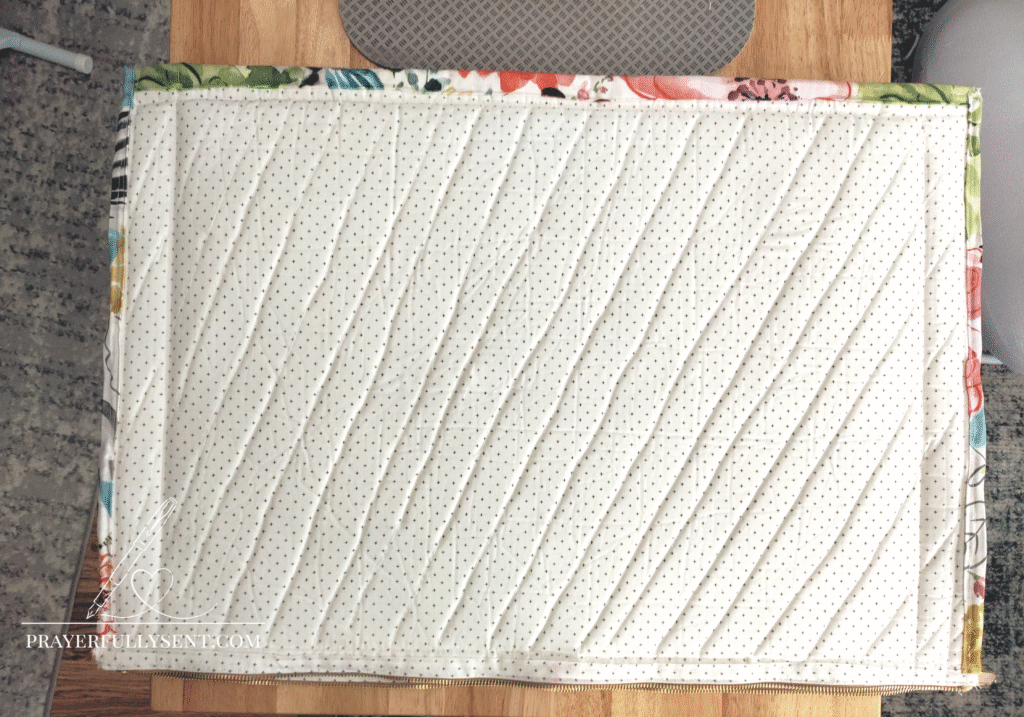
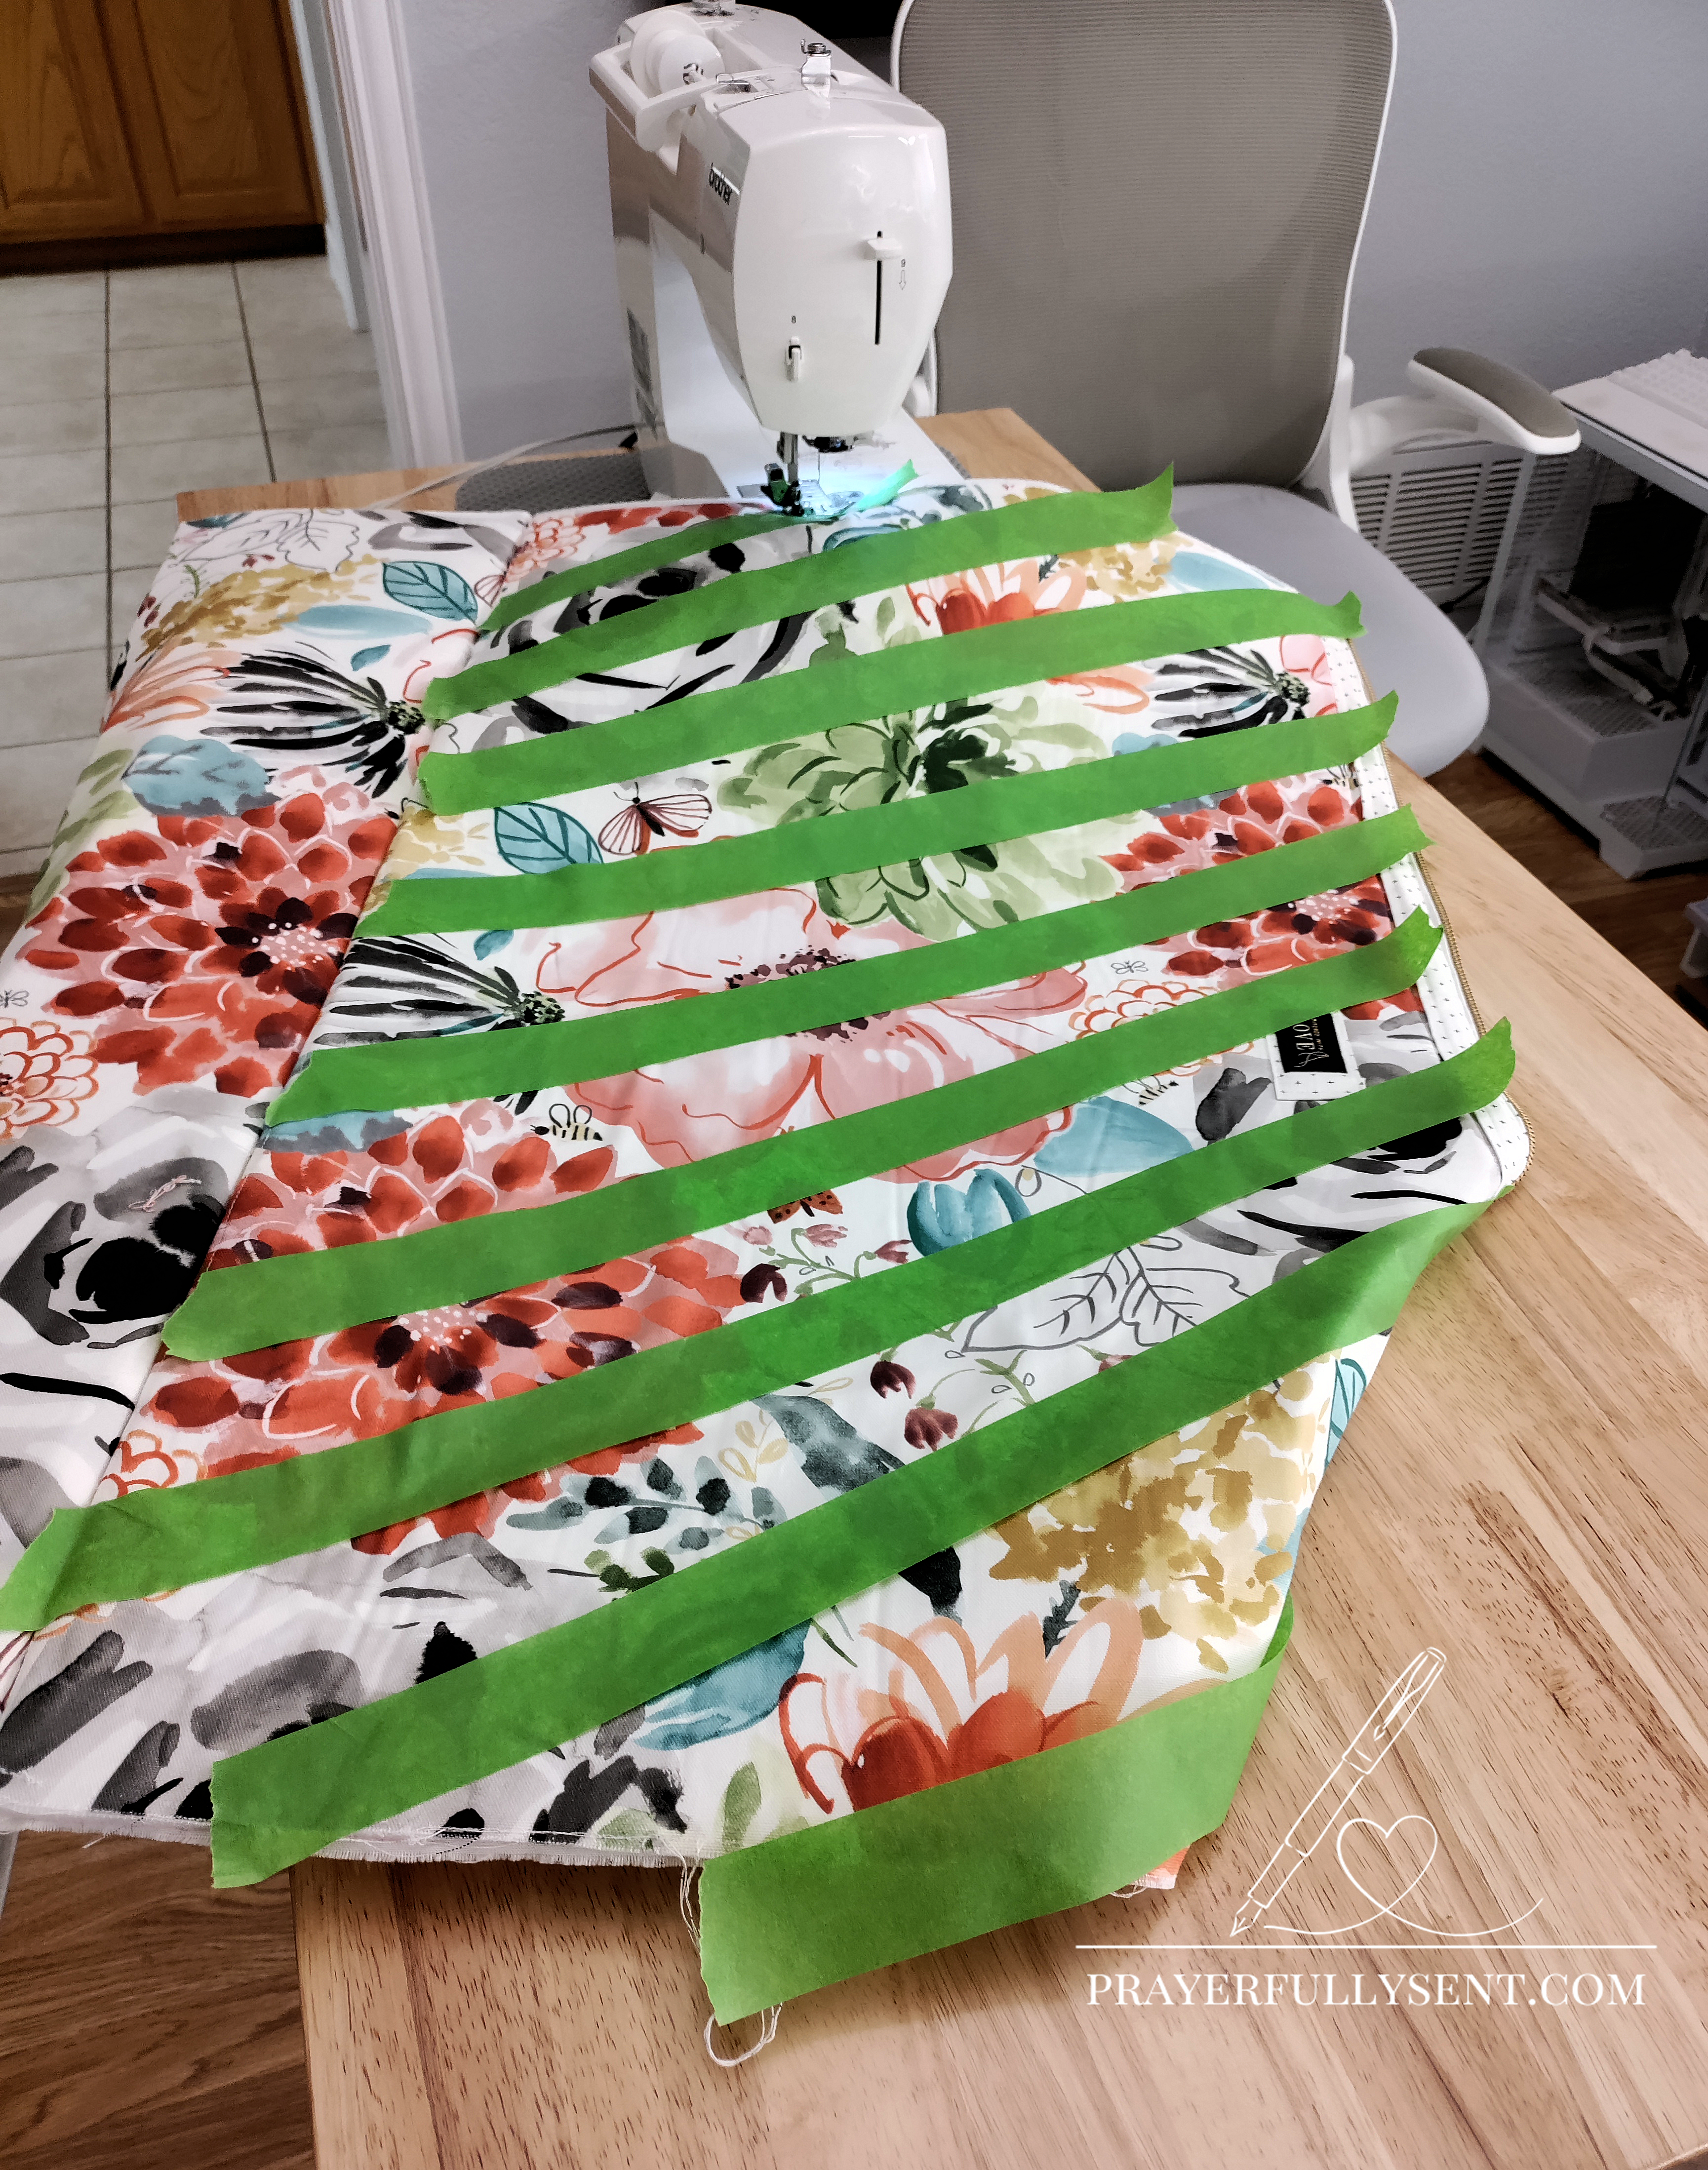
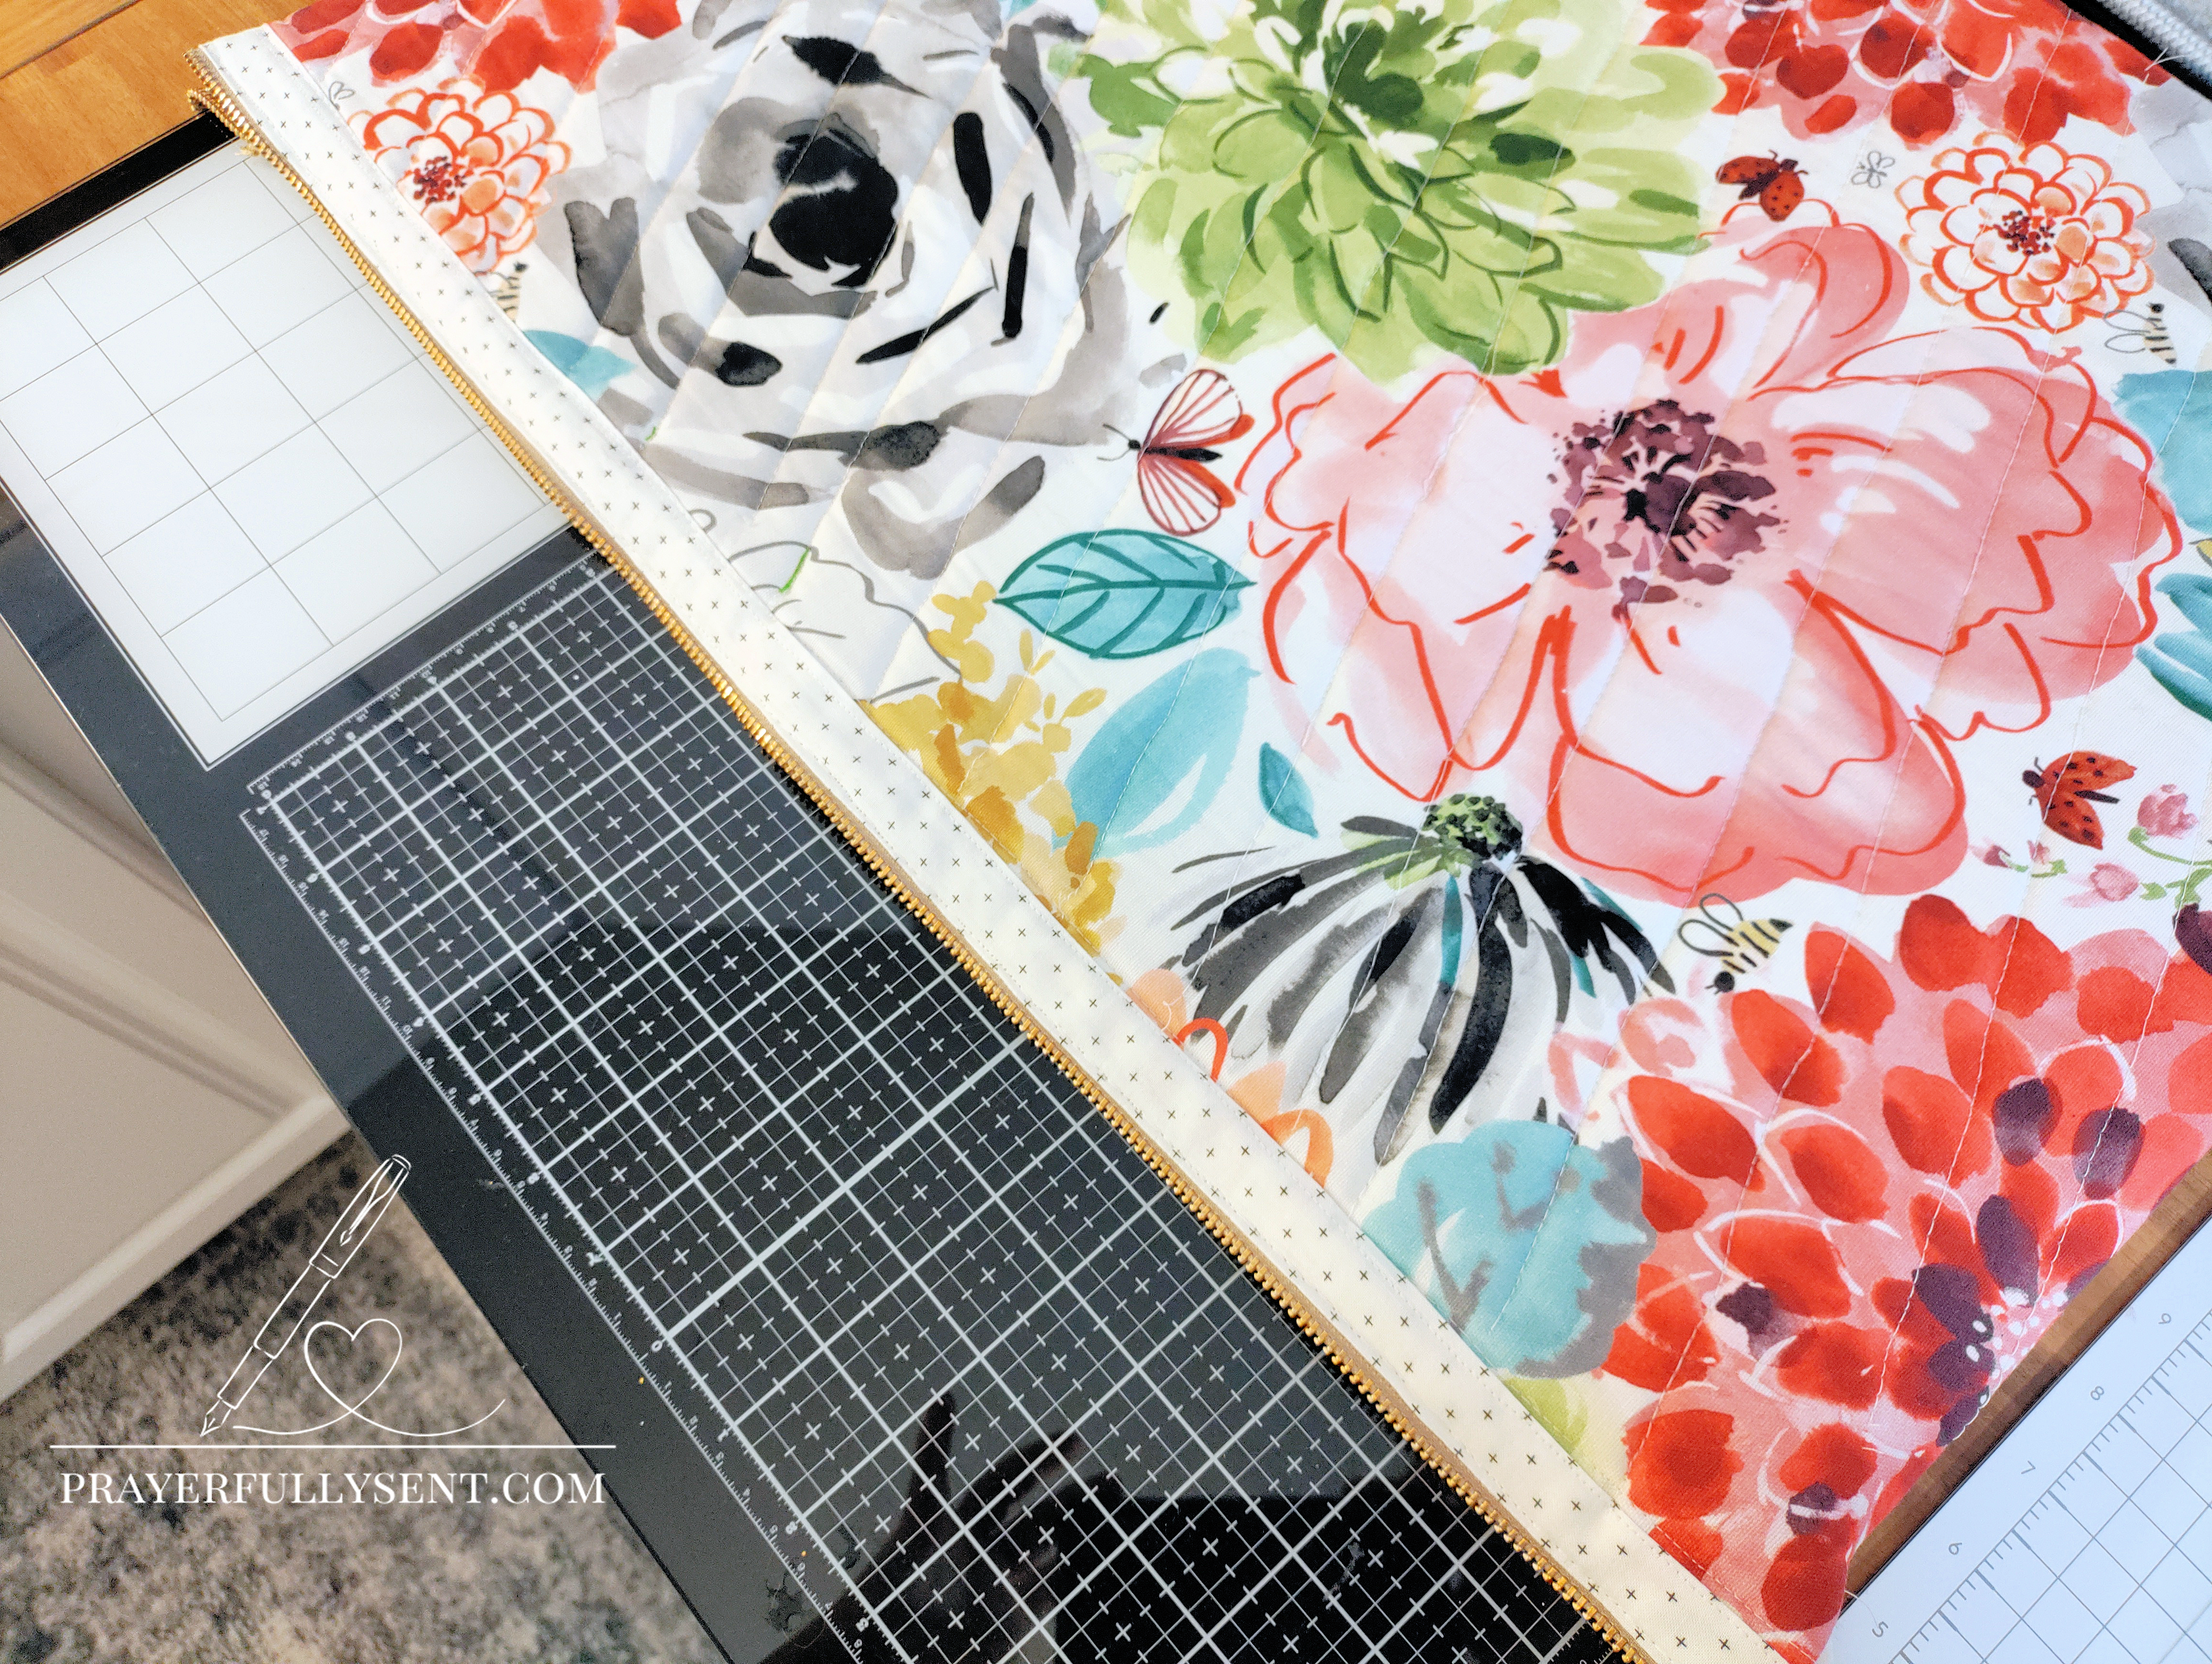
In this picture you will notice that I added the quilting after I sewed all the sides together. If you intend on adding quilting to your project; quilt the project after adding the foam stabilizer and before you sew the sides together.
Fuse the Foam Stabilizer
⚠️ Caution: Do not fuse foam before installing the zipper — it can shrink fabric and interfere with sewing.
- Place double-sided fusible foam on outer fabric, adhesive side down, and fuse with a pressing cloth
- Fuse the lining fabric to the other side
- Optional: Fuse both sides at once if careful, pressing in sections and protecting the zipper
- Keep zipper partially open for turning later
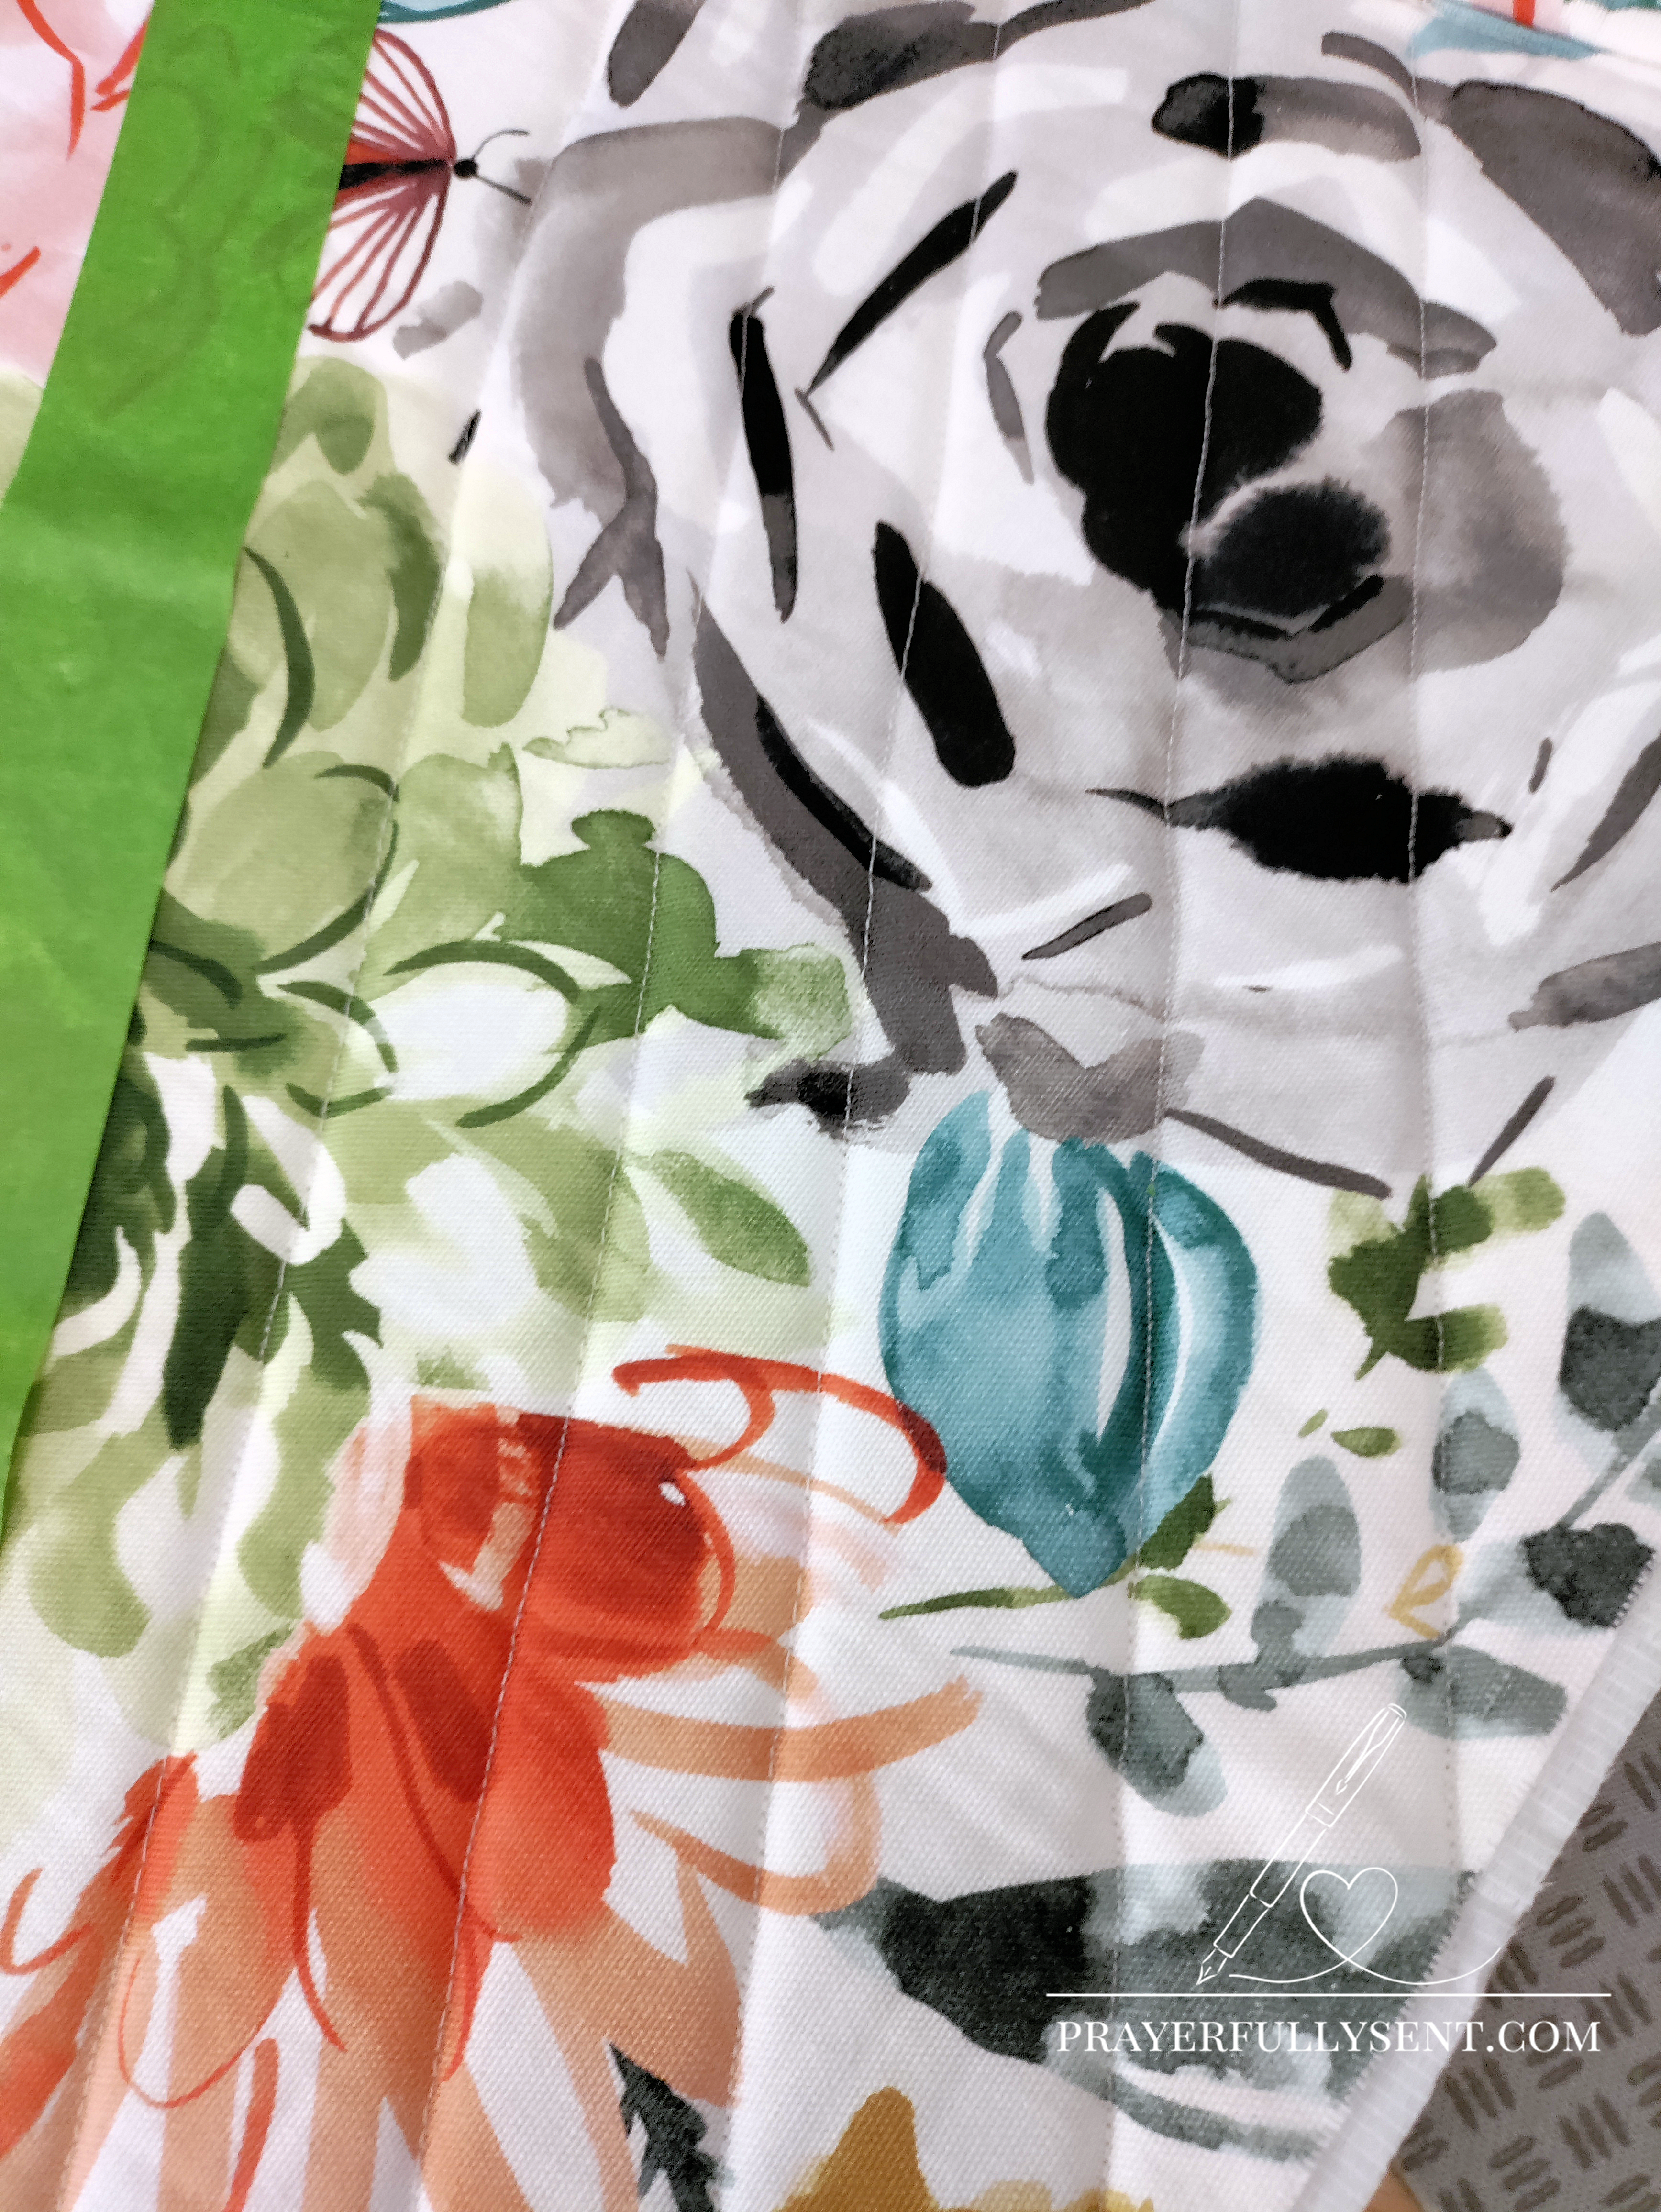
Optional Quilting:
• Recommended for durability: Quilt stitching through all layers on both panels provides long-lasting durability and enhanced cushioning for your glass mat
• Before construction: Add quilting stitches through all layers before sewing sides together
• After construction: If you decide to add quilting reinforcement after assembly, use painter’s tape as spacing guides for diagonal lines. Stitch carefully through the completed case – this method works well even if not perfectly precise
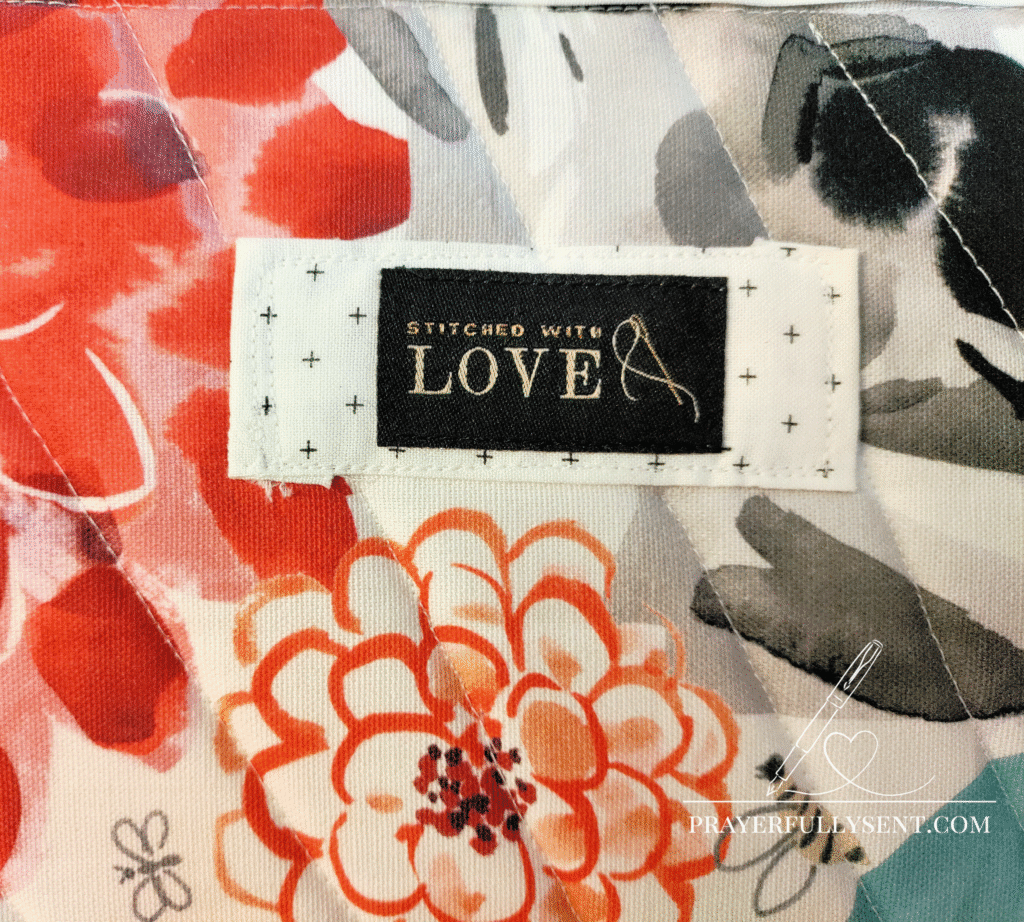
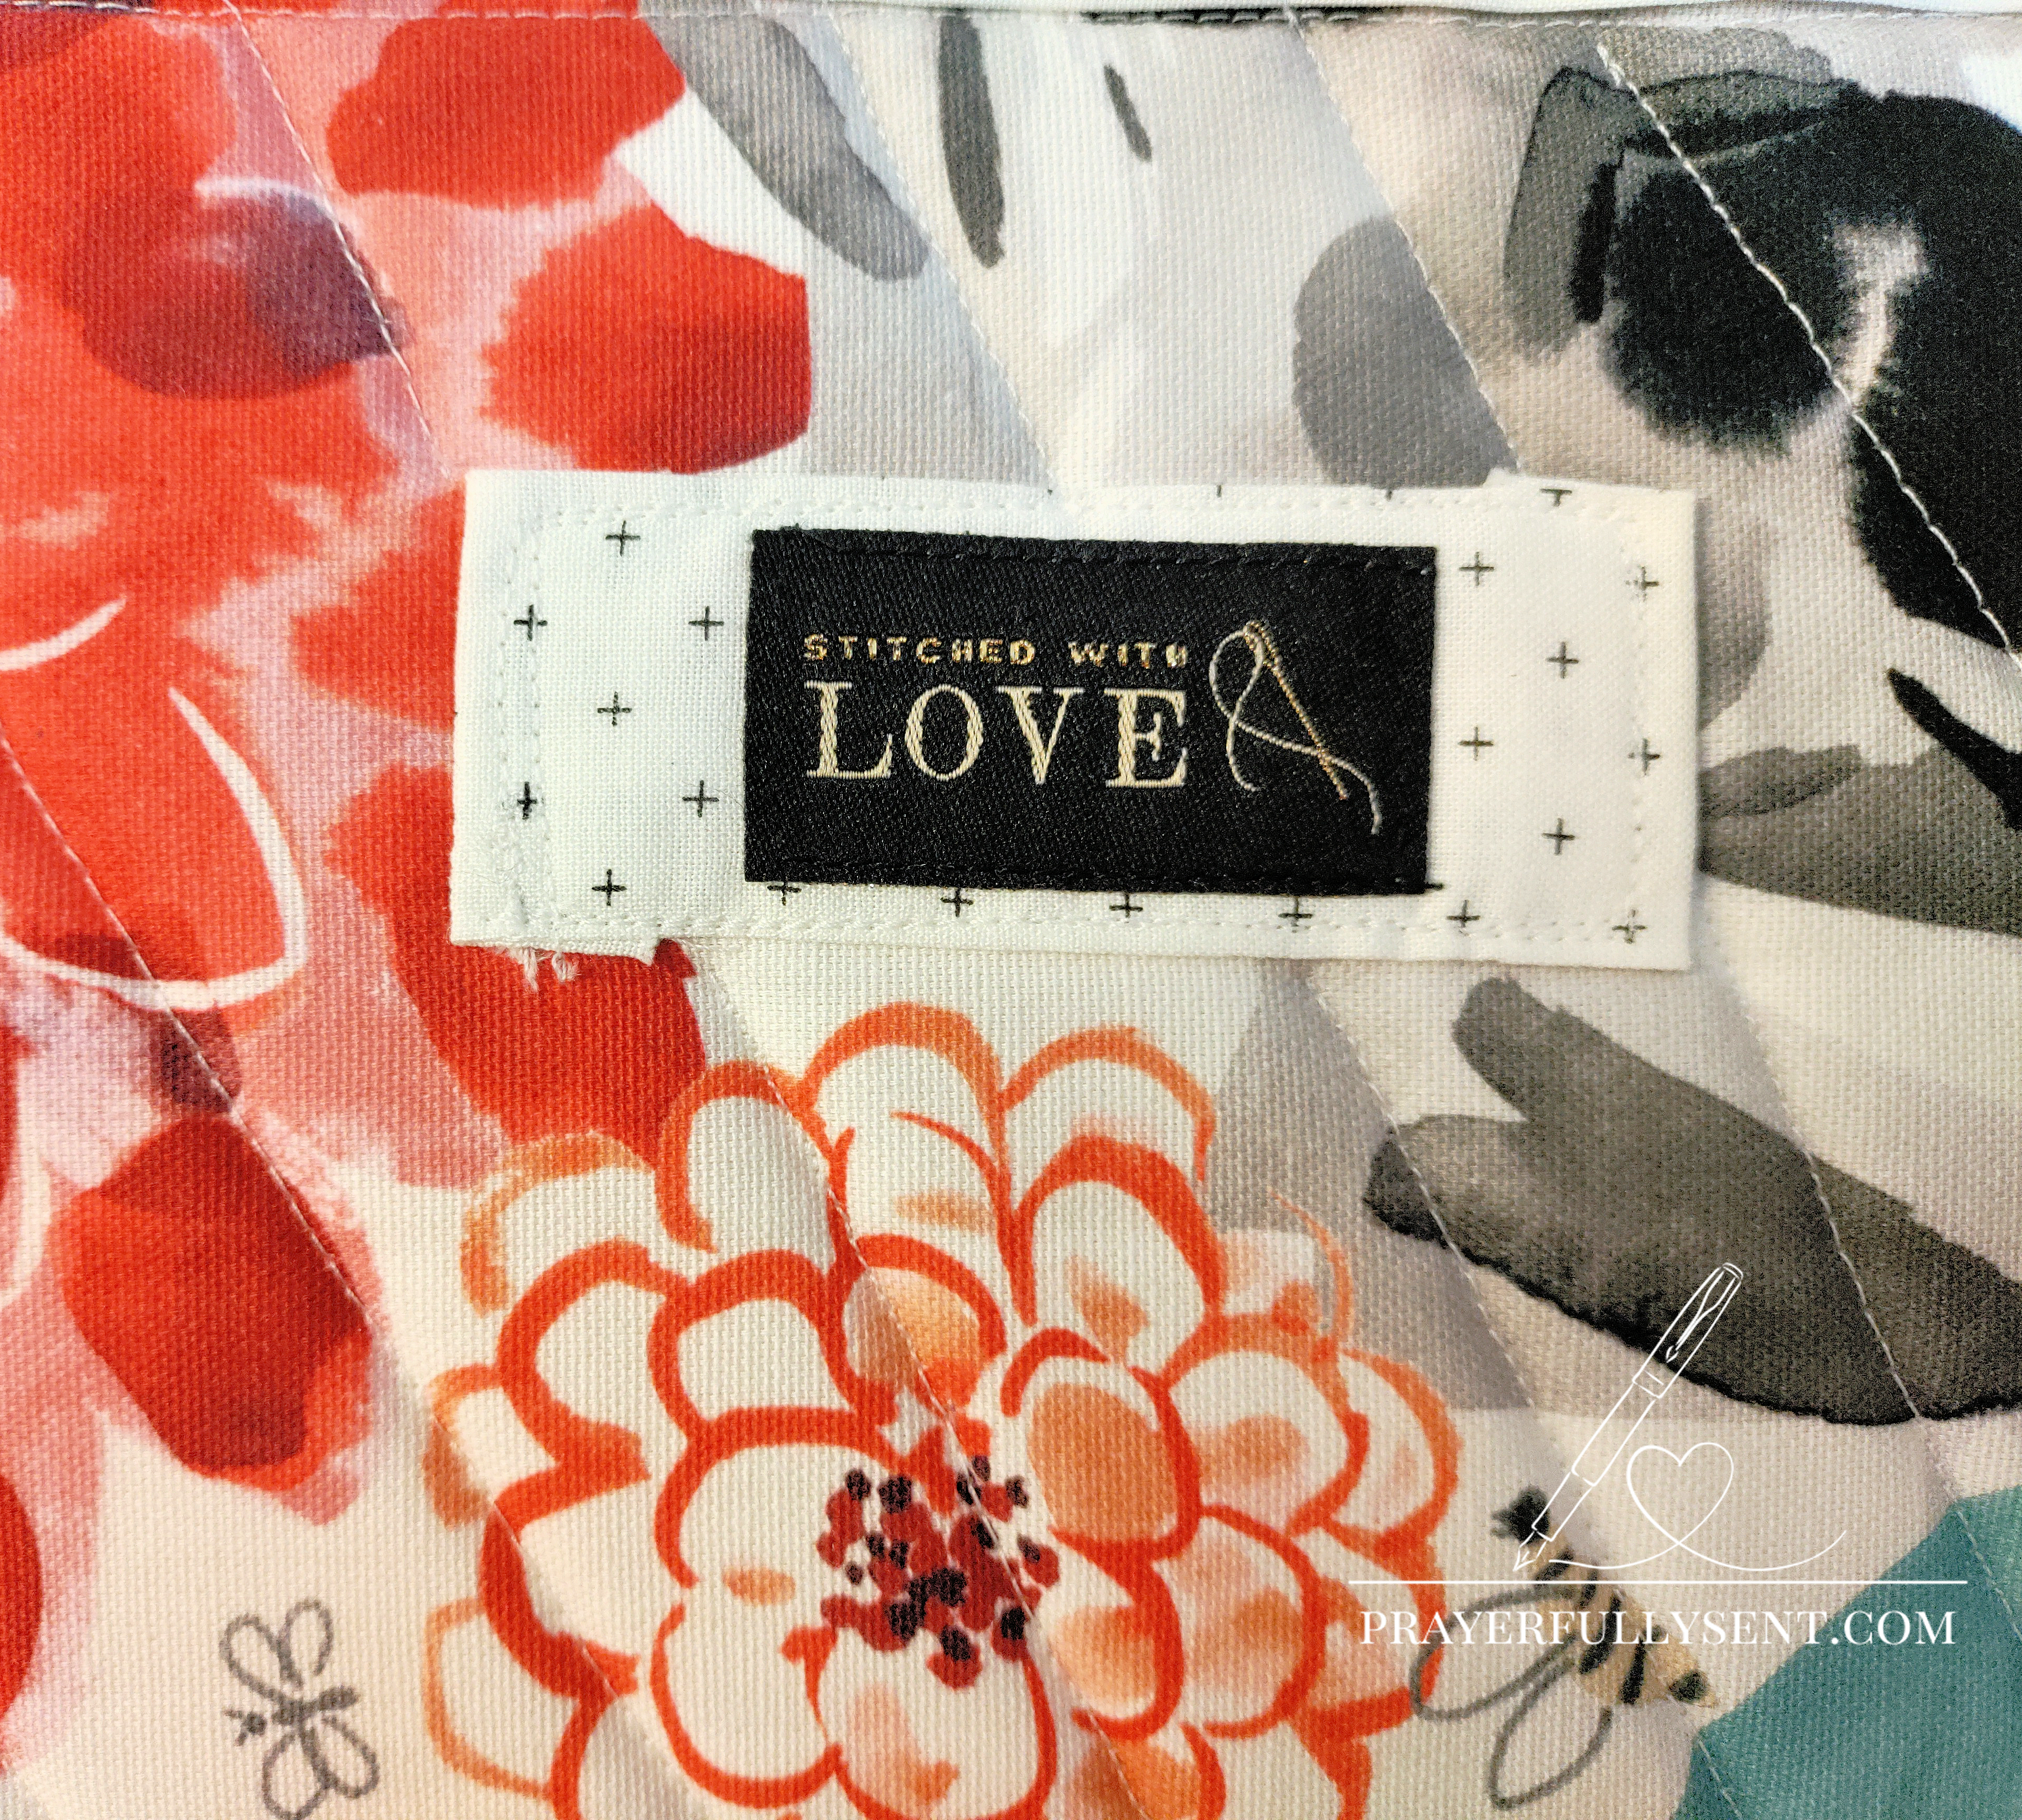
Attach Label or Tag (Optional)
- Label placement: Position the label in the middle of the top part of your project on the lining fabric, away from seam lines
- Stabilize with fabric: Cut a small piece of lining fabric slightly larger than your label and layer it behind the label for extra stability
- Secure temporarily: Use fabric tape to hold both the label and backing fabric in place
- Press carefully: Using a press cloth, steam lightly to set the position and ensure everything lies flat
- Sew in place:
- Fabric labels: Sew directly through all layers before sewing the remaining sides
- Plastic-backed labels: Top-stitch around the edges with a straight or narrow zigzag stitch through all layers. Avoid using the iron directly on the label
Tip: The fabric backing layer prevents the label from pulling or distorting the main lining fabric and creates a more professional, durable attachment.
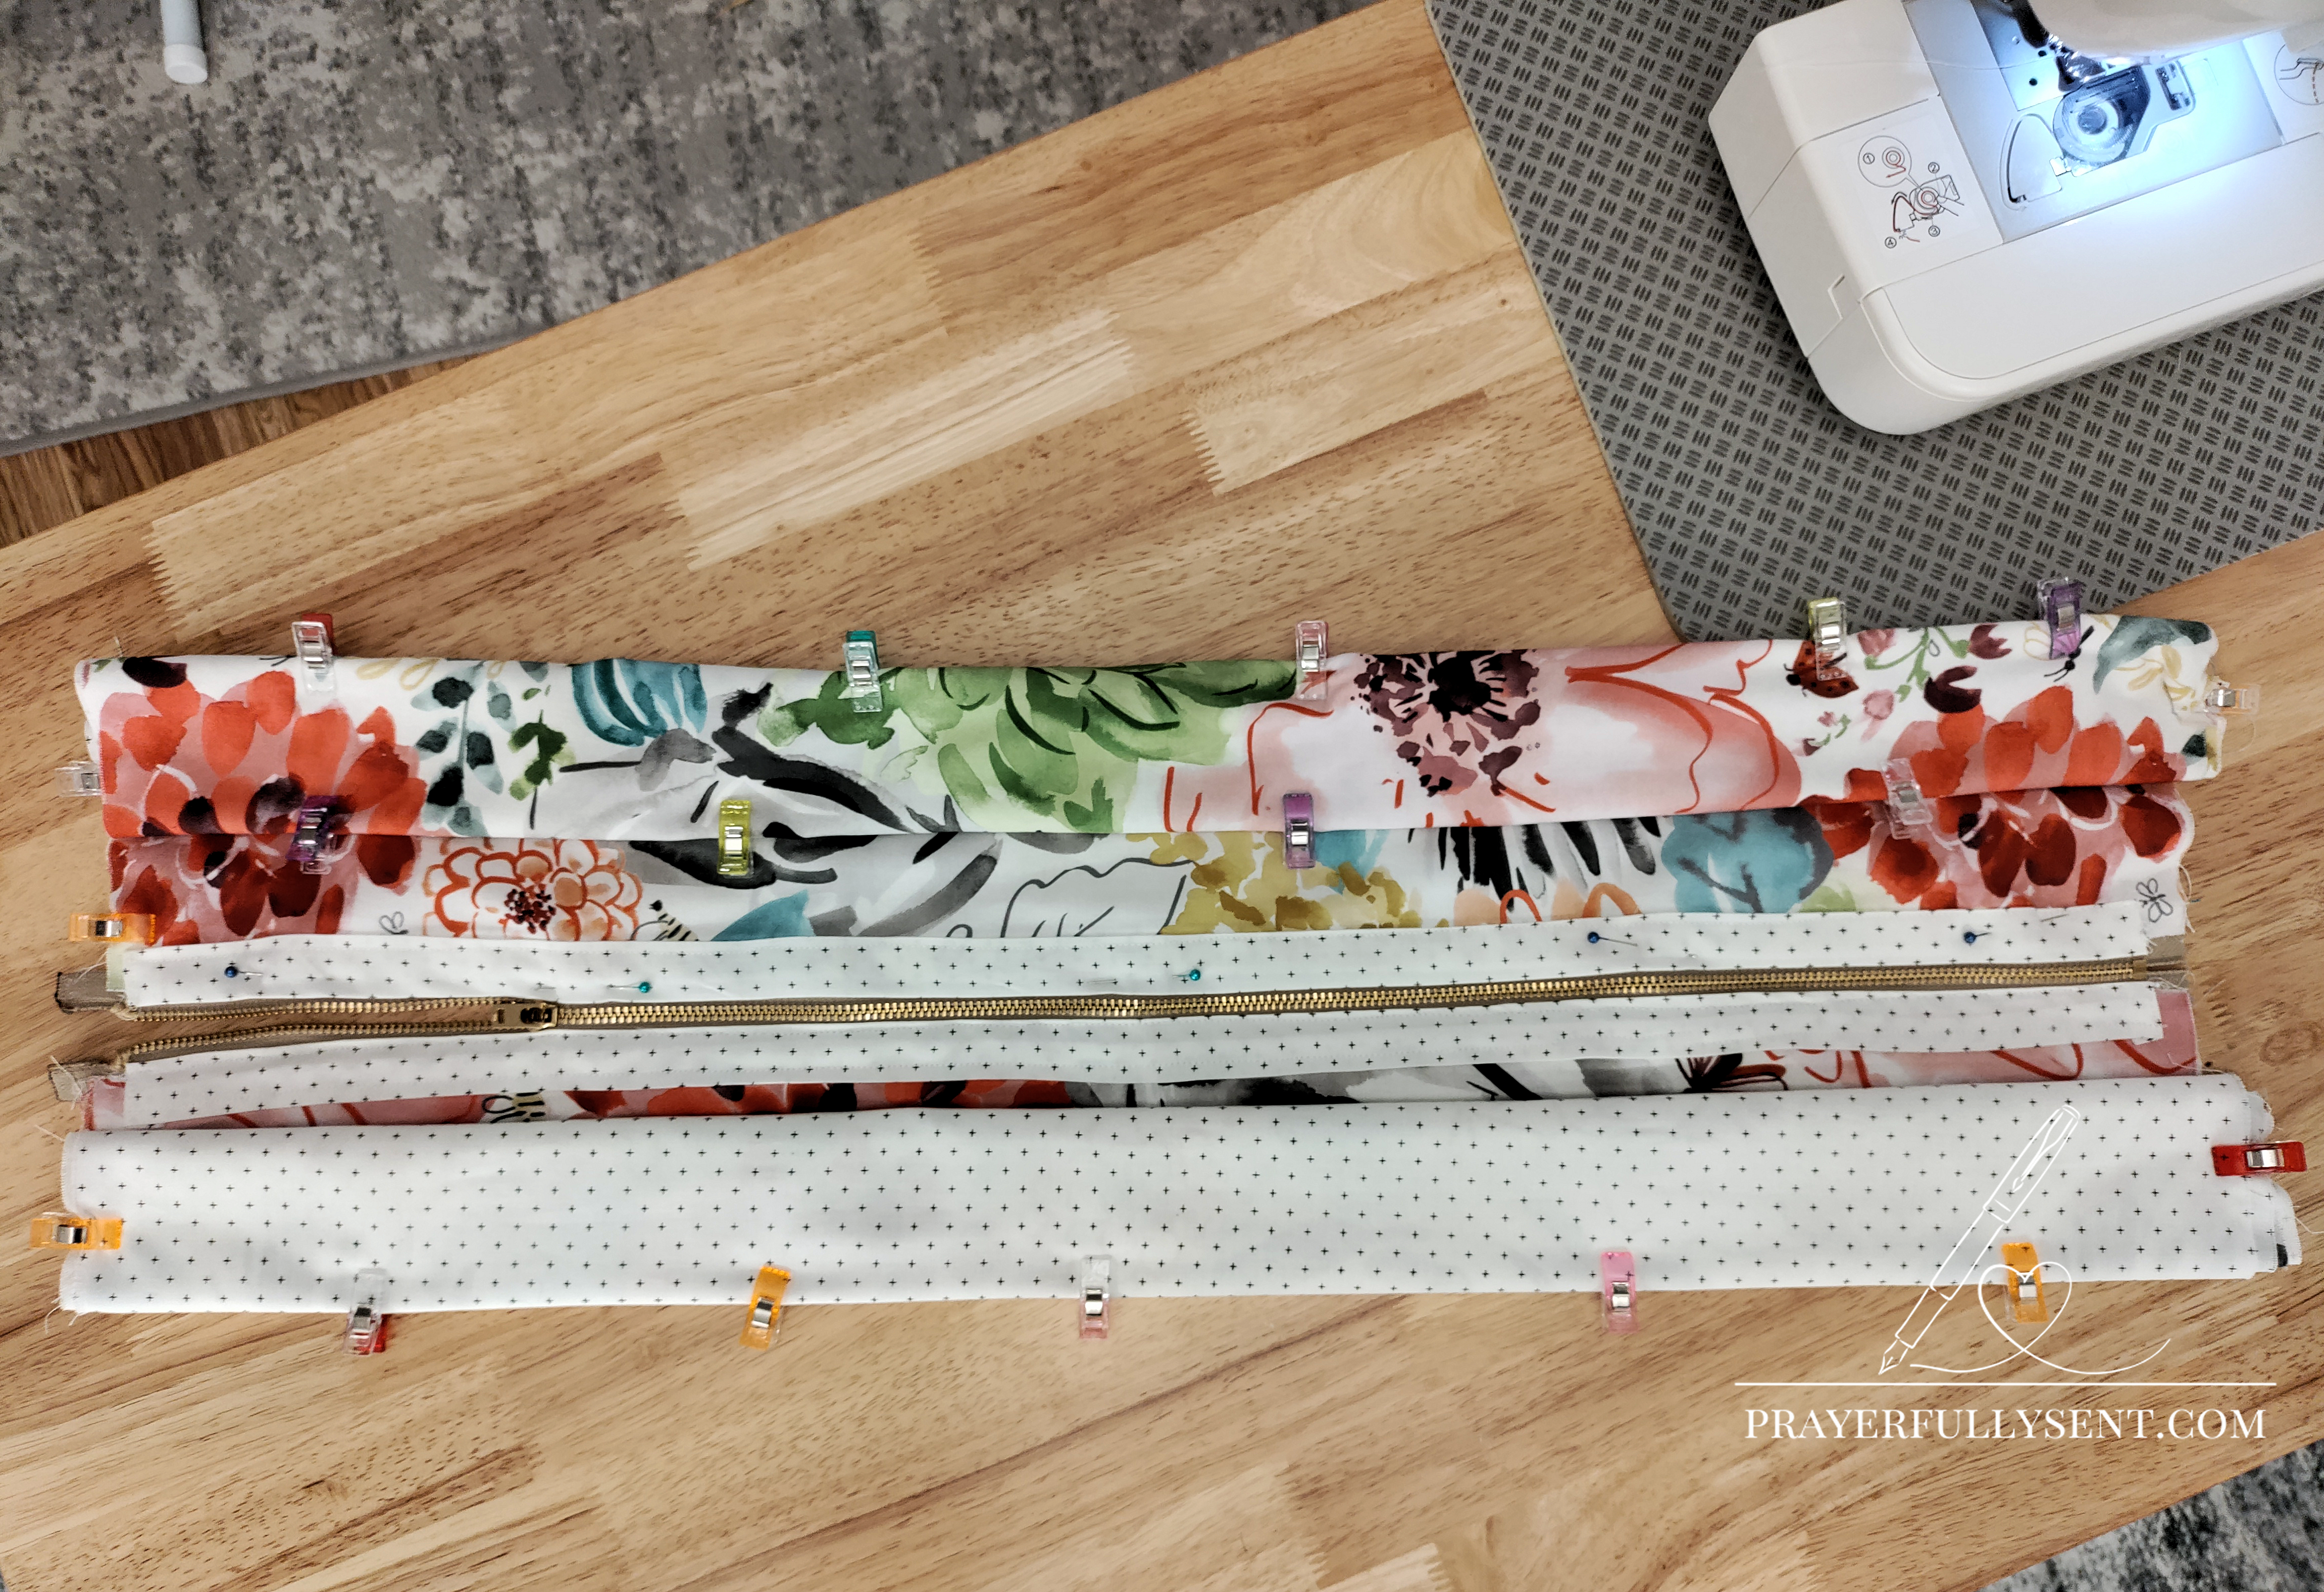
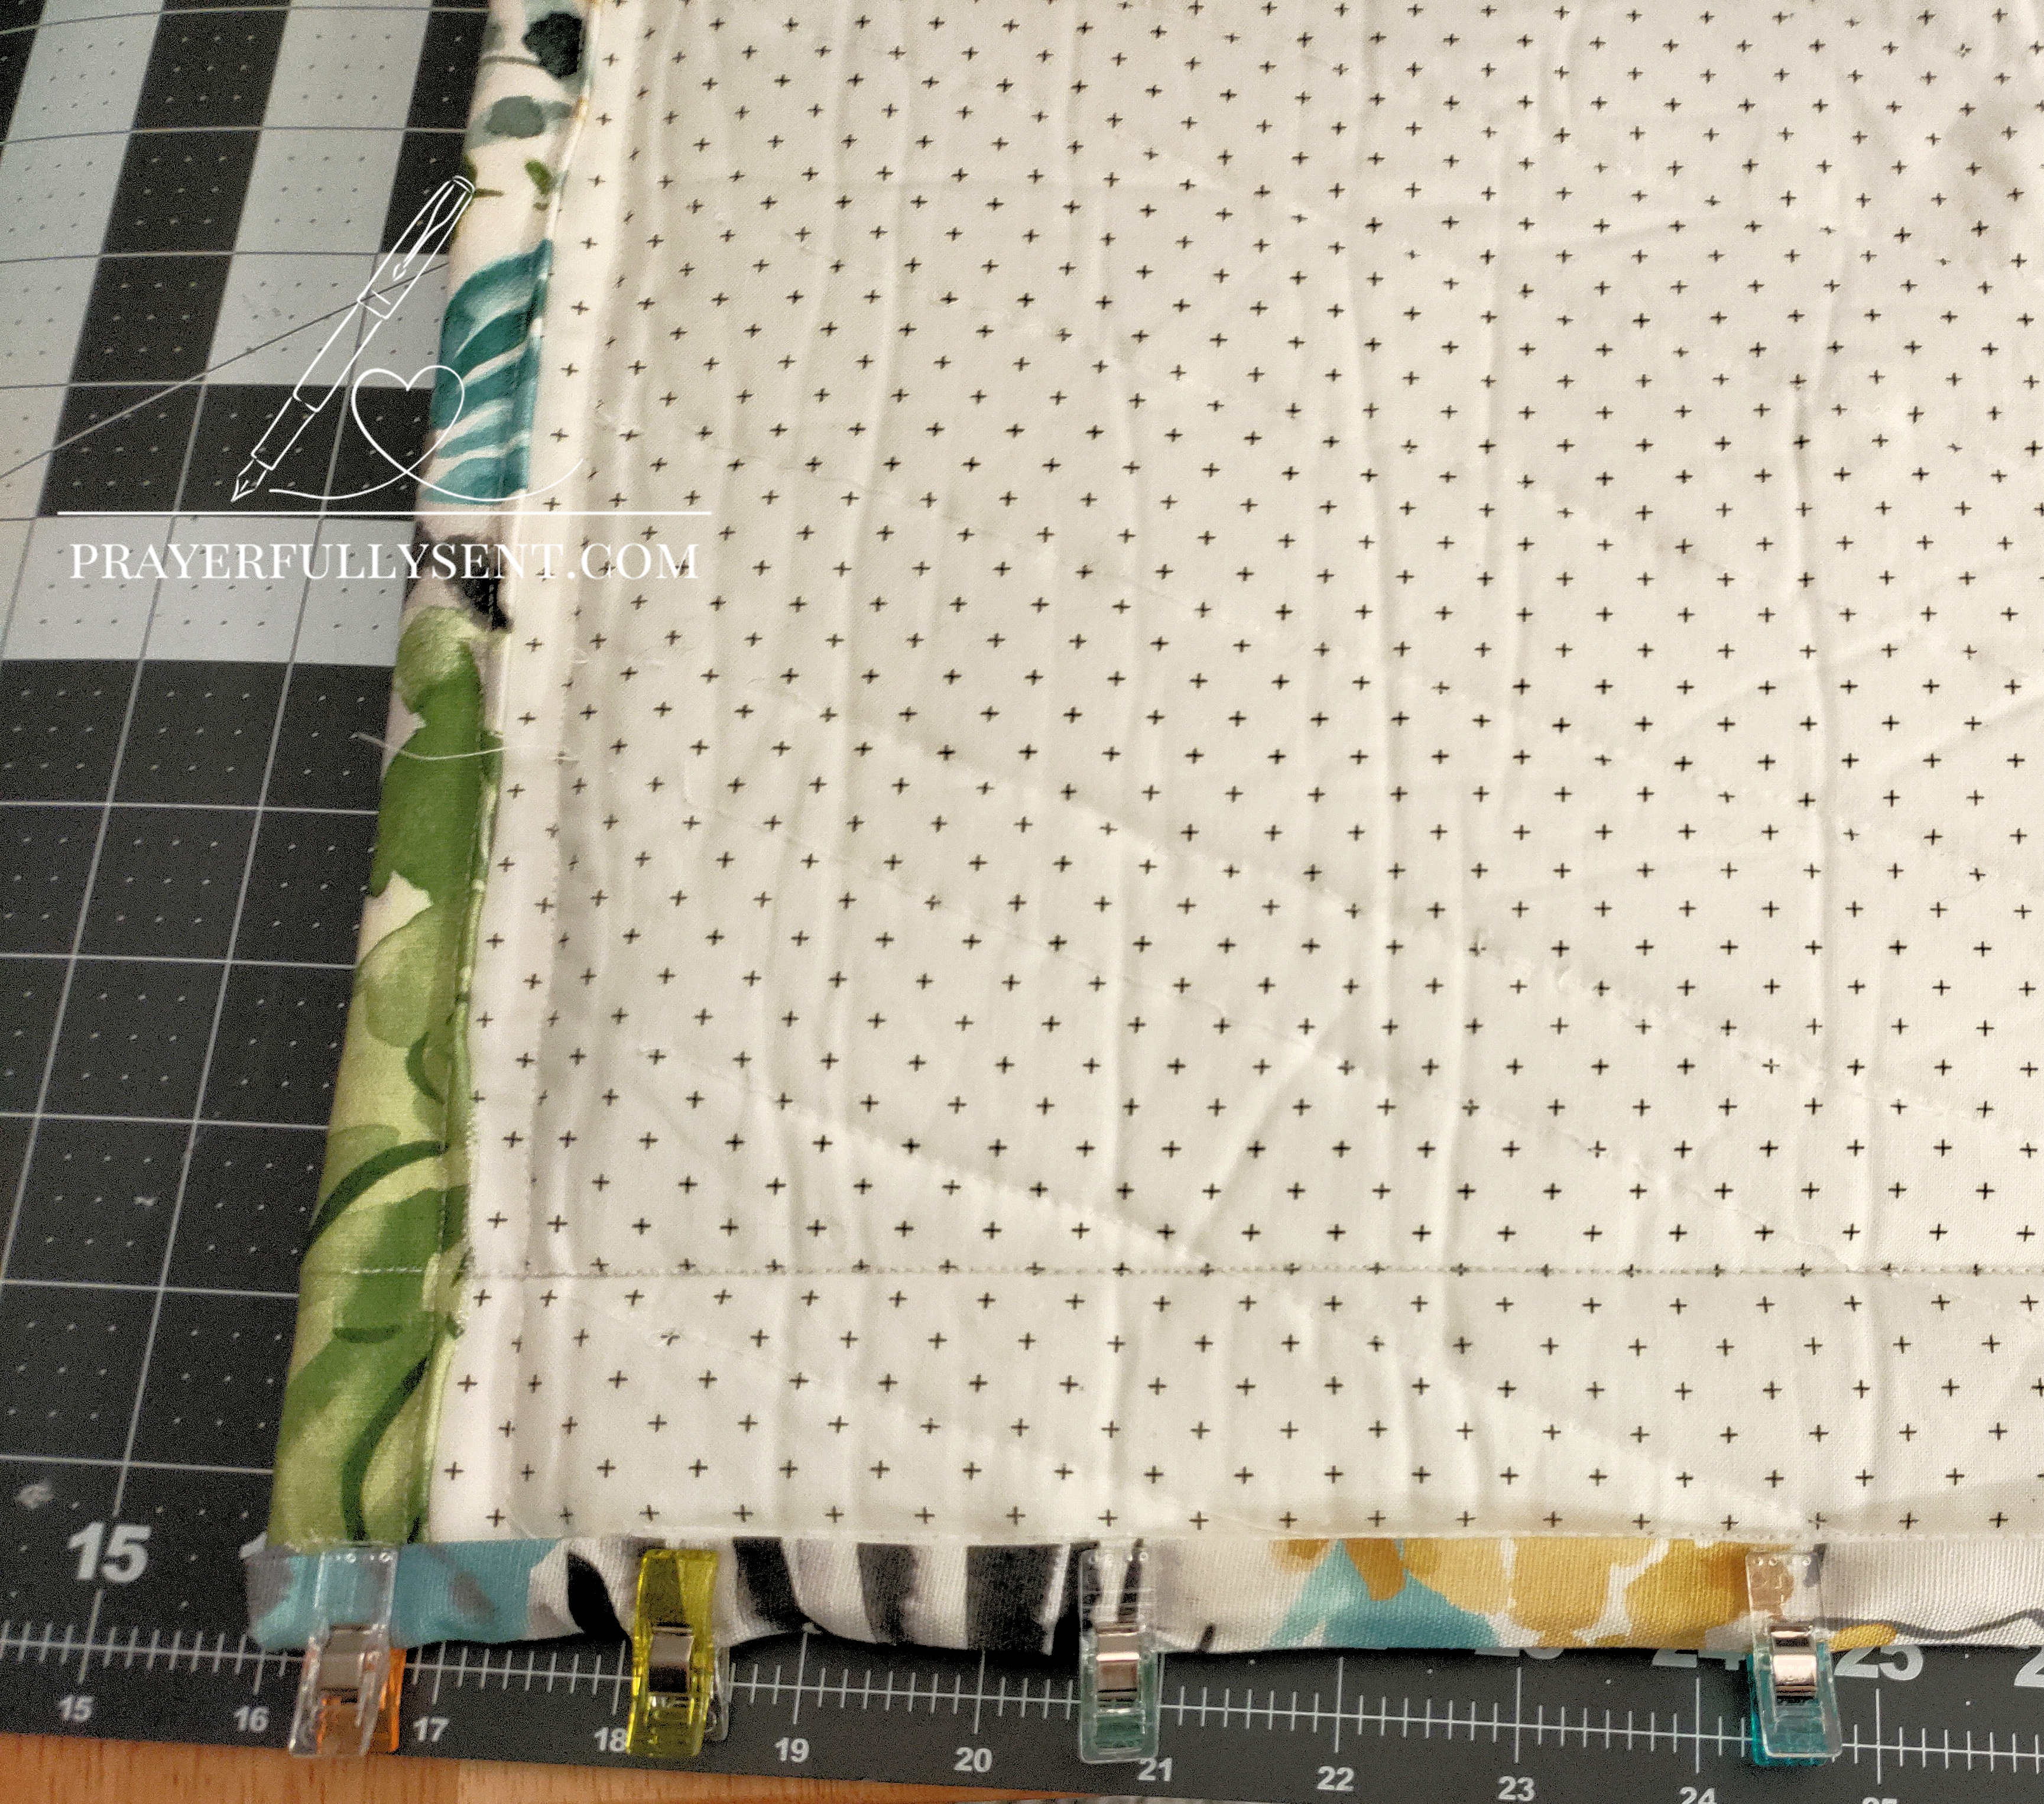
Sew Remaining Sides
- Fold fabrics right sides together, matching edges
- Sew the remaining three sides with a ½” seam allowance
- Trim corners to reduce bulk

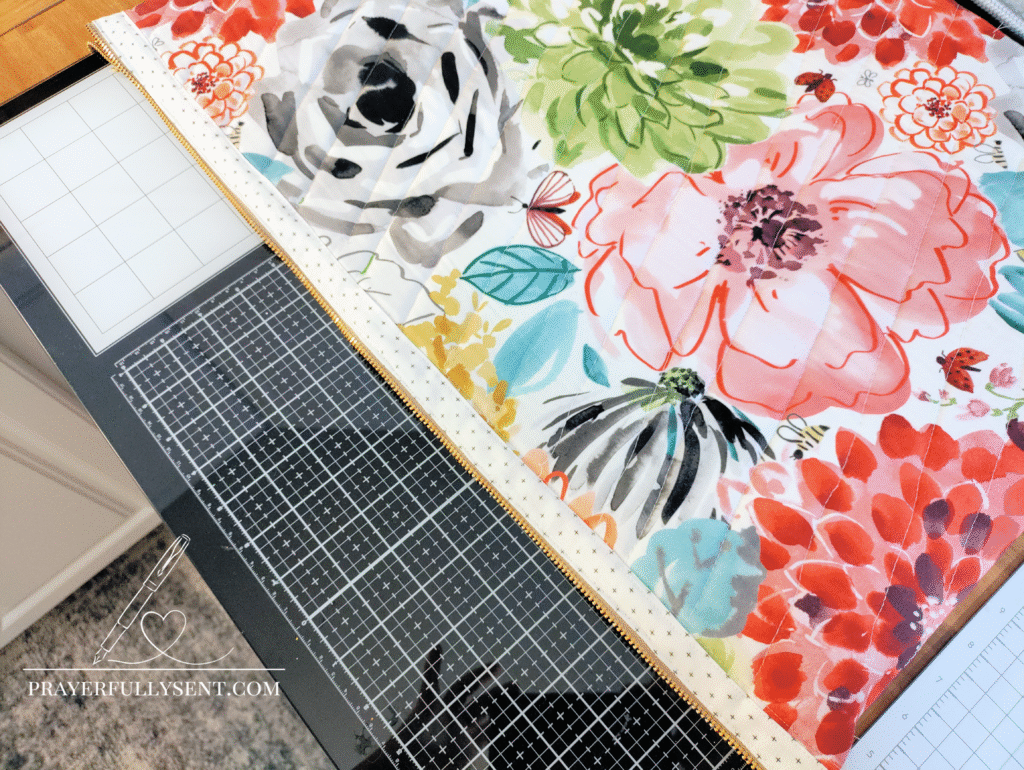
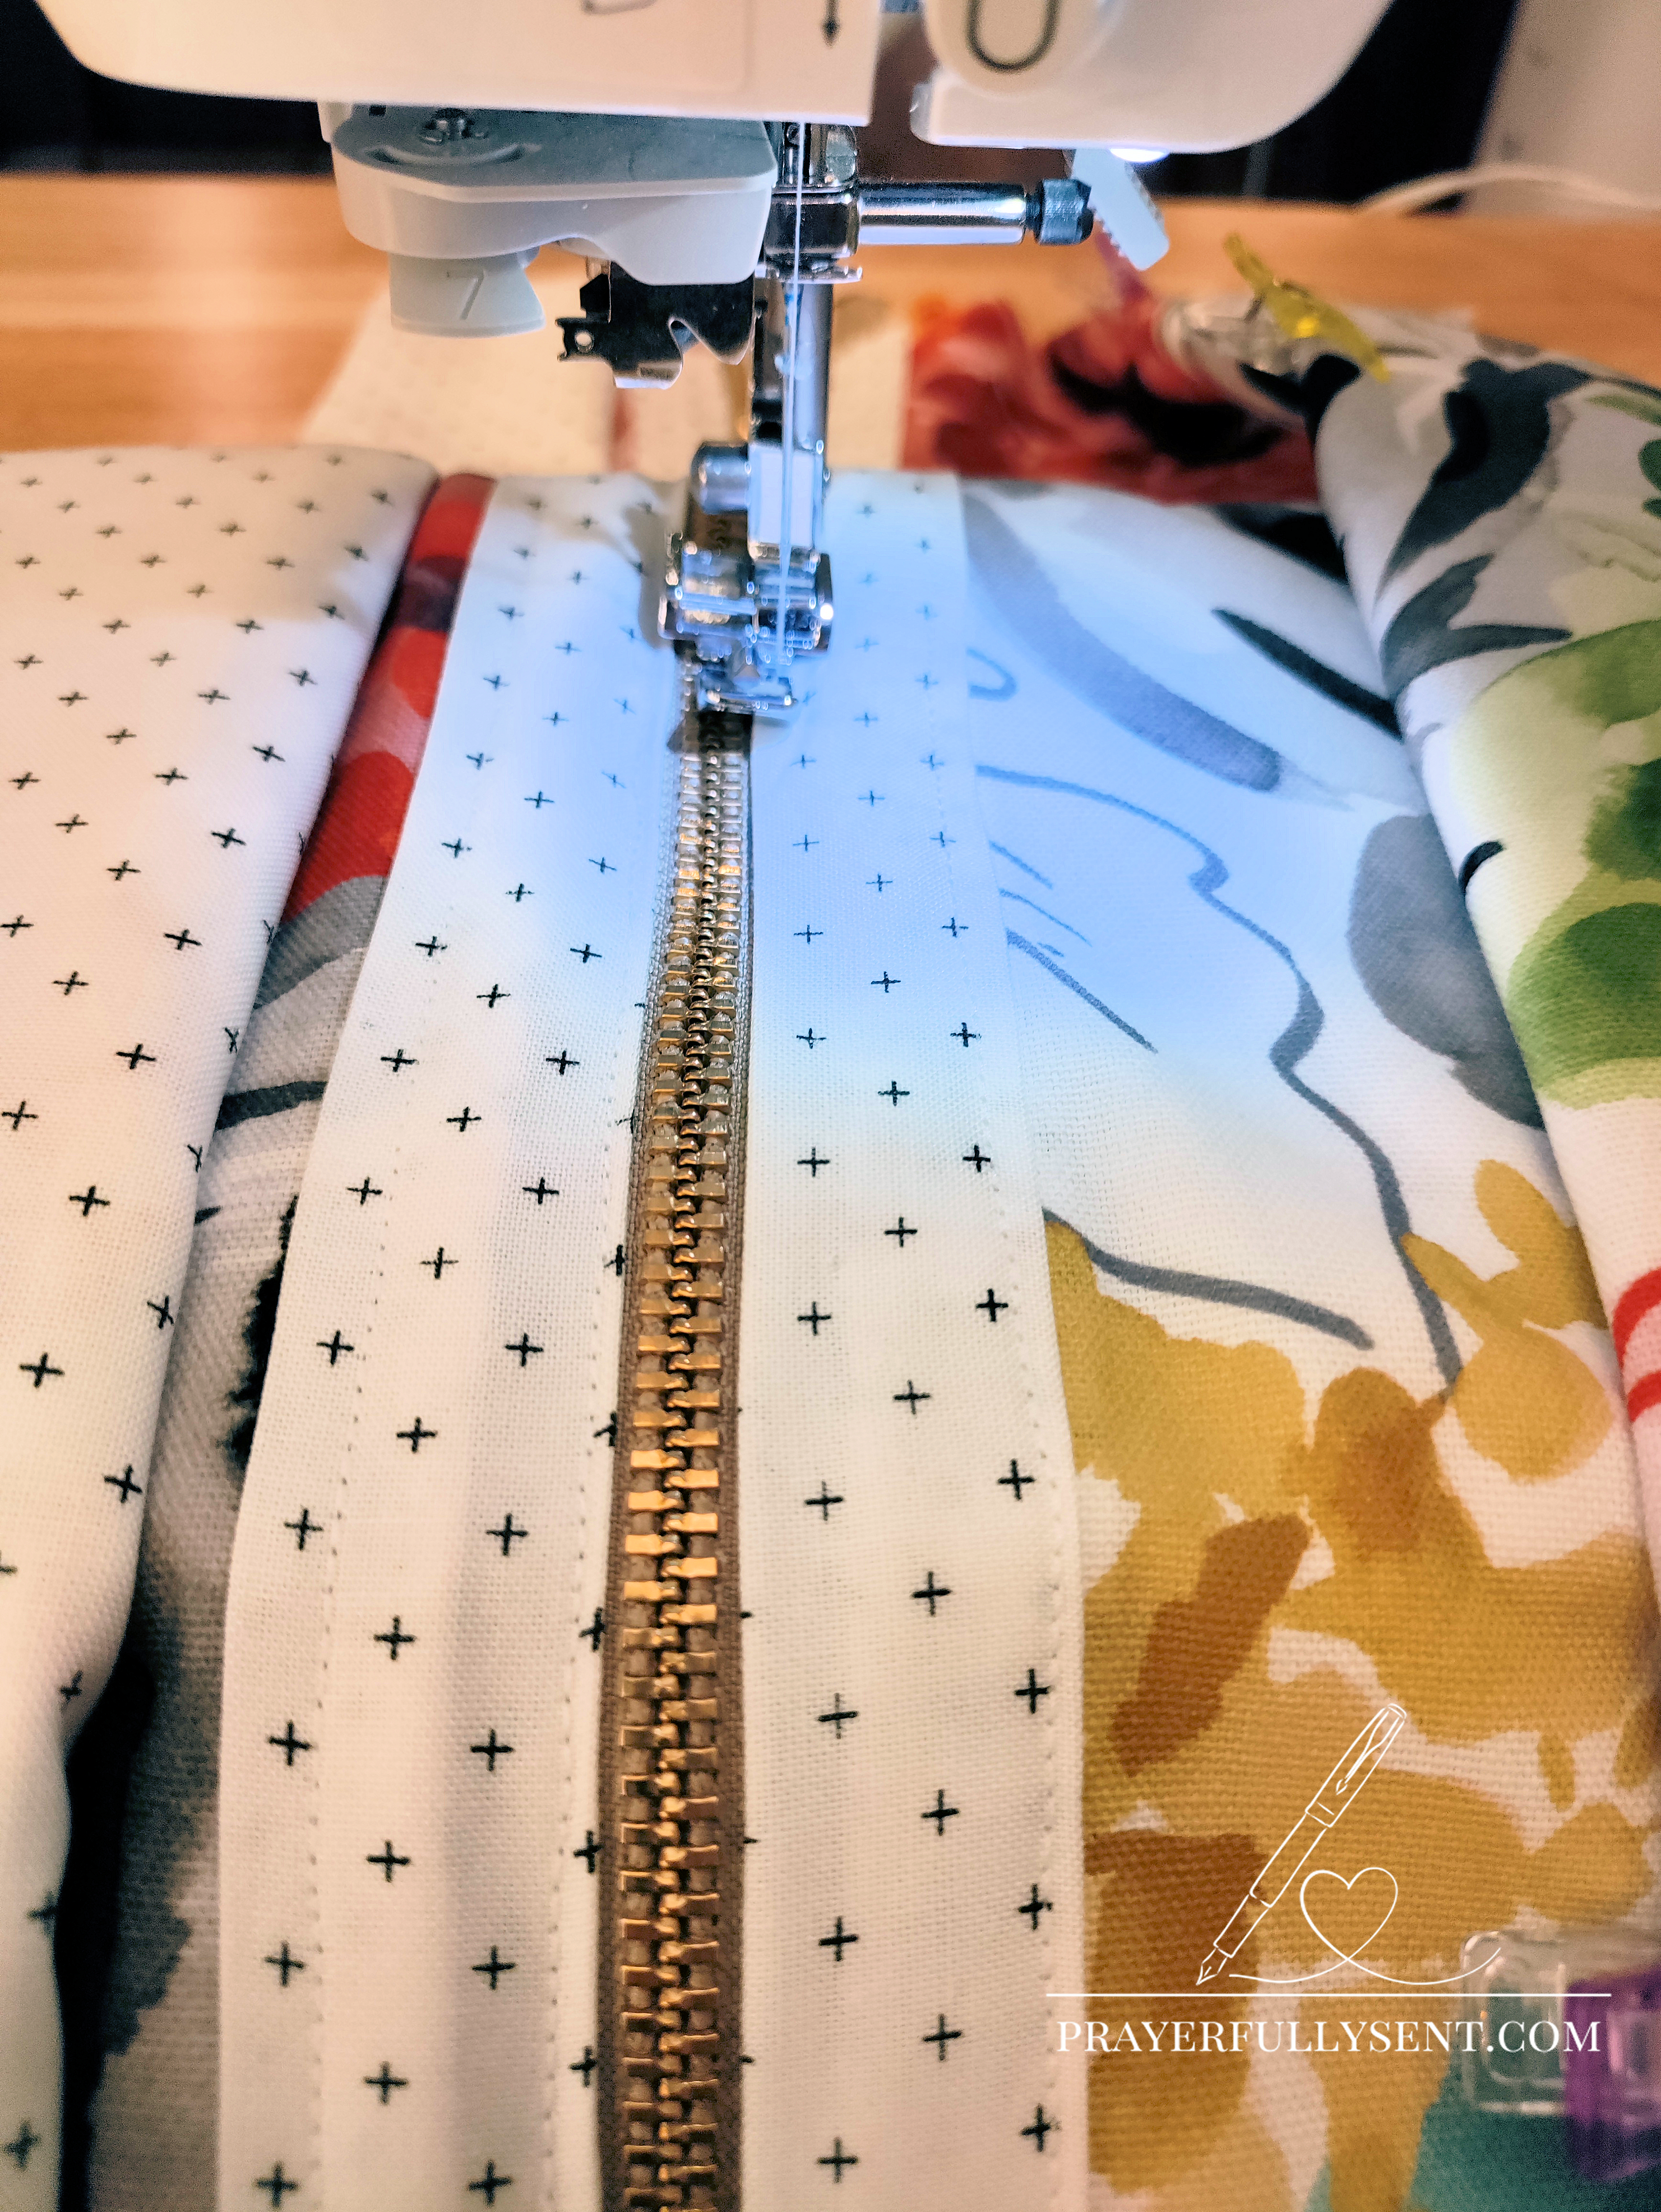
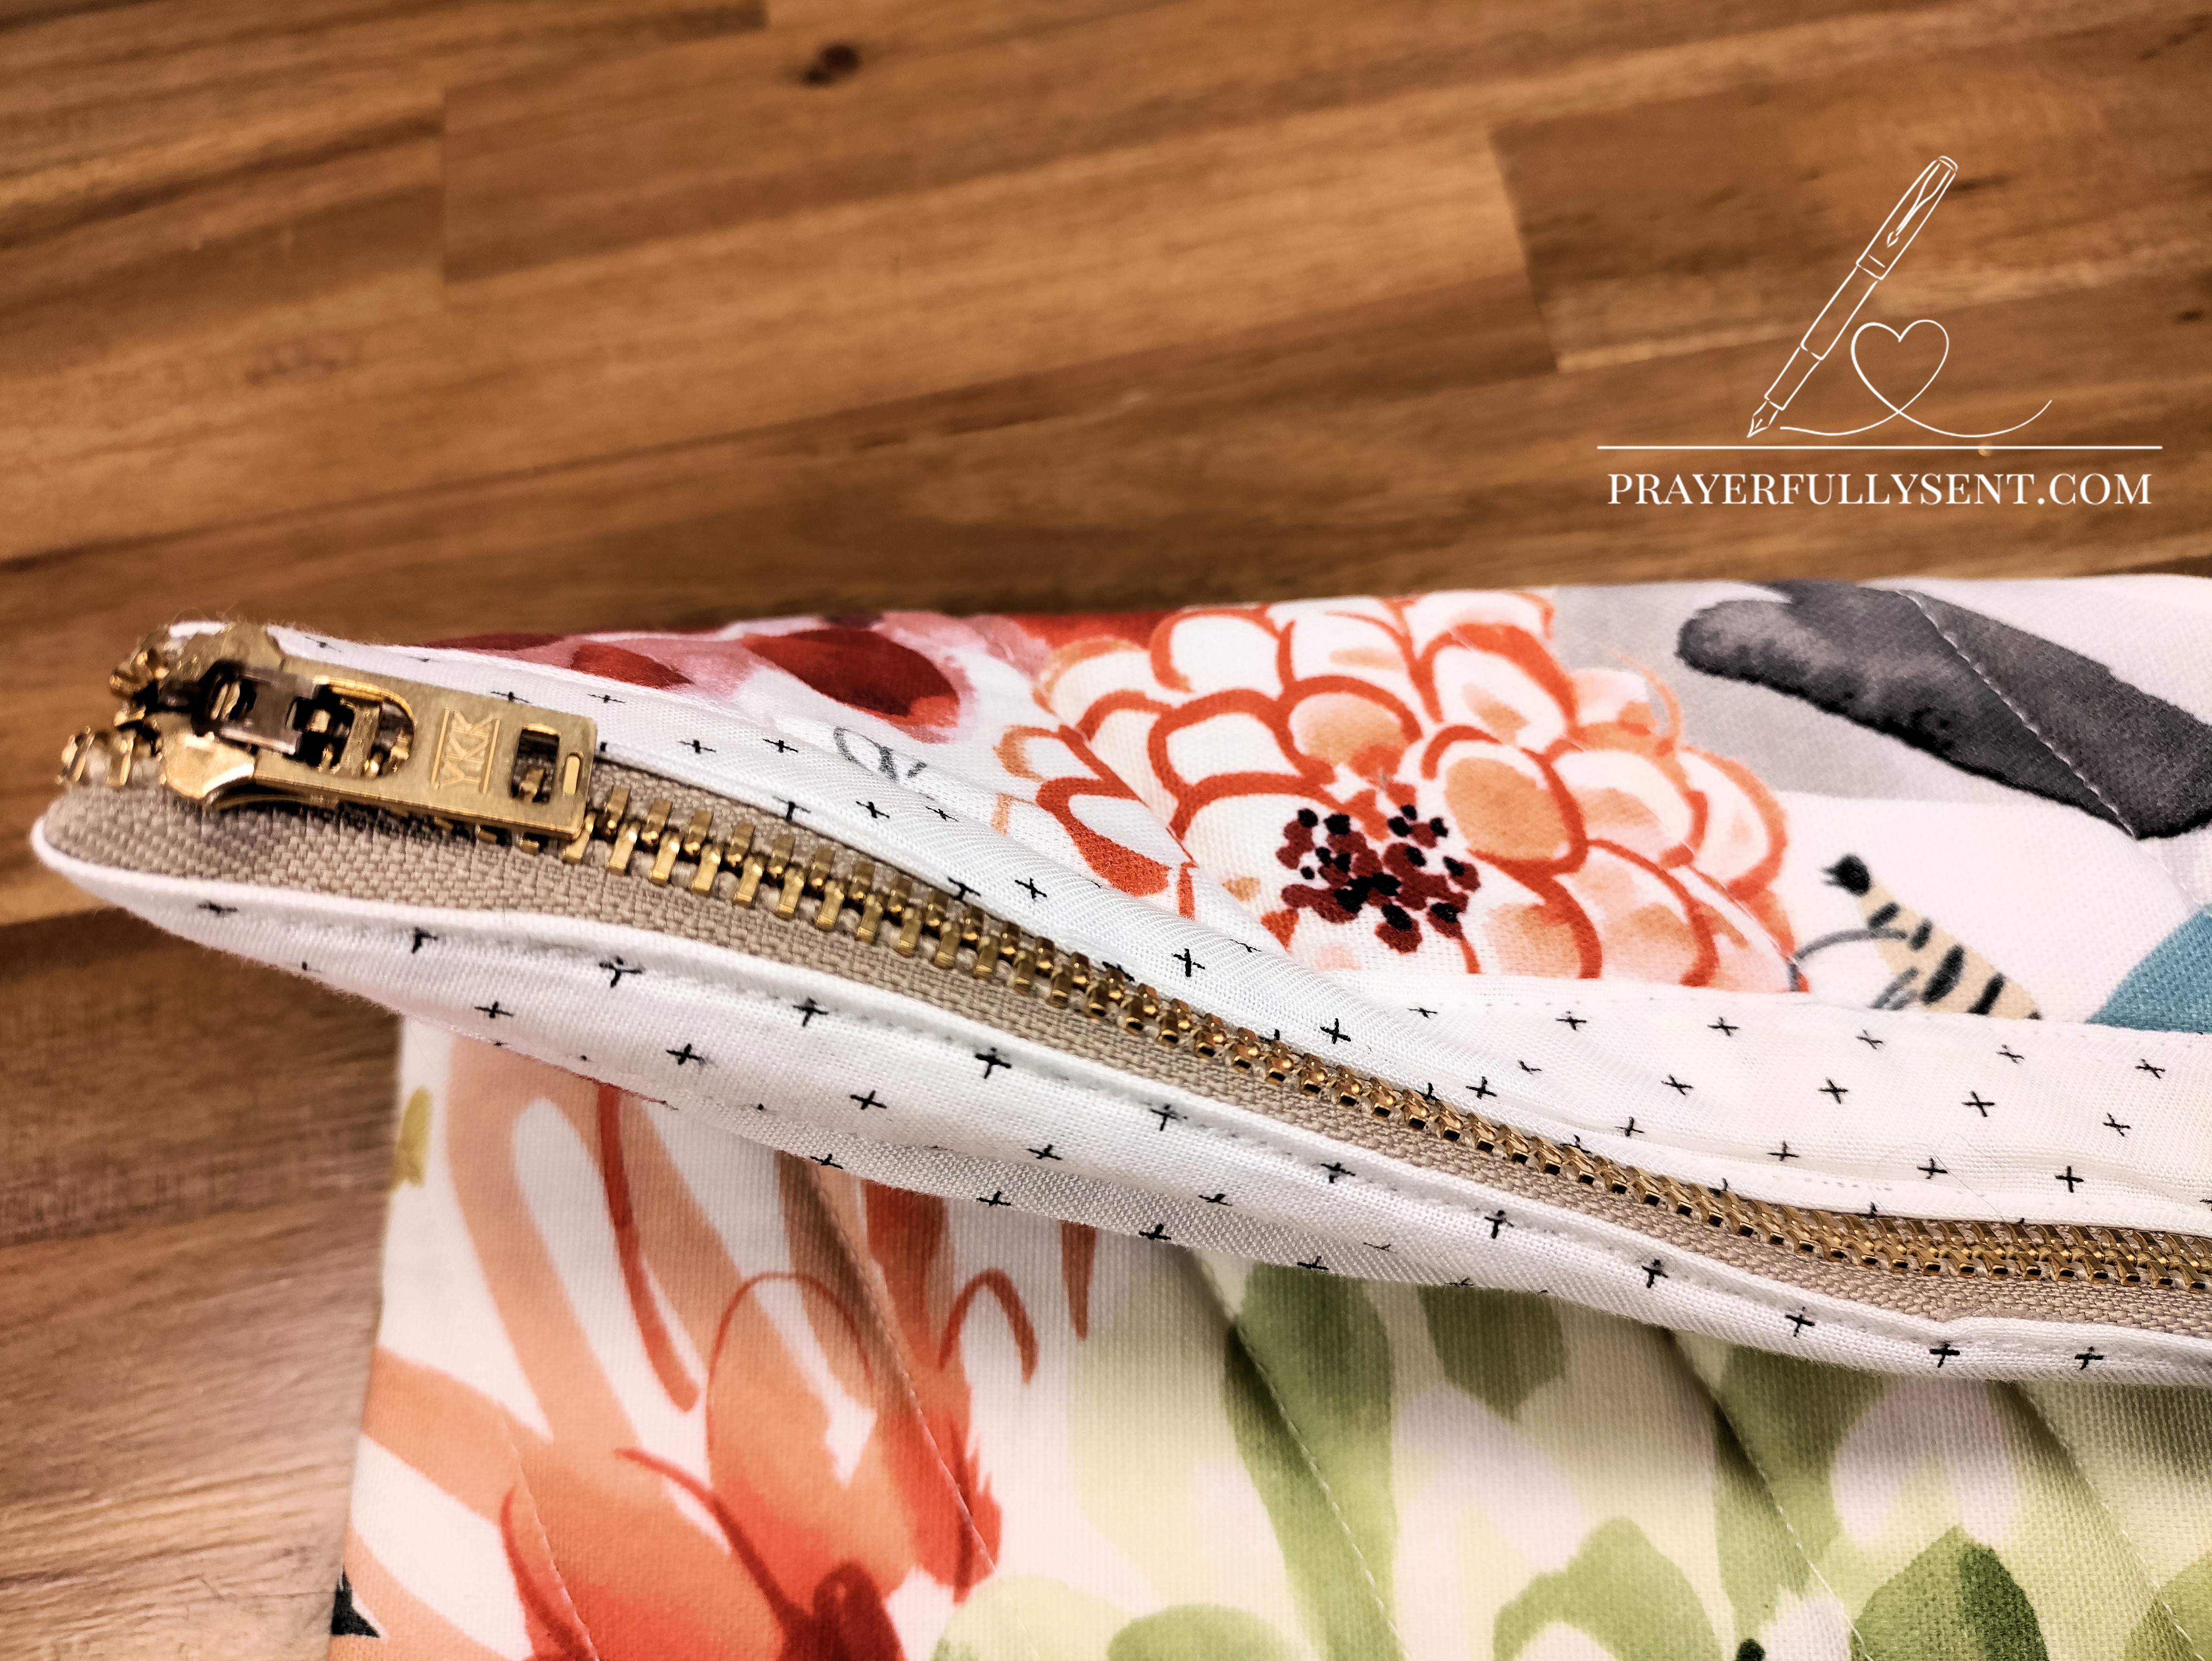
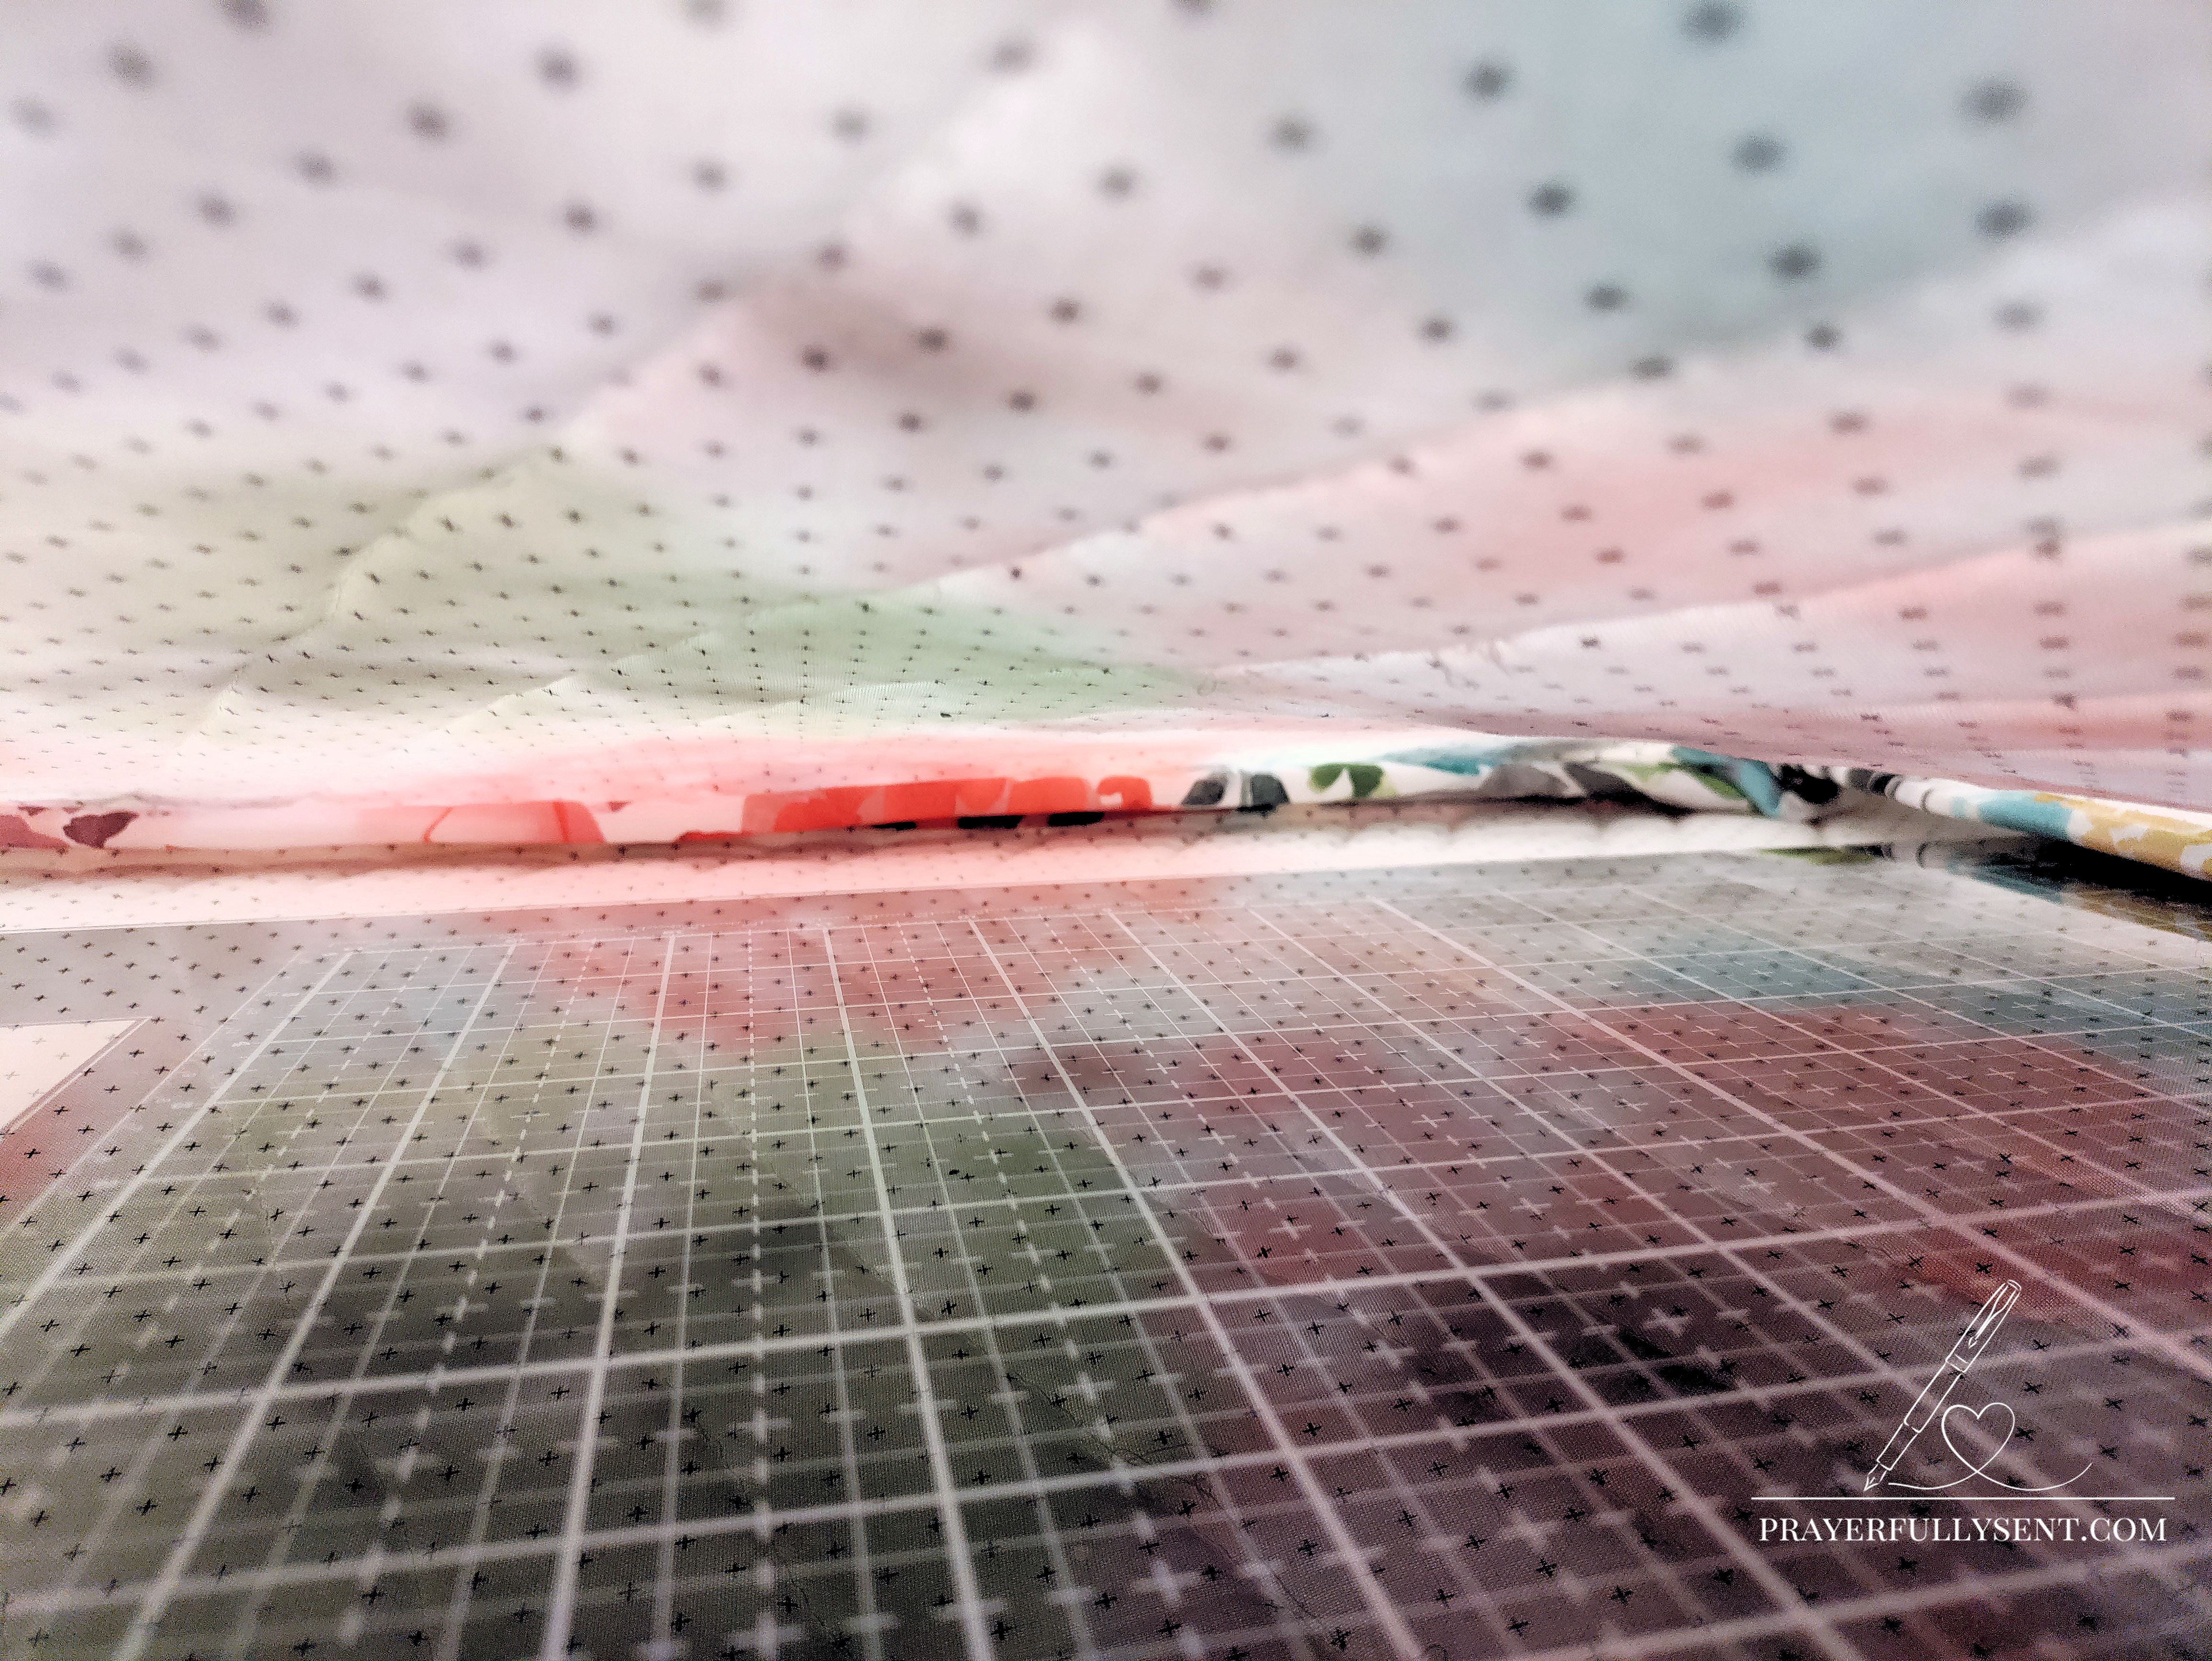
Finish Seams with Bias Tape (Hong Kong Seam Finish)
- With the case still inside out (after sewing all sides but before turning), encase the interior raw edges using bias tape
- Sew the tape neatly in place, pressing as you go
Note: You can purchase bias tape or create your own from coordinating fabric strips for a perfectly matched finish. There are plenty of professional video tutorials available for both the Hong Kong seam finish and making bias tape. This is my first time trying this technique, so exploring those resources may be helpful.
Upgrade Technique: Custom-Fit Faux Pocket
Instead of trimming excess fabric, create a stabilizing pocket that provides extra cushioning and a perfect fit:
- With the case still inside out after applying the Hong Kong seam finish, place your glass mat centered inside the pouch
- Lightly mark lines on either side of the glass mat from the zipper, allowing enough room for easy sliding in and out
- Straight stitch along these marked lines to create a faux pocket
- Important: Do not cut the excess fabric – leave it intact. The finished seams and extra fabric bulk become part of the protective cushioning system
- This technique eliminates fabric waste while creating better protection and a custom fit for your specific glass mat
Tip: This creates a snug, glove-like fit that helps stabilize your glass mat while providing extra cushioning. The uncut fabric adds valuable protection on the sides and back of your mat.
Turn Case Right Side Out
- Ensure the zipper is partially open before turning
- Carefully turn the case right side out through the zipper opening
- Press all edges flat for a crisp, finished look
Finished Size
• With standard Hong Kong seam finish: Approximately 25″ x 16″, comfortably fitting a 23½” x 14″ mixed media glass mat with extra room for quilting and fusible foam bulk • With faux pocket upgrade technique: Approximately 24″ x 19″, creating a snug, custom fit for the 23½” x 14″ mixed media glass mat with enhanced stabilization and cushioning • Without quilting: Approximately 24½” x 15″, still fitting the 23½” x 14″ mixed media glass mat snugly
Note: The faux pocket technique results in a more fitted case with better mat stability, while the standard approach provides more room for various mat sizes.


Closing
Thank you for joining me in this Fabric Arts project! The Protective Mixed Media Glass Mat Zipper Case demonstrates how careful planning, thoughtful layering, and finishing techniques like the Hong Kong seam finish can elevate a simple sewing project into a functional and beautiful studio accessory.
A Personal Note on the Journey: This project required several weeks of planning and preparation, followed by two full days of construction (one day for cutting and one for sewing). As someone who is not a professional seamstress, this felt like an expert-level undertaking that required prayer and trust that God would guide me through each step. The finished result feels truly professional and fills me with gratitude for His faithfulness through the process.
Whether you choose to quilt or not, or add a personal label, this case is designed to protect your mixed media glass mat while offering a professional finish. Remember, sewing is as much about learning and adapting as it is about creating, so take your time and enjoy the process.
I hope this tutorial inspires you to embrace both precision and creativity in your projects, trusting in God’s guidance as you tackle new challenges. Happy sewing!
Filed under: Art Studio Organization, Artisan Collection, Fabric Arts, Sewing, Stationery and Greeting Cards
Comment Policy – Grace Notes & Brush Strokes
As a biblical Christian, I strive to represent Christ and His Word accurately in all that I share. This blog is a space for truth, encouragement, and Christ-centered creativity. If you are a follower of Christ, you are part of His Body, and it pleases the Lord when we walk in love and unity, especially for the sake of those who are unbelieving.
Please keep all comments respectful, edifying, and aligned with the Spirit of Christ. Unkind, divisive, or dishonoring remarks will be removed.
If you believe I have spoken in error, I ask that you follow the biblical model and reach out to me directly, in love and gentleness (Matthew 18:15; Galatians 6:1), with the same kindness and respect you would hope to receive.
"Let your speech always be with grace…" – Colossians 4:6 (KJV)